Once you installed the EverFlow app, it’s time to create your subscription plans to start selling recurring products and services to your customers. Specifying delivery, billing and pricing policies in a subscription plan can help customers to buy subscriptions more conveniently. In this article, we will guide you through all steps to create a subscription plan on EverFlow. Let’s get started!
Step 1: Access Subscription Plans
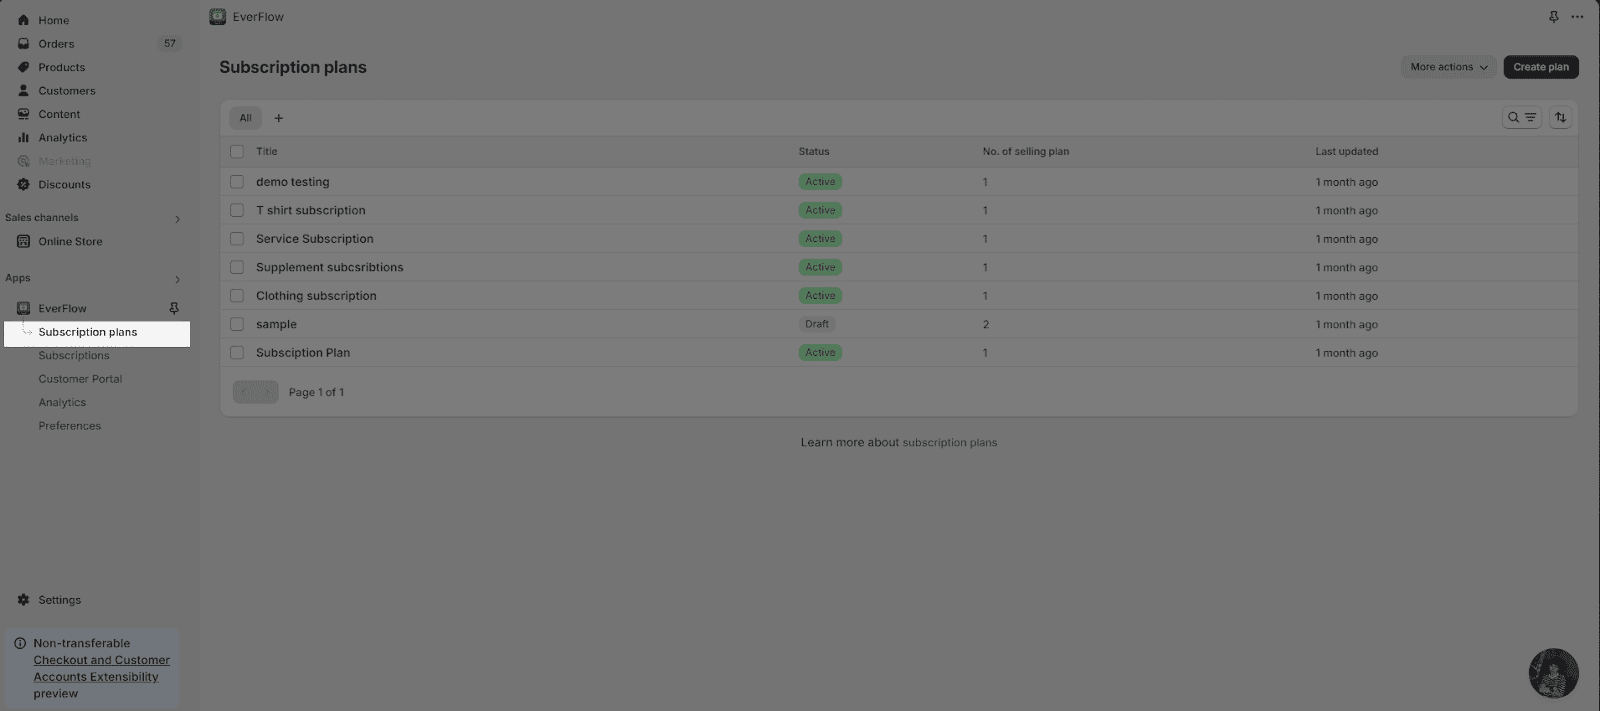
From the EverFlow dashboard, click on “Subscription Plans” on the left menu bar to access Subscriptions Plans. You can see all created subscription plans here.
Step 2: Click “Create plan” Button
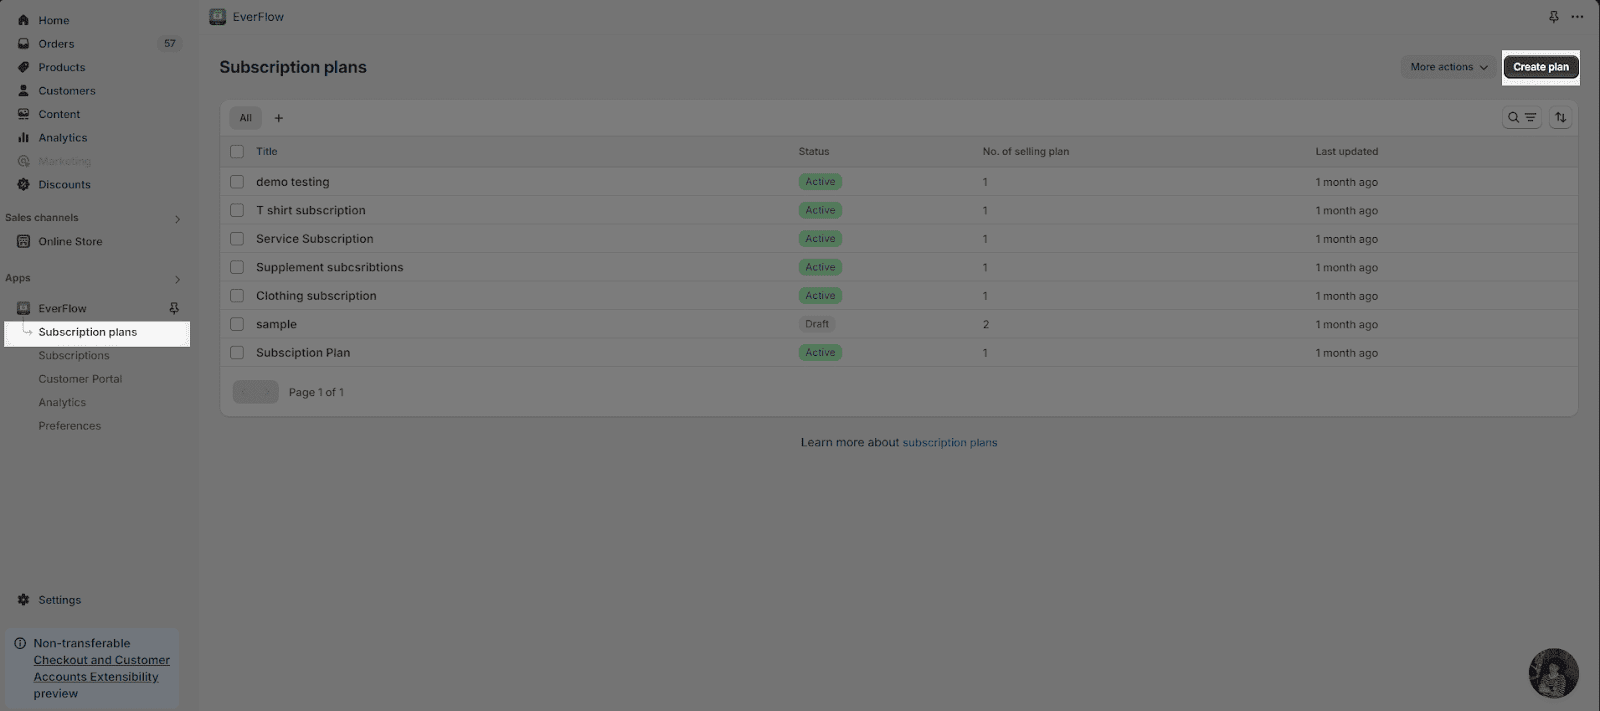
After accessing the Subscription plans, click on the “Create plan” button to start the journey.
Step 3: Name The Subscription Plan And Choose The Status For It
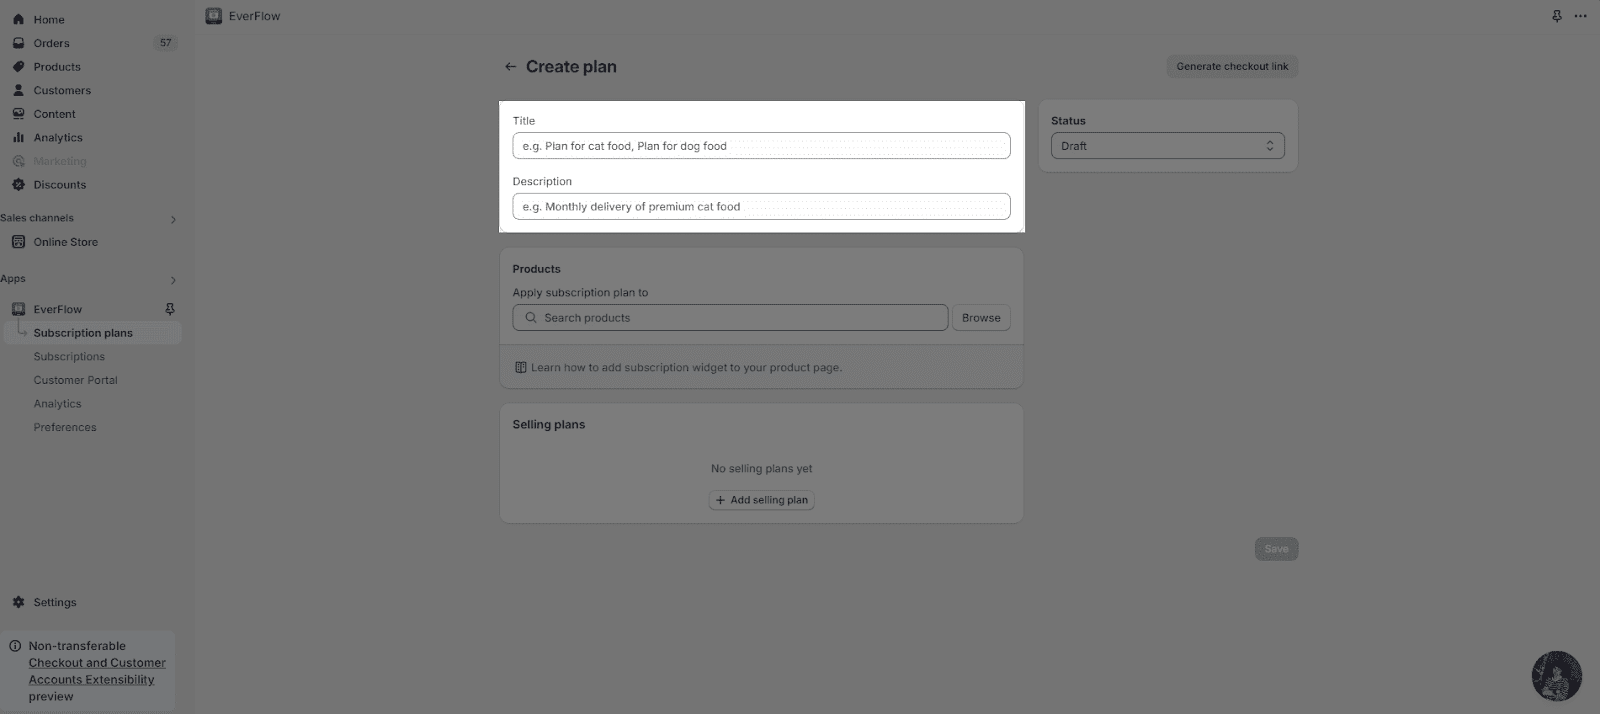
At the top of the subscription plan editor, you’ll find a “Subscription plan name” placeholder and a “Subscription plan description” placeholder.
Subscription Plan Name And Description
Note:
- The title and description will not show for your customers on the live page.
- It is limited to 250 characters.
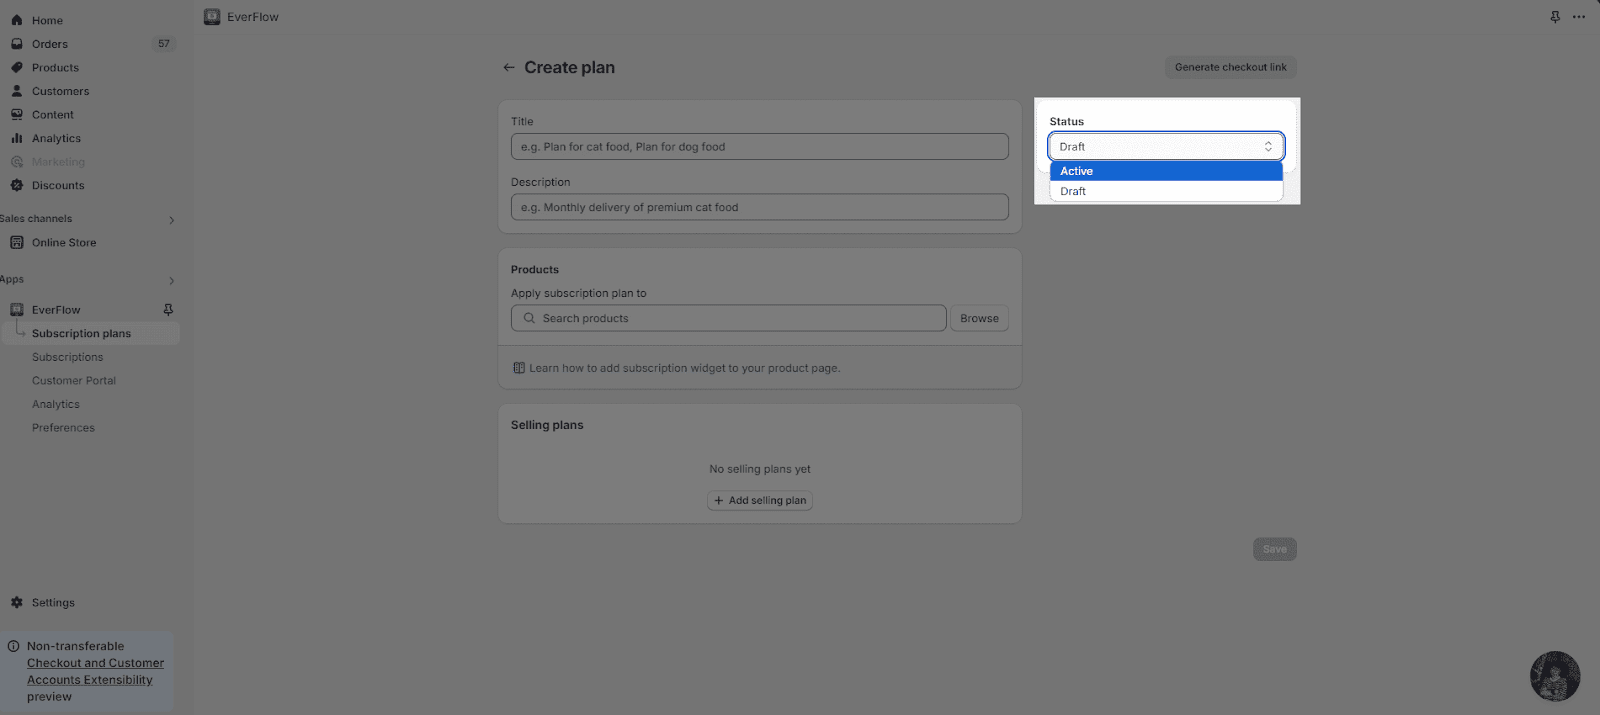
Subscription Plan Status
There are 2 statuses for the Subscription Plan:
- Active: The subscription plan will be ready to be used on the live page immediately after creation
- Draft: The subscription plan will be saved as a draft and can be activated later
Step 4: Choose Products which the subscription will apply to
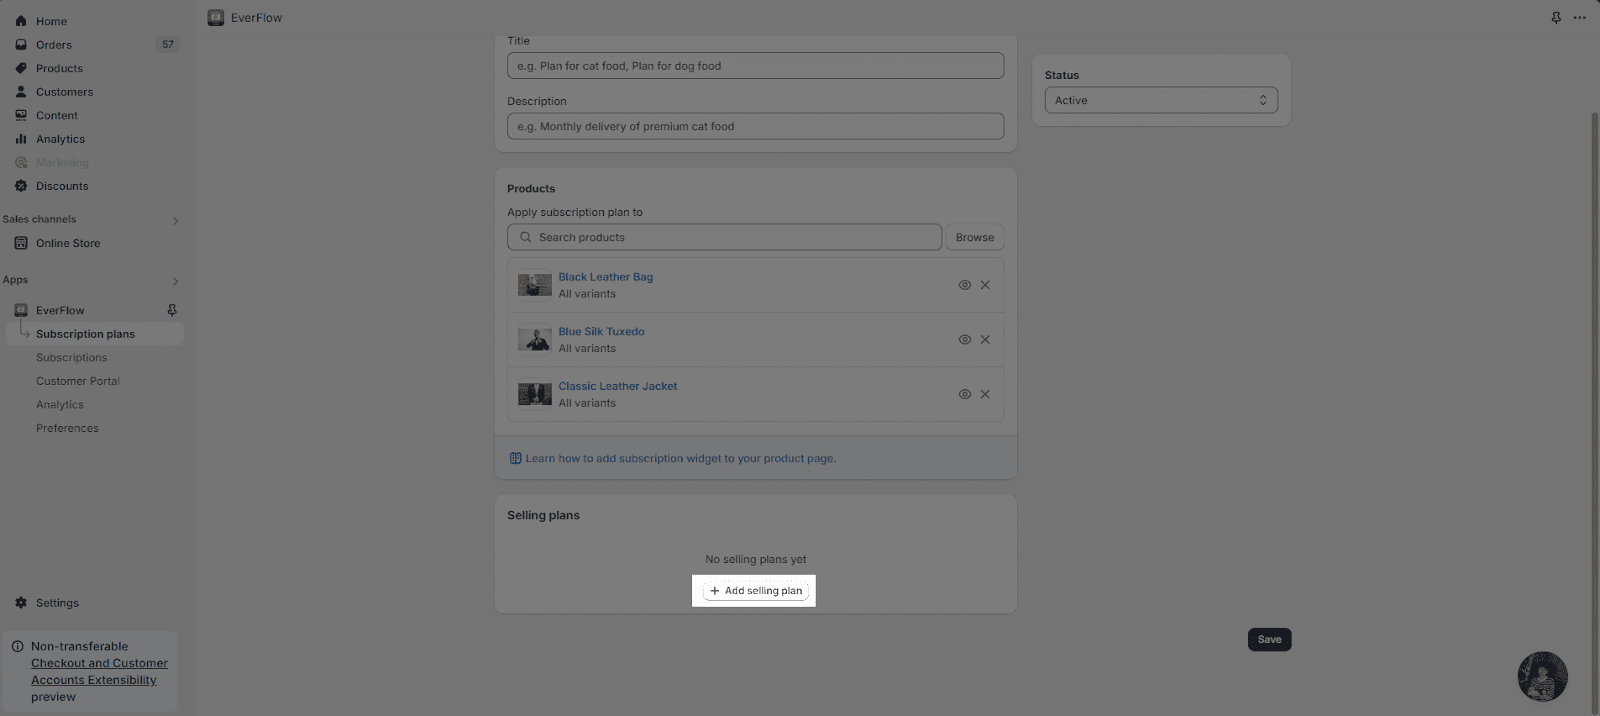
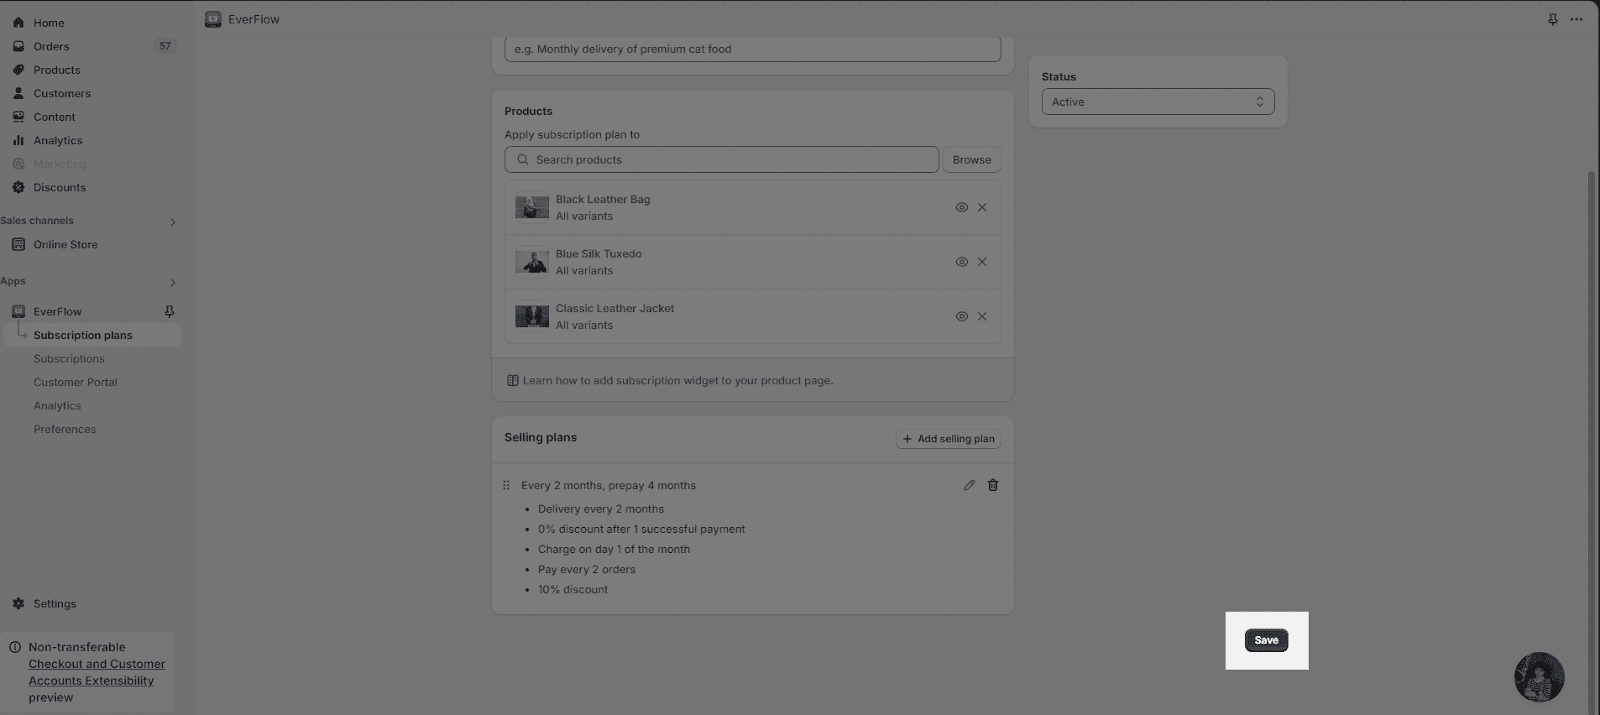
Here, you’ll select the products and decide which products the subscription plan applies to.
From the Products, you can search the product’s name on the search bar to select the products.

Or you can choose the “Browse” option to select the products. You can select multiple products for your subscription plan.
Step 5: Click “Add Selling Plan” Button
Click on the “Add Selling Plan” button to add a selling plan.
Next, you can add more details for the selling plan by adding information of “Plan label”, “Description”, “Delivery interval”, “Billing interval“, “Discount amount”, “Enable prepayment”, “Enable cancellation” and “Enable automatic expiration”.
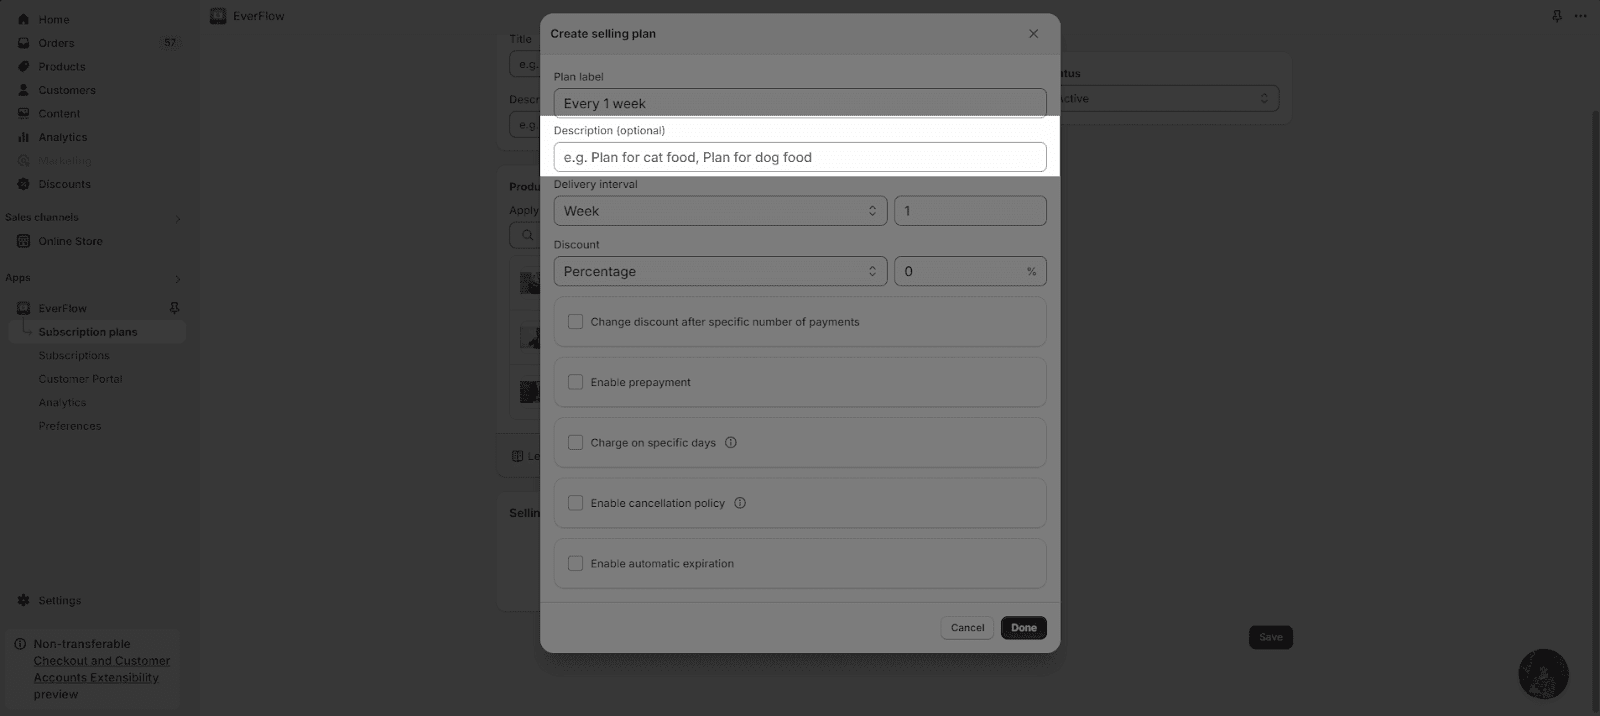
- Plan label: You input the title which will display on the customer’s checkout page.
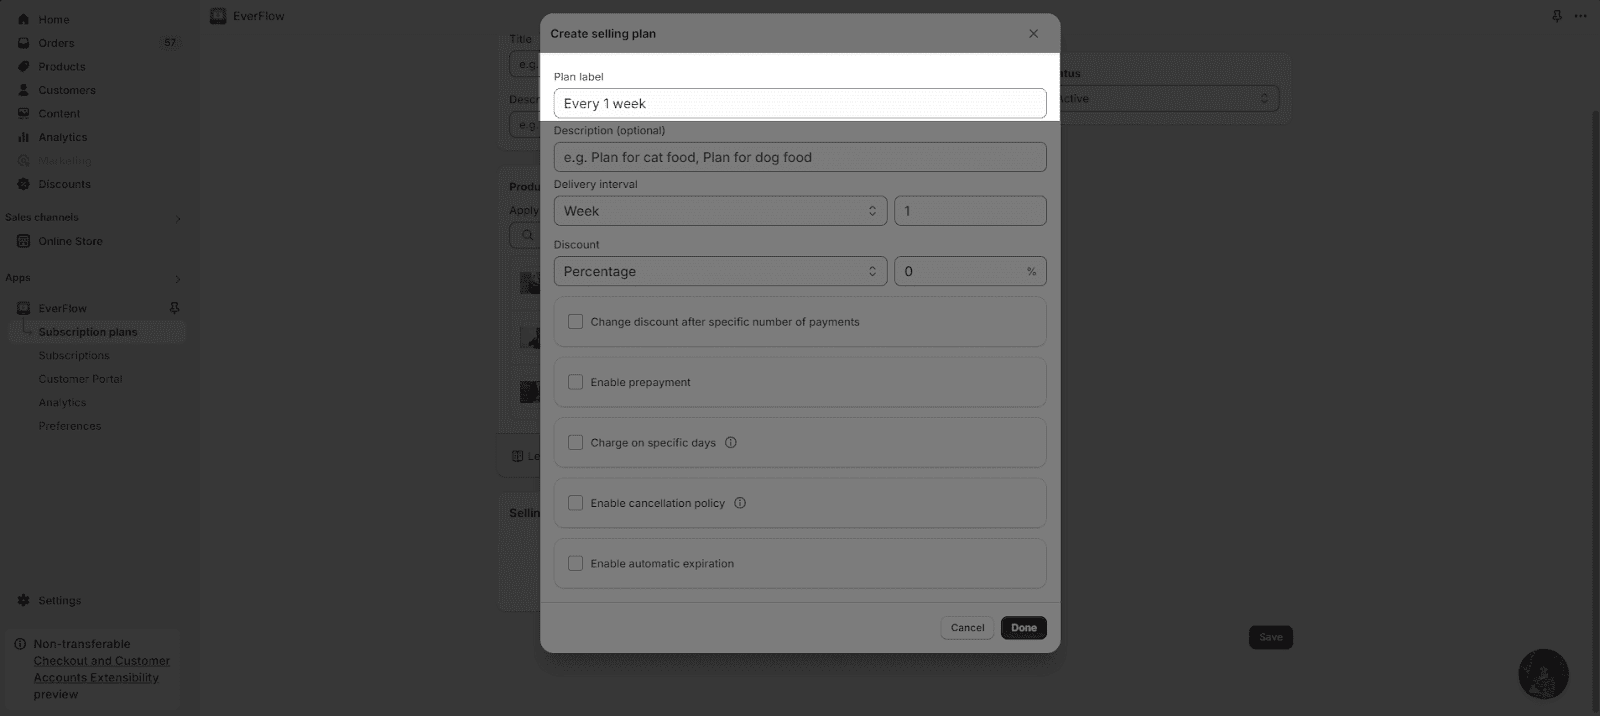
- Description: You can explain the objectives of subscription plans to manage and track them easily.
- Delivery Interval: There are 4 options for the Delivery Interval which are week(s), Day(s), Month(s), Year(s)
- Discount Amount: There are 3 options for the Discount amount which are Percentage off (%), Flat rate ($), Fixed amount ($)

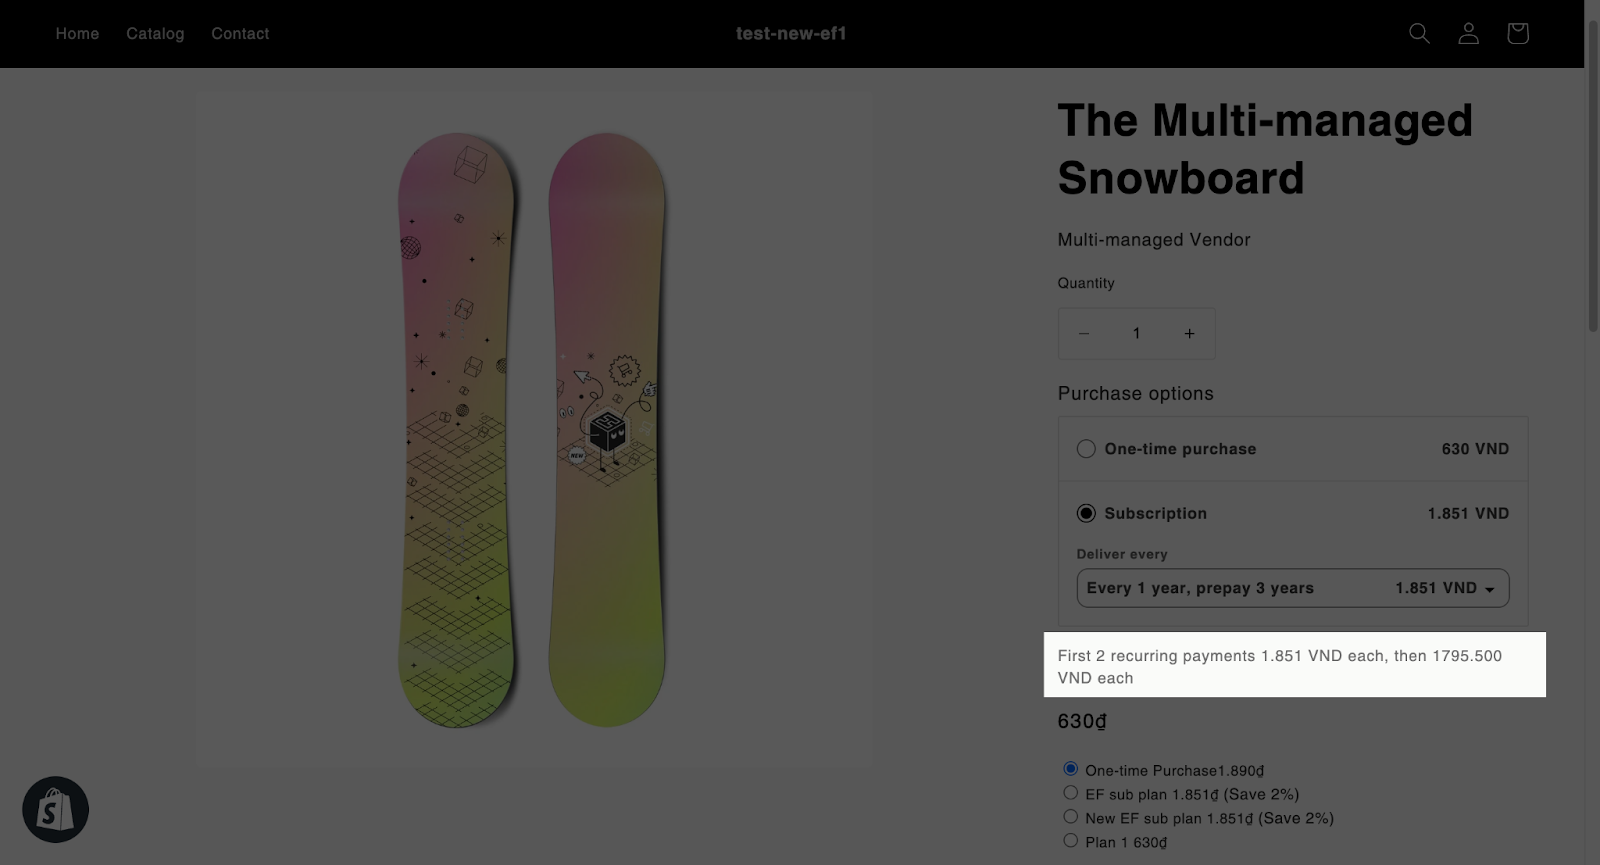
- Change discount after specific number of payments: By customizing this option, you can offer your customers a new discount after a certain number of recurring successful payments. For example, after 2 successful payments, customers will have a 10% discount on their next payments.

On the product page, customers can see the discount policy that you specified.
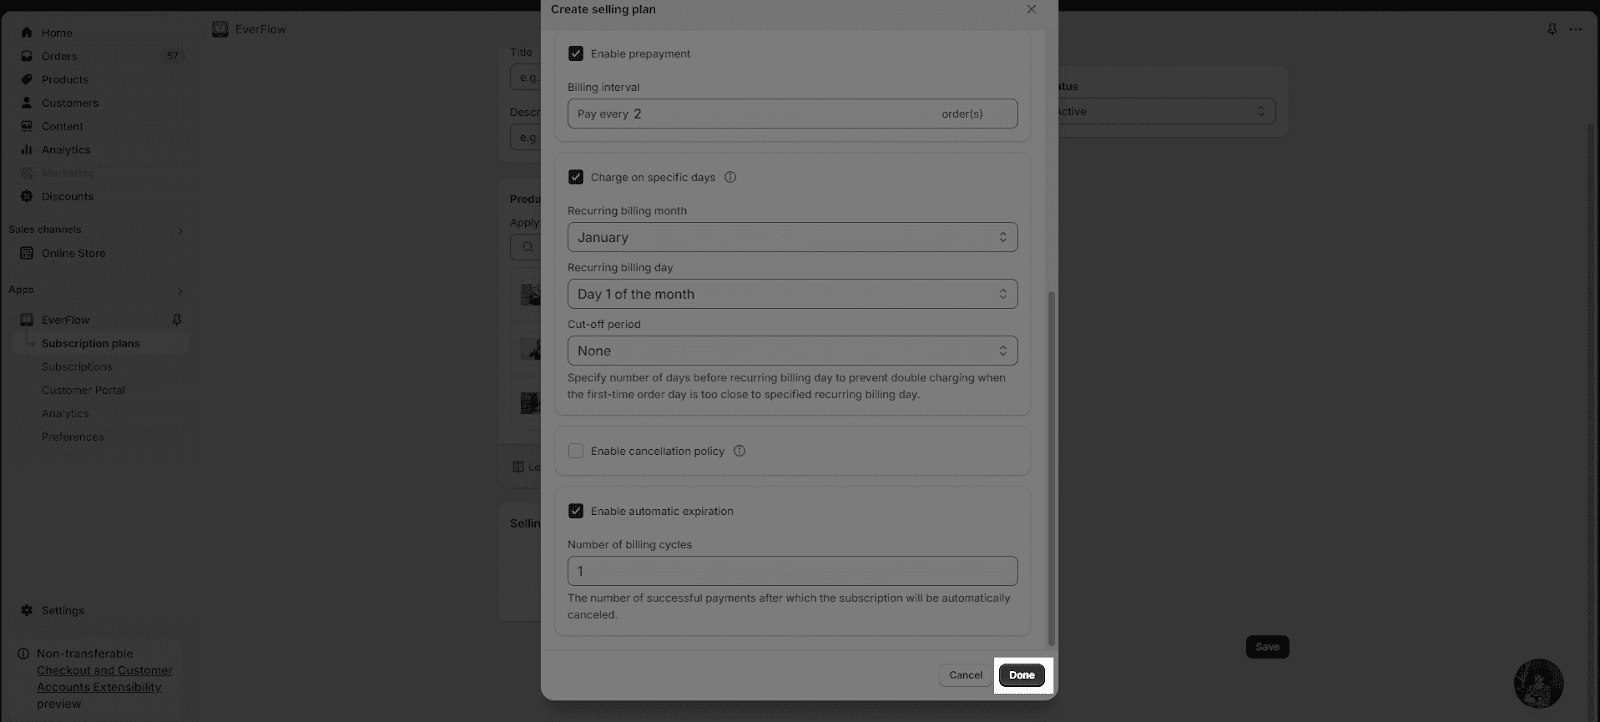
- Enable Prepayment: If enabled, customers can pay for some orders in advance.

- Charge on specific days: The customer will be charged for the subscription on the days that have been set up in this feature

In order to have a more detailed policy, you can customize the option in accordance to several circumstances:
- If the delivery interval is on a yearly basis:
For this case, you can customize the recurring billing month and day.
- Recurring month: This indicates the month that the subscription will start taking effect. You can choose from January to December with this option.
- Recurring billing day: This is the specific day each month when a payment is automatically charged to the customer. If the day chosen is the 30th day of the month and the next month only has 29 days, the recurring billing day will automatically push back to the 29th for the next month and the months after.

- If the delivery interval is on a monthly basis:
You can customize the recurring billing day. In this case, the options for the recurring billing day will vary from the 1st day of the month to the 31st day of the month.
- If the delivery interval is on a weekly basis:
You can customize the recurring billing day. In this case, the options for the recurring billing day will vary from Monday to Sunday.
- Cut-off period: This specifies the number of days before recurring billing day to prevent double charging when the first-time order day is too close to specified recurring billing day.
Here is a detailed example of a cut-off period:
Subscription plan details:
- Delivery interval: 1 week
- Recurring billing day: Saturday
Subscription details:
- 1st order: Wednesday, Dec 14
- If there is no cut-off period or cut-off period is smaller than 4 days, the 2nd order will be the first upcoming Saturday, Dec 17 → This is too close, which is called double charging.
- If the cut-off period lasts from 4 – 7 days, the 2nd order will happen on the second upcoming Saturday, Dec 24.
|
Cut-off period (days before 2nd recurring billing day – Saturday) |
2nd order will happen on |
| 1 | Saturday, Dec 17 |
| 2 | Saturday, Dec 17 |
| 3 | Saturday, Dec 17 |
| 4 | Saturday, Dec 24 |
| 5 | Saturday, Dec 24 |
| 6 | Saturday, Dec 24 |
| 7 | Saturday, Dec 24 |
In this option, you also can customize the cut-off period in accordance to your delivery intervals.
- If the delivery interval is on a yearly basis, the cut-off period will range from 1 day to 365 days.
- If the delivery interval is on a monthly basis, the cut-off period will range from 1 day to 31 days.
- If the delivery interval is on a weekly basis, the cut-off period will range from 1 day to 7 days.
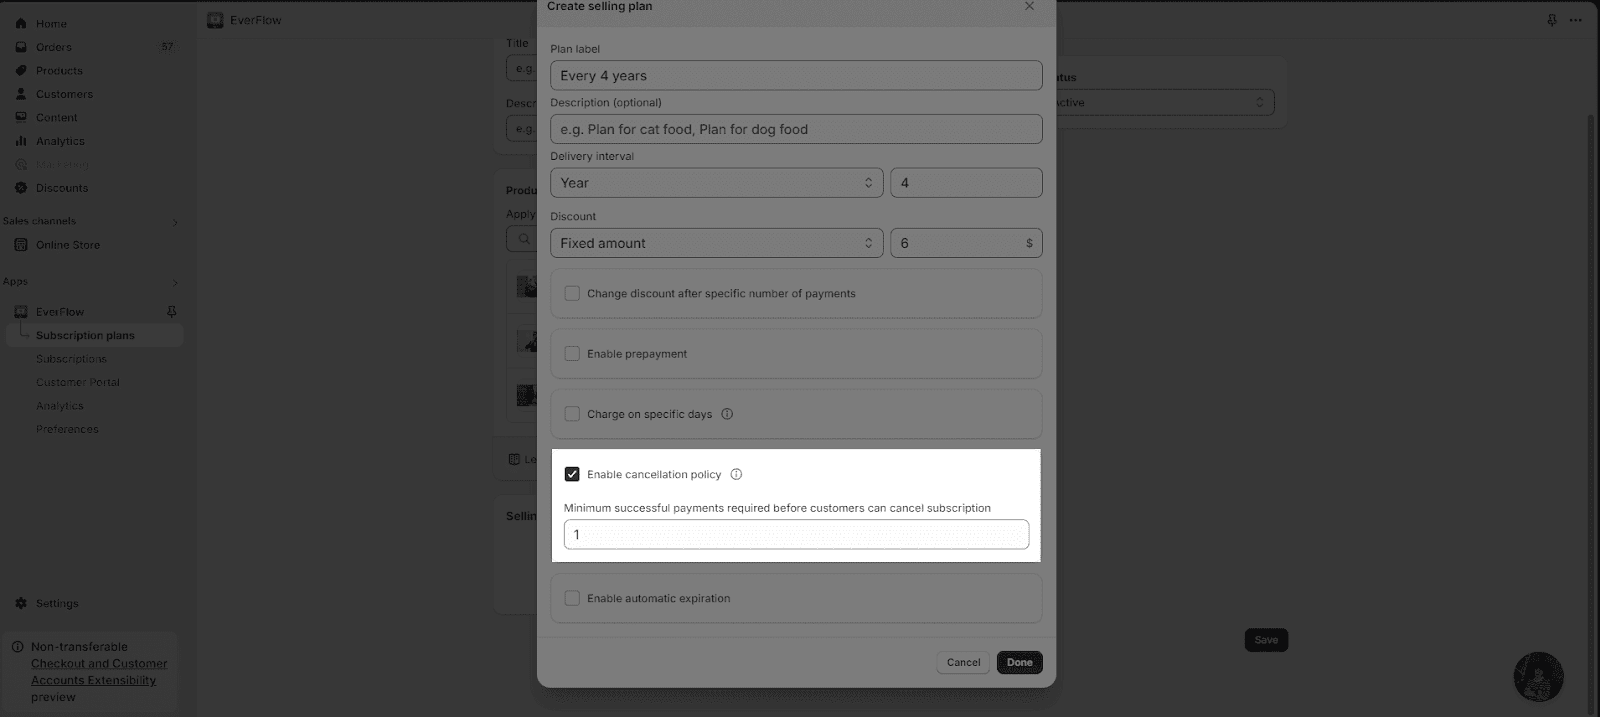
- Enable Cancellation Policy: If enabled, you can set the number of successful payments required before customers can cancel the subscription. Please note that the number of successful payments doesn’t include the first order. And if you disabled ‘Customer cancel subscriptions’ in Customer Permissions, this policy won’t work.
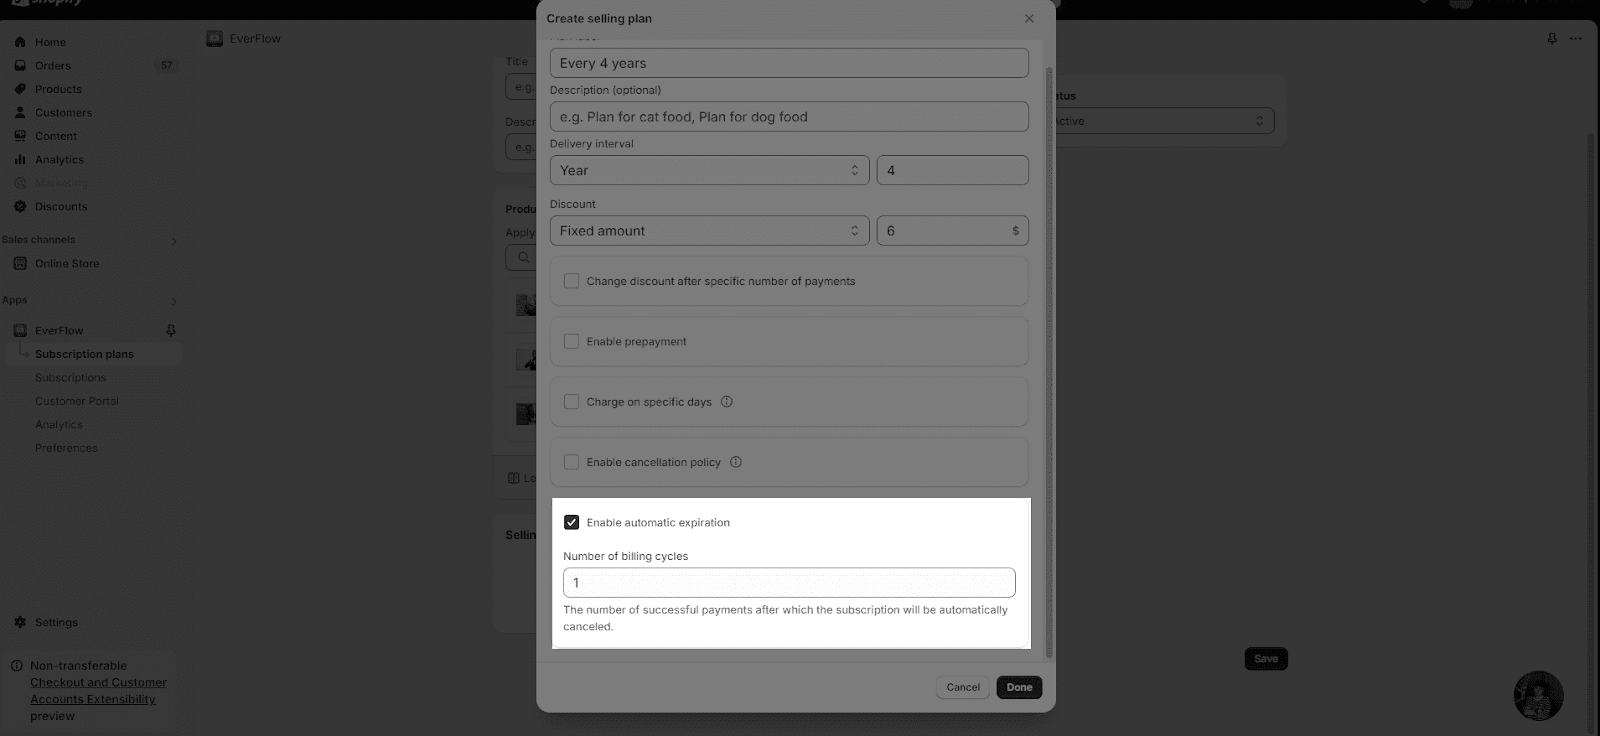
- Enable Automatic Expiration: If enabled, you can set the number of successful payments after which subscription will be automatically canceled. Please note the number must not be fewer than the number in the cancellation policy.
After selecting, you click “Done” to create the selling plans.
Step 6: Save The Subscription Plan
Finally, once you select all needed information, click the “Save” button to save.
Step 7: Duplicate Subscription Plans
You may want to duplicate one or multiple plans for different uses. In order to do so, there are 2 ways of duplicating your plans:
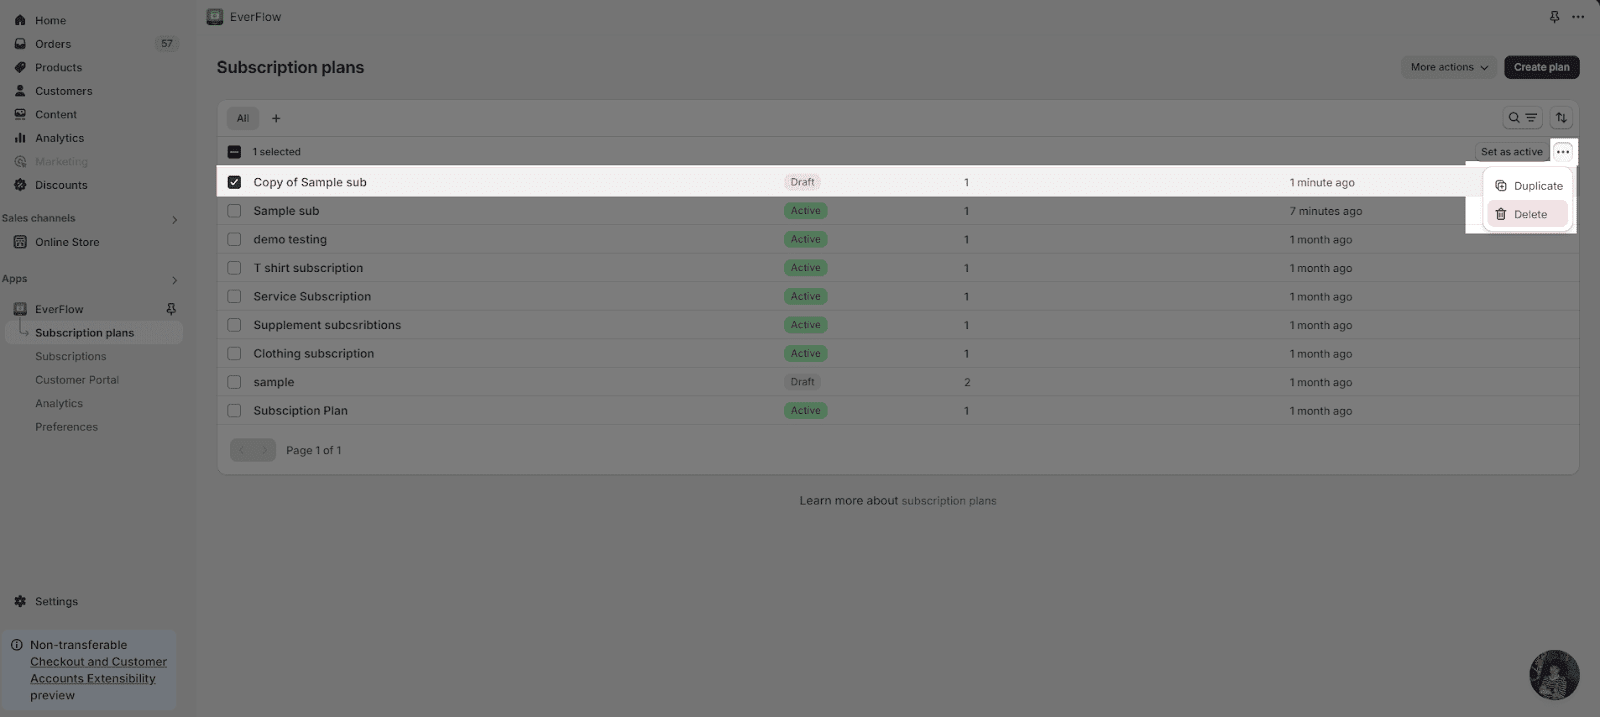
- Duplicating plans from Subscription plans listing:
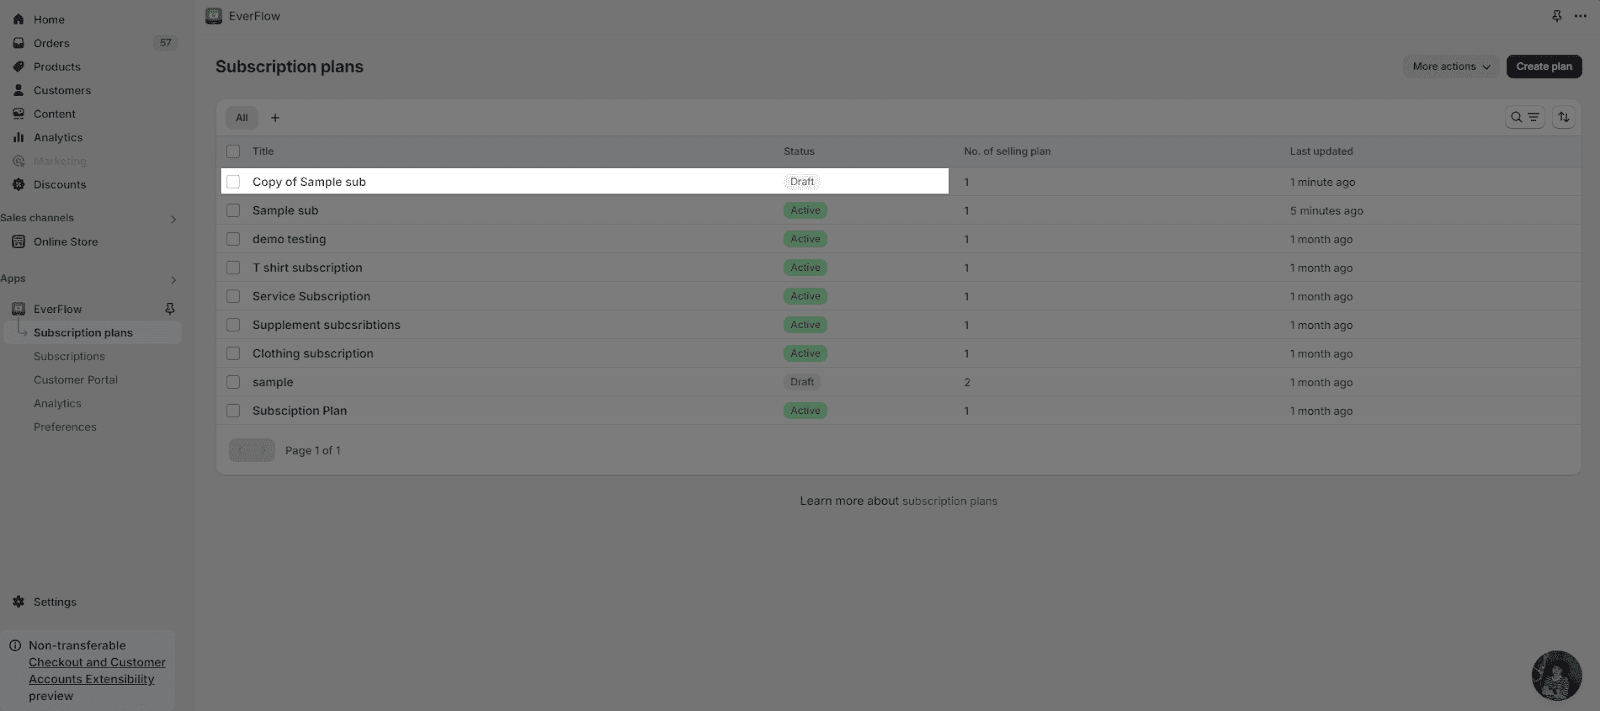
From Subscription plans page > Subscription plan listing > Select 1 or many plans > Click more actions > Click Duplicate
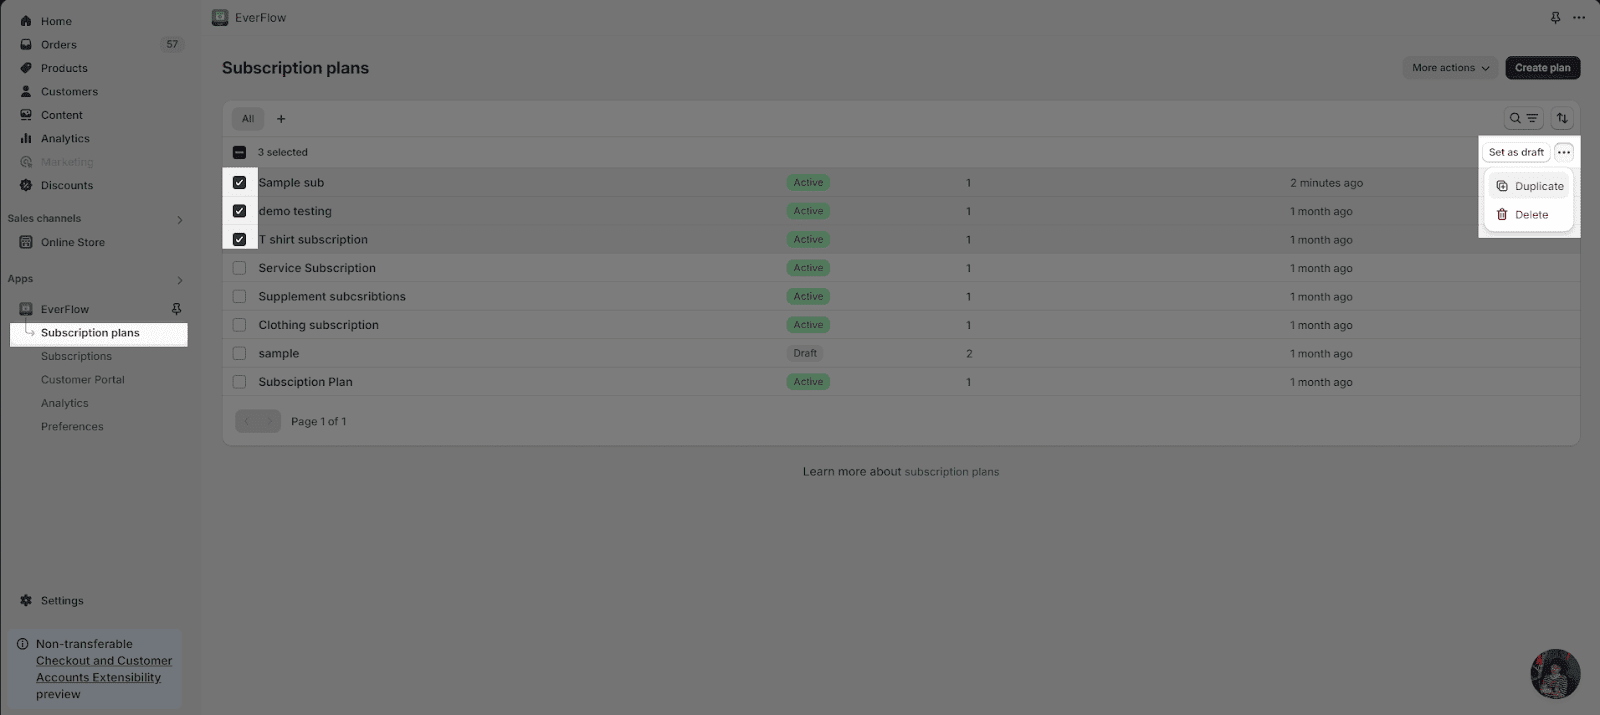
Duplicate plan has Draft status as default.
- Directly duplicating plans from the detailed subscription plan page:
From the Subscription plans page, click on your desired plan.
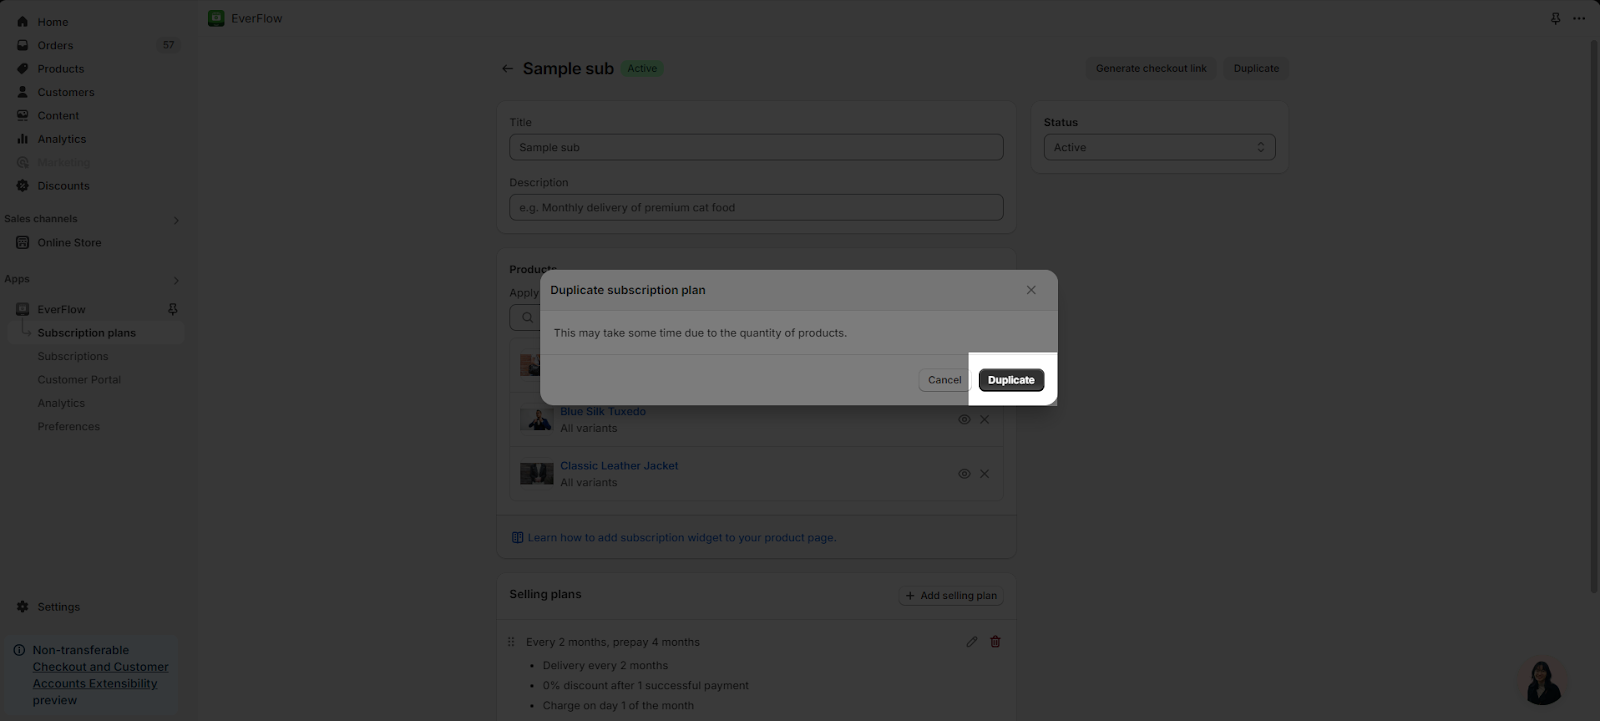
When taken to the detailed plan page, hit the Duplicate button.
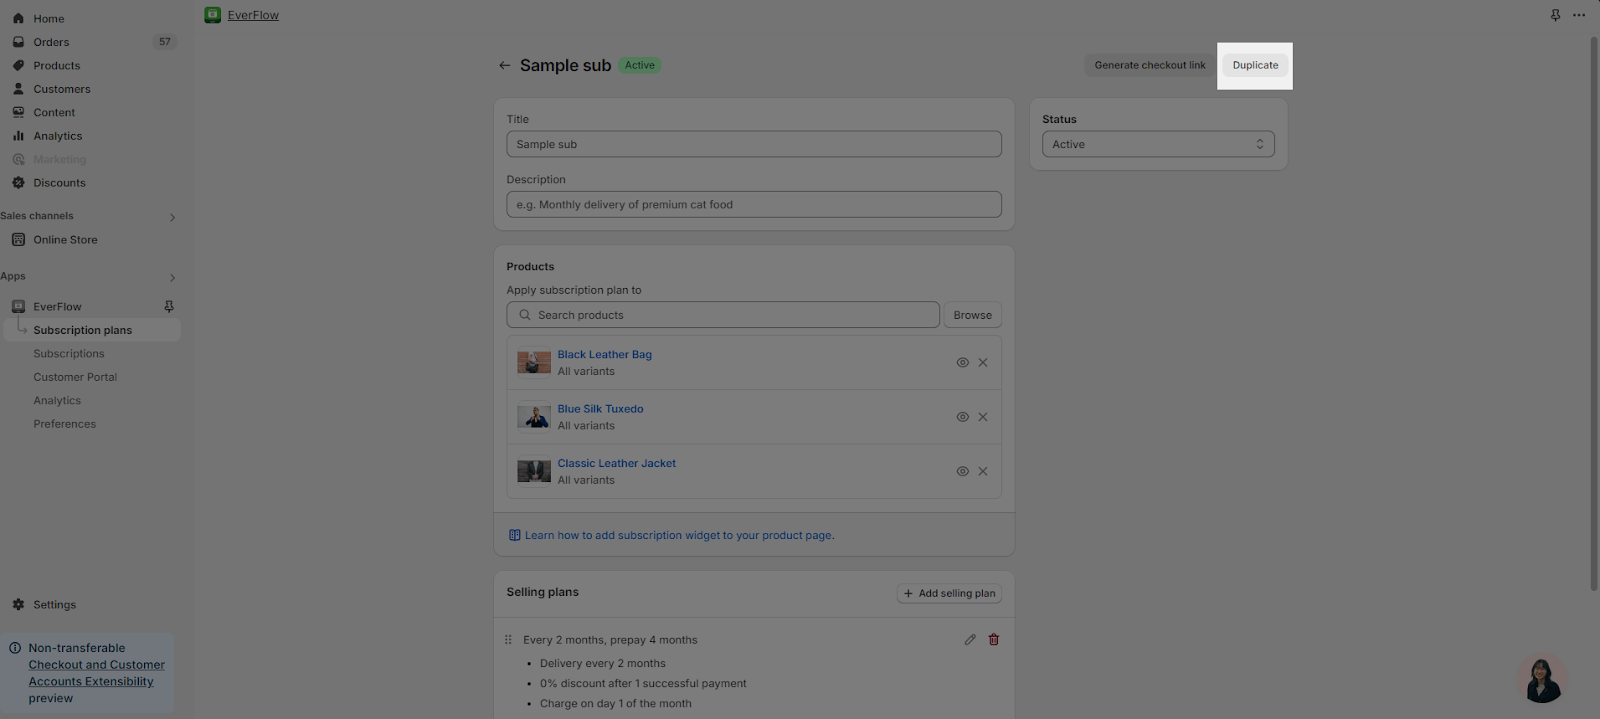
A pop-up window will be opened, from there, click “Duplicate” to duplicate your plan.
Step 8: Delete Subscription Plans
In order to delete plans that you don’t want, please follow these steps:
Subscription plans > Subscription plan listing > Select 1 or many plans > Click more actions > Click Delete
Click Delete > Subscription plans will be deleted from subscription plan listing.
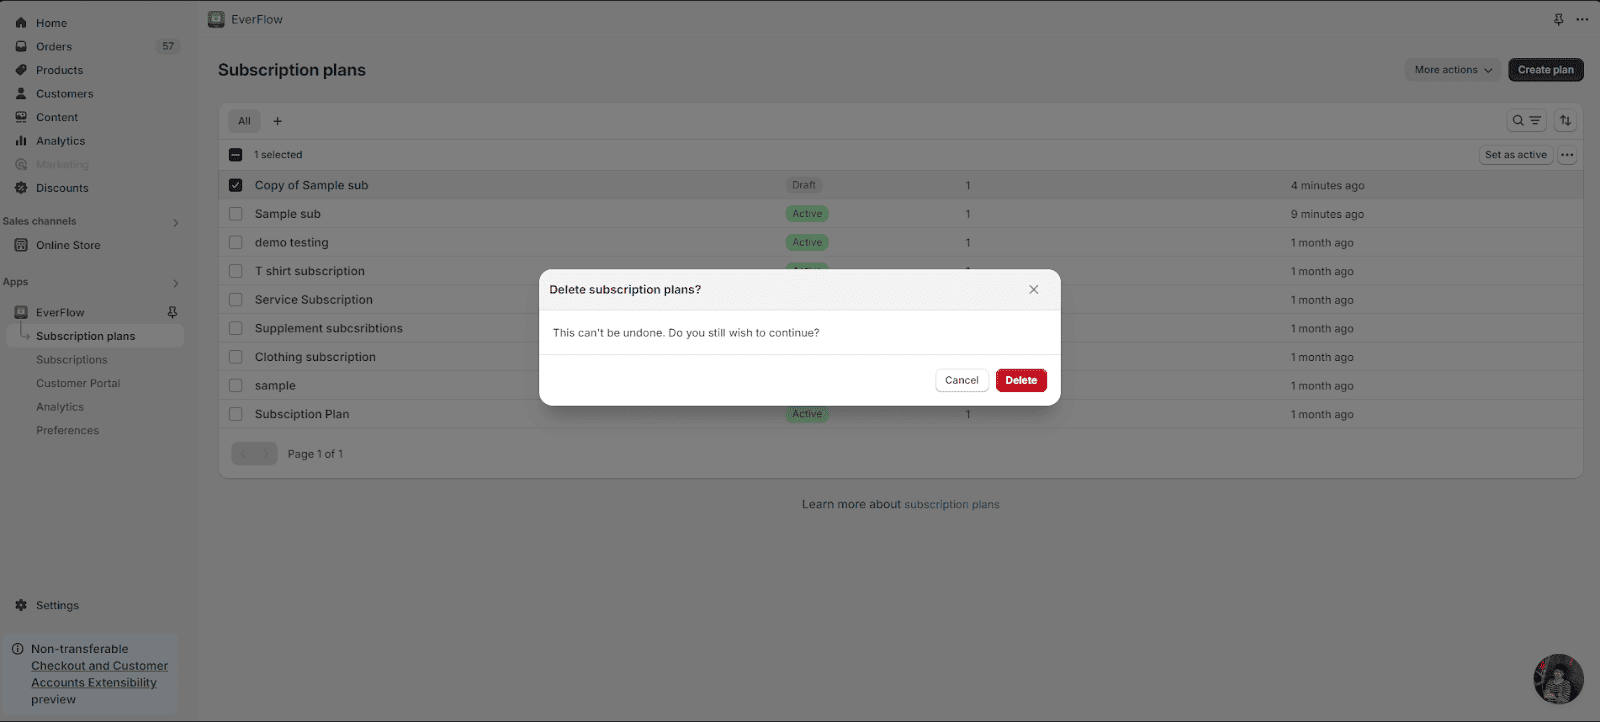
After a subscription plan has been deleted, its subscriptions which were created previously still stay the same.
Step 9: Export Subscription Plans
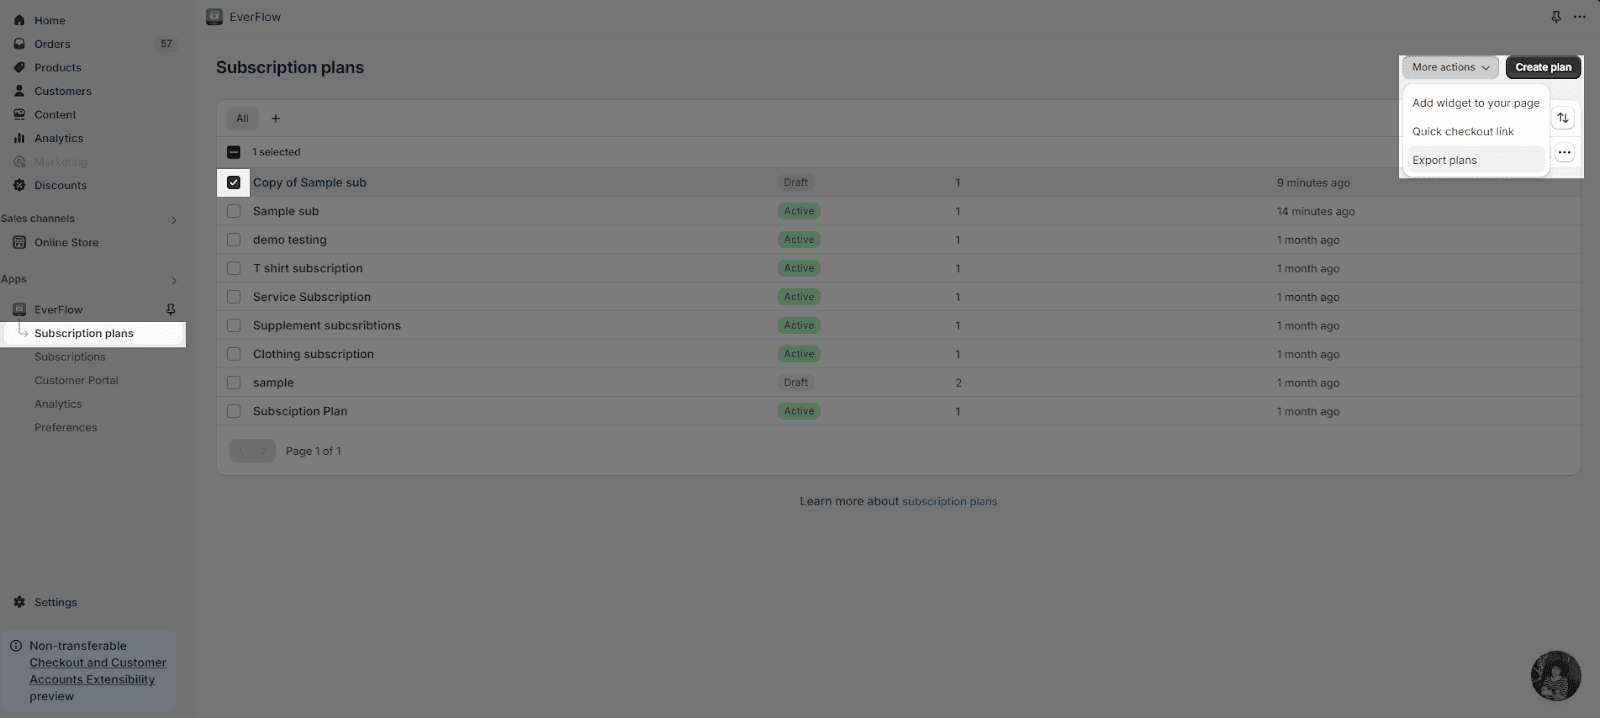
In order to export your plan, please choose the plan you want, then click “More actions” > Export plans.
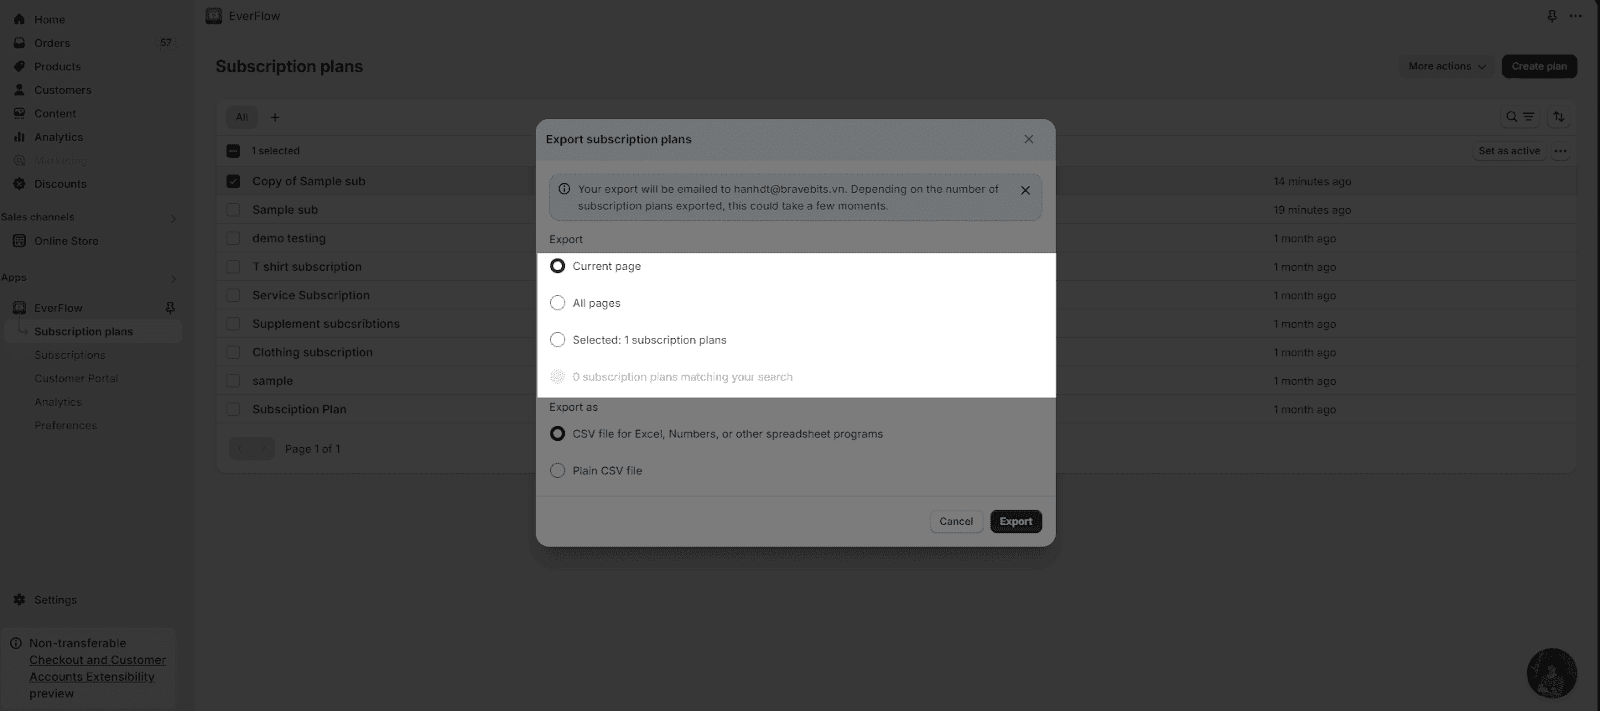
Next, a pop up screen will be opened, from there, you can choose to export plans from the current page or all pages or the selected plans.
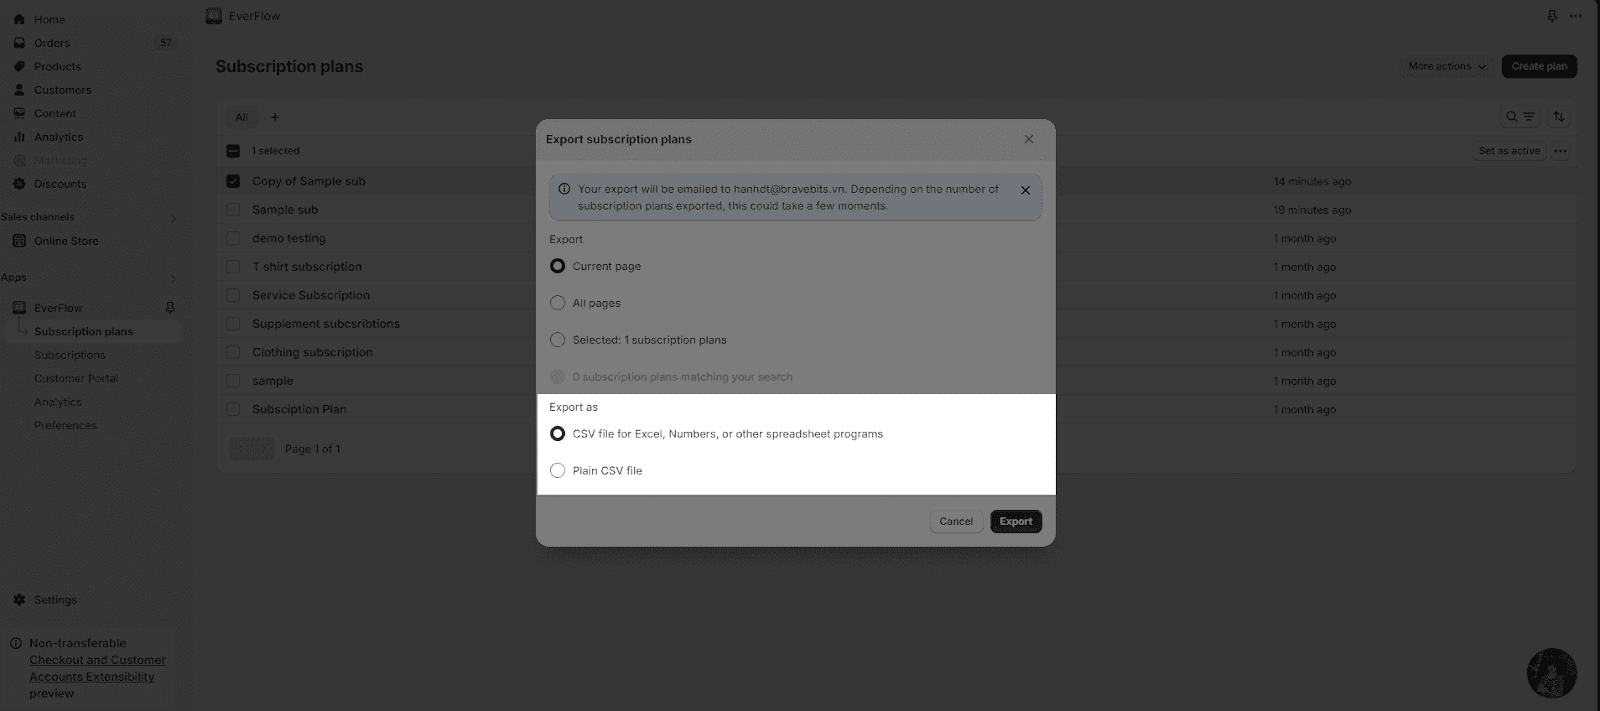
You can also choose the format of your exports. The plans can be exported as CSV files for Excel, Numbers, or other spreadsheet programs or plain CSV files.
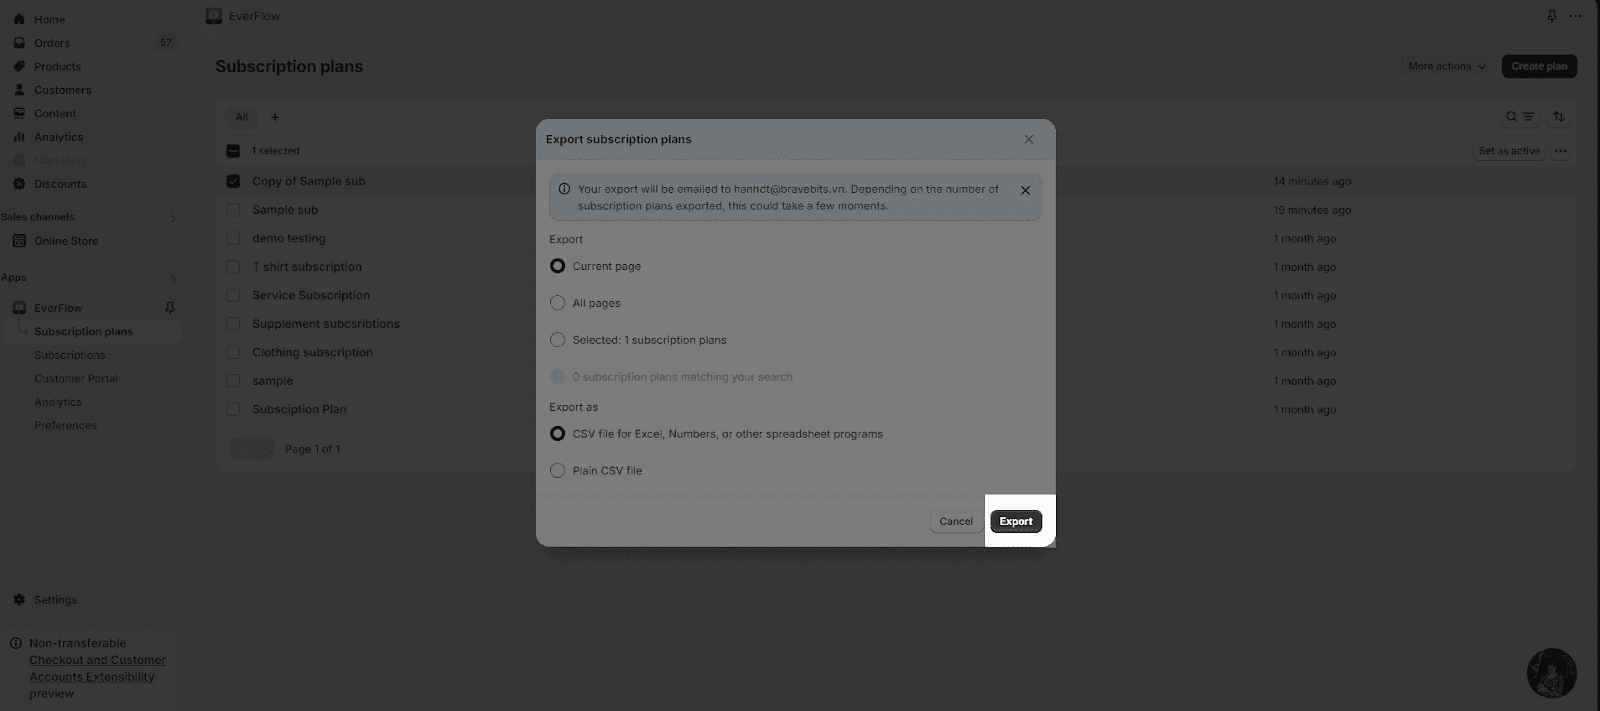
After choosing the export button, the plans exports will be sent to your email.
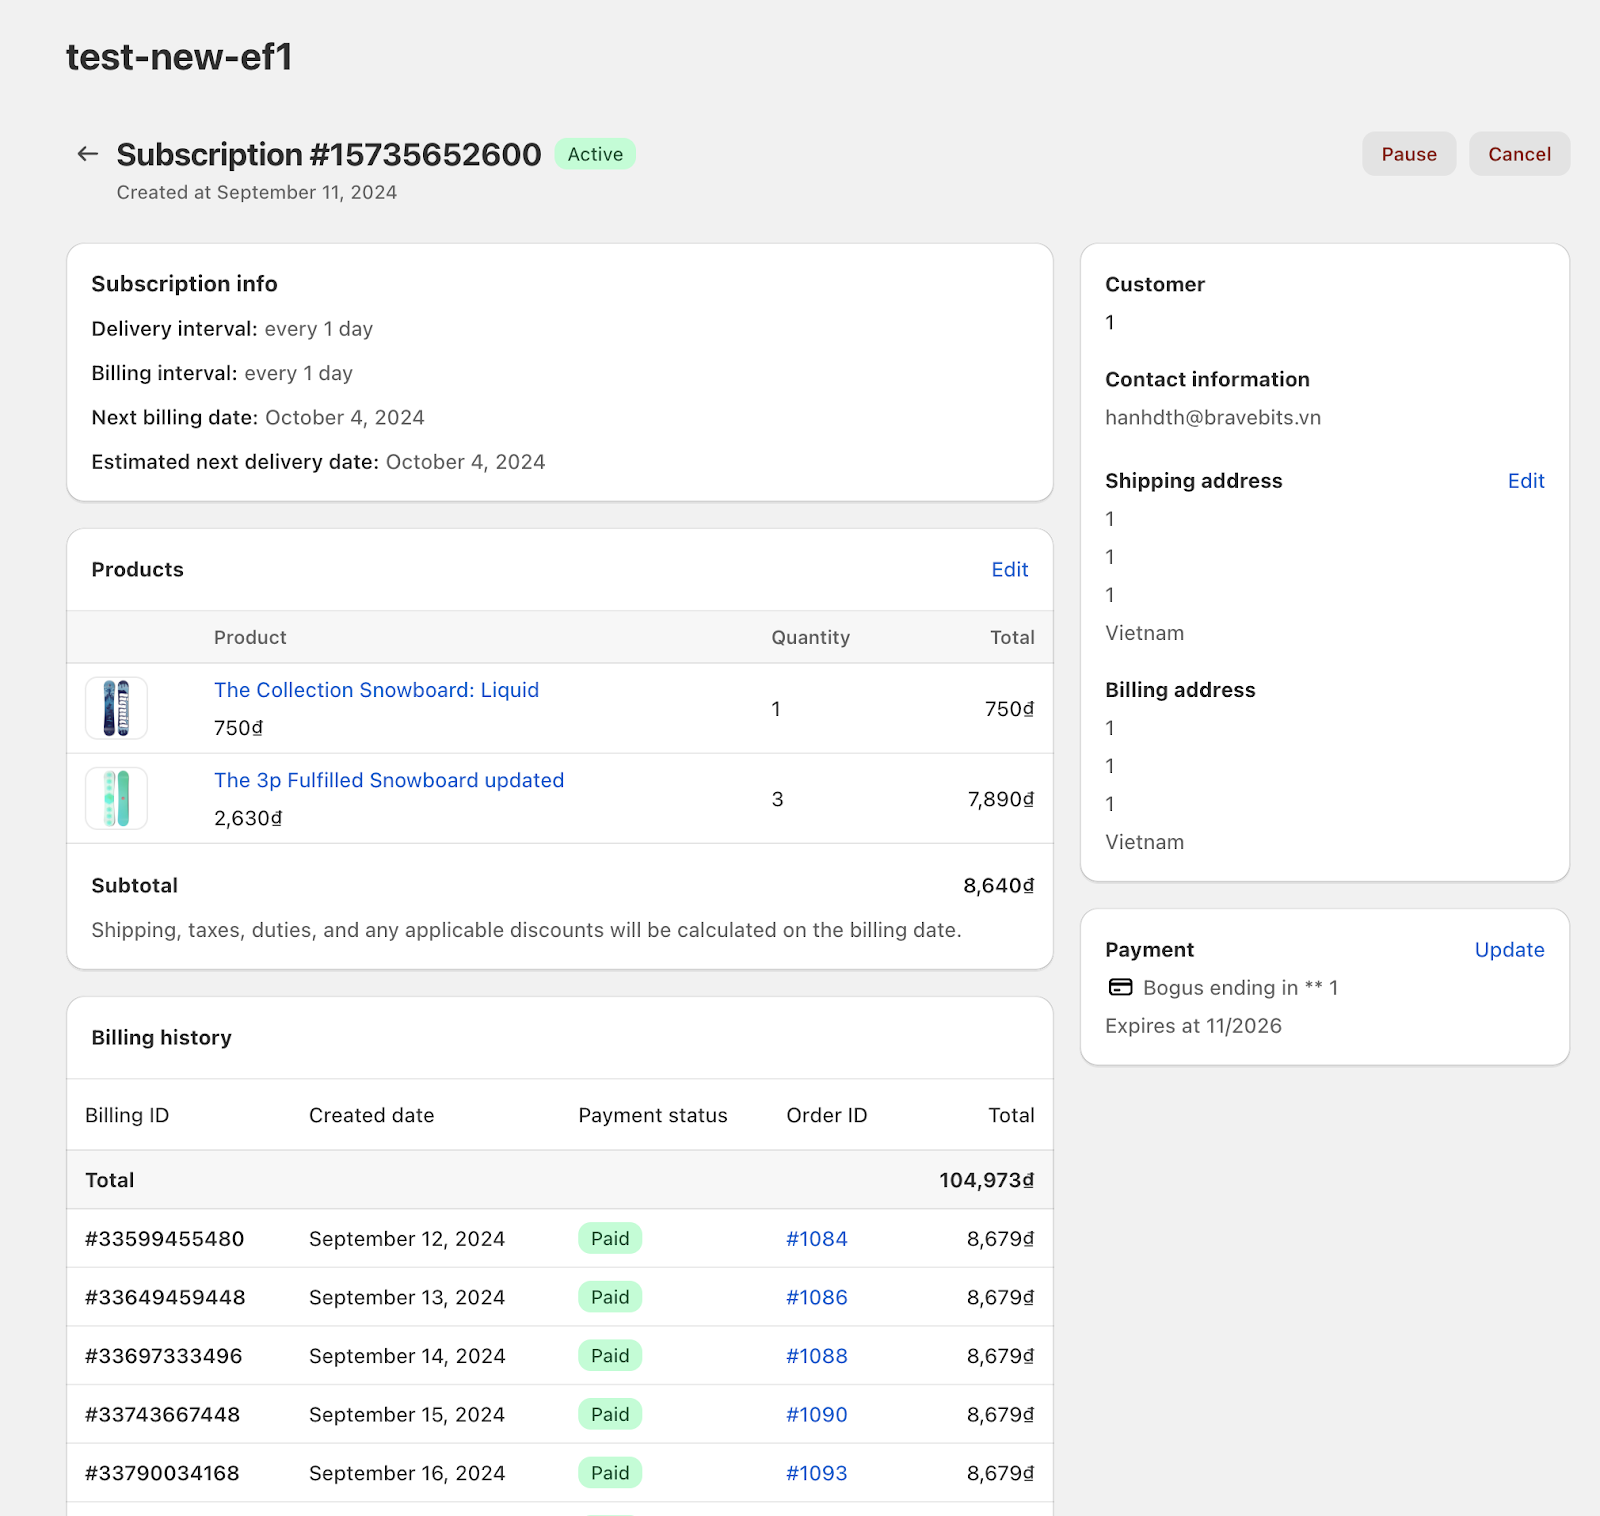
On Customer Portal, customers can view details of the subscription plan in the subscription details page.
Frequently Asked Questions
1. Can I select multiple products for the created subscription plan?
Yes, you can assign multiple products to one subscription plan, and the subscription selling options will be displayed on the product page of all these products.
2. Why don’t sellings plans display on the product page of my online store?
There may be three reasons why the selling plans don’t show up on your live store:
- You have not set your subscription plan status to Active in your details subscription page. In order to do this, from the App Dashboard, go to Subscription Plans > select the plan you set up for the designated product > set status from Draft to Active > Save
- You have not enabled the EverFlow app in your App Embeds.
In order to do this, you need to enable EverFlow theme extension by going to Theme editor > App Embeds > EverFlow > Save.
- You have not added the EverFlow app block to the product page.
You can do this by going to Theme Editor > Select section Products > Default product > At Product information on the left, click Add block > Apps > EverFlow > Save.
You should move the EverFlow app block to below the Quantity selector for an enjoyable shopping experience.
3. Will updating subscription plans and selling plans affect created subscriptions?
No. These updates only apply to future subscriptions that have not been paid for.
4. Will Cancellation or automatic cancellation policy affect my canceling subscriptions (in EverFlow app)?
No. You can cancel subscriptions in EverFlow app at any time (Cancellation policy will affect customers canceling subscriptions in Customer Portal).
5. Is it possible for me to have my subscription plans exported to another email instead of the owner’s email?
No. You can only export your plans to the email you used to register for your store, other emails, including staff emails will not be eligible to receive the subscription plans exports.
6. I don’t want customers to see the option one-time purchase on the product page, just see selling plans of my subscription plans. What can I do?
Kindly go to Shopify admin > Products > Select product > Product details > Purchase options.
Only show this product with these purchase options and click “Save“.
7. For the “Change discount after a specific number of payments”, if I set the number of payments to 1, does this mean that my customers will receive a designated discount for their next payment?
No. The number of payments in the option refers to Recurring payments. It means that after your first purchase of the subscription, you need to make one more recurring payment in order to receive the designated discount set forth for the subscription for the next payments.