Overview
In the Product Offer, you can set up a list of offers of sales and products on the checkout page.
You can also check this article What is product offer on check out for more information.
Access Product Offer
To access the Product Offers feature from the CheckMate dashboard, follow these steps:
- Log in to your CheckMate app and navigate to the dashboard.
- Look for the “Functions” option in the menu and click on it.
- From the menu, select “Product offers“.
- In the Product Offers section, locate and click on the “Manage” button.
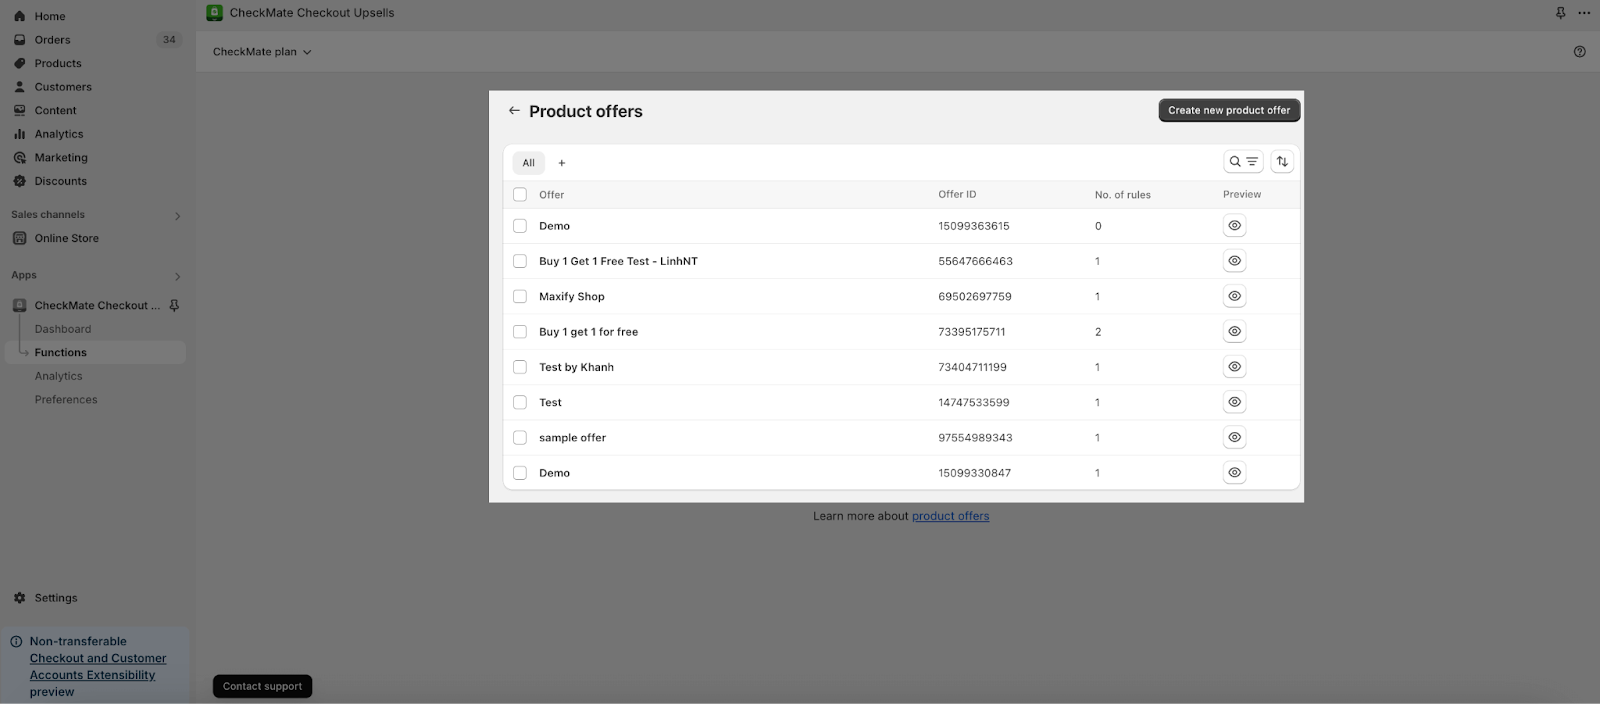
After clicking on the “Manage” button in the Product Offers section, you will be redirected to the Product Offer page.
Create CheckMate Product Offer
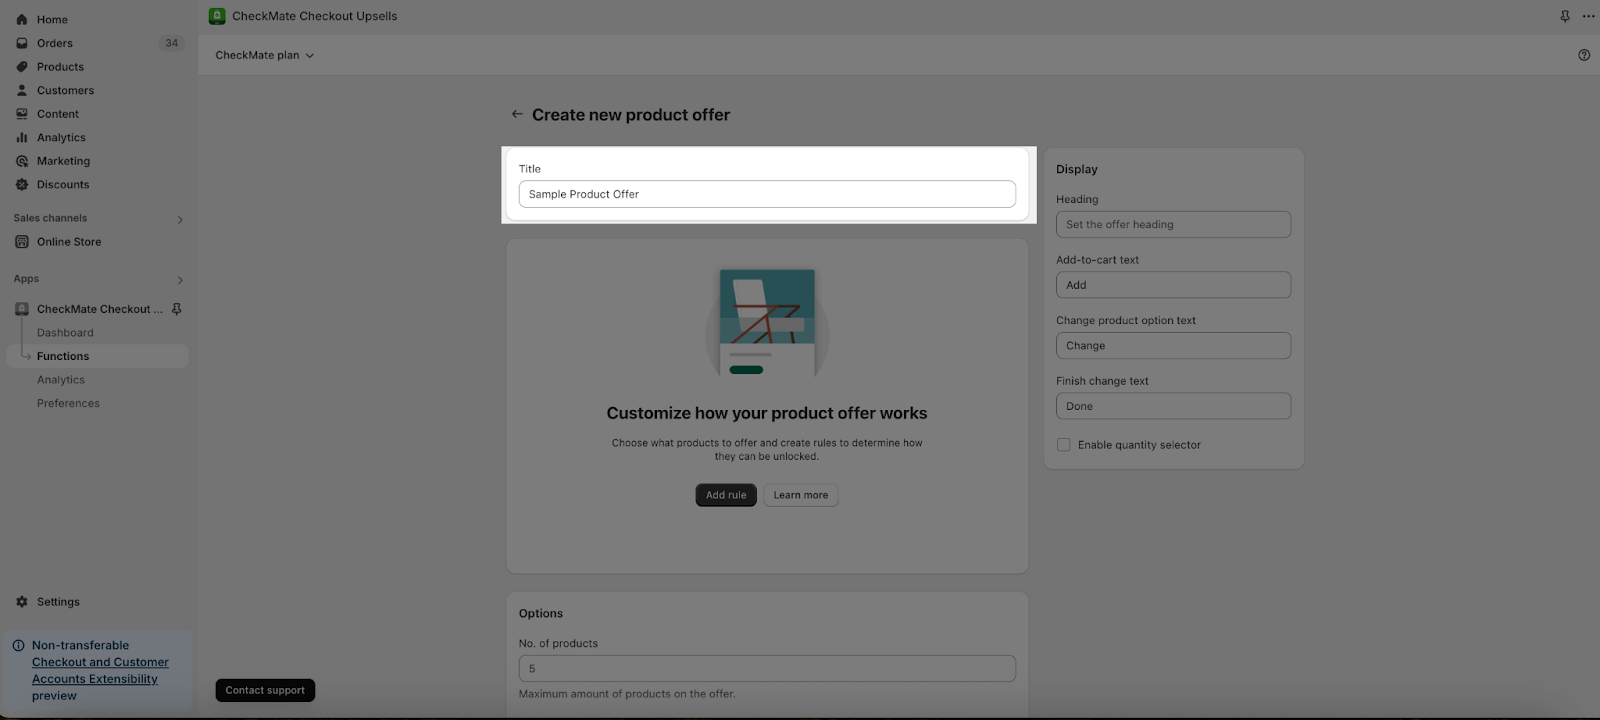
To create a new product offer, locate and click on the “Create new product offer” button.
Customize CheckMate Product Offer
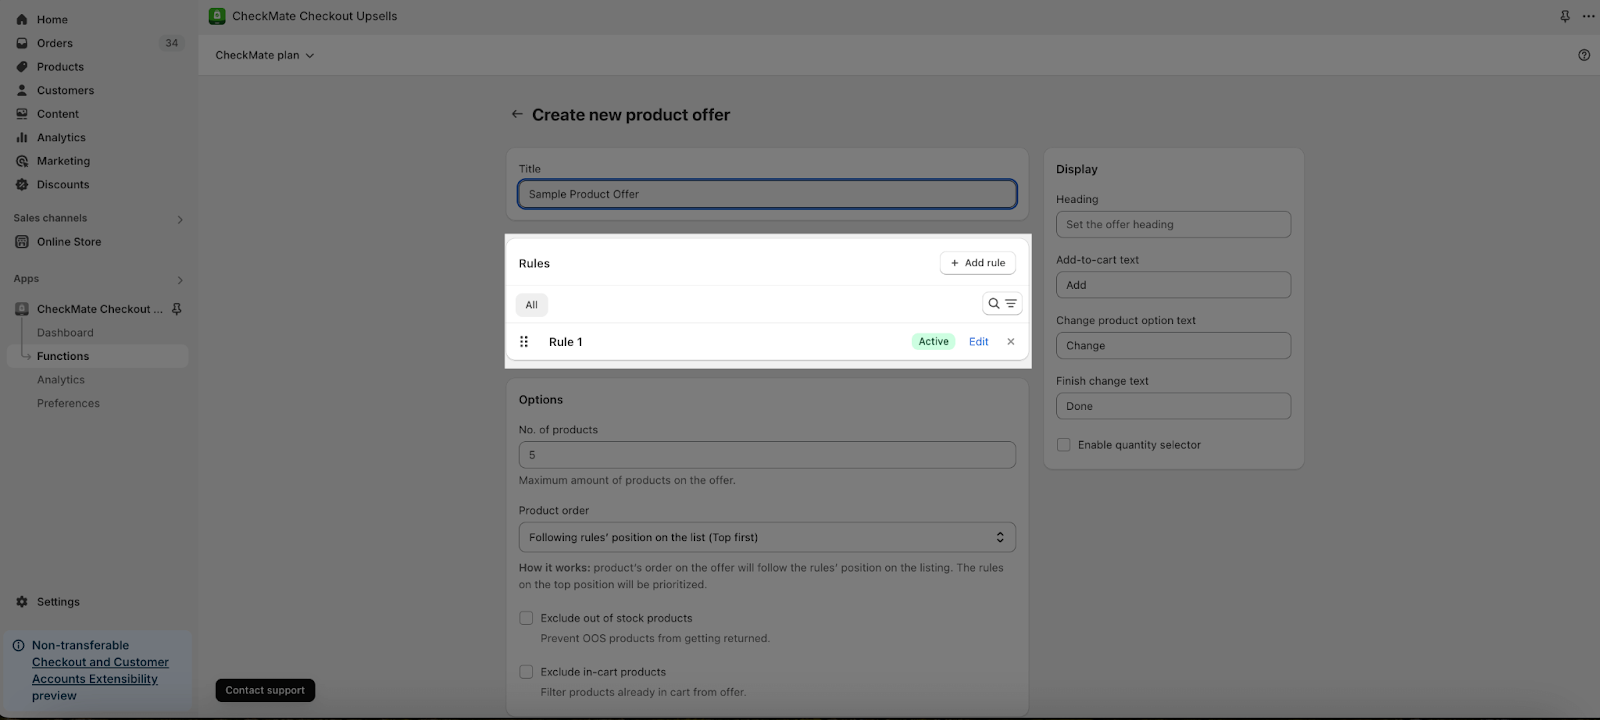
To adjust the title of a product offer, you can enter the desired name in the text field provided, similar to what is shown in the image below.
Step 1: Customize Rules
Rules in the product offer are conditions or specifications that define how the offer functions or applies to specific products.
In the rules listing section, you will find a list of the created rules. From there, you have the option to edit, delete, or add new rules. If you want to change the position of a rule, you can simply click and drag the items to the desired position.
If the list is too long, you can find the rule by entering the rule’s name on the search field.
You can click on the Add rules button to add new rules for the product offer.
Firstly, you can add a title for the rules and select status for it: active or draft. There are 2 default conditions you can select to apply for the rule are:
- All types of customer and cart
- Specific type of customer and cart
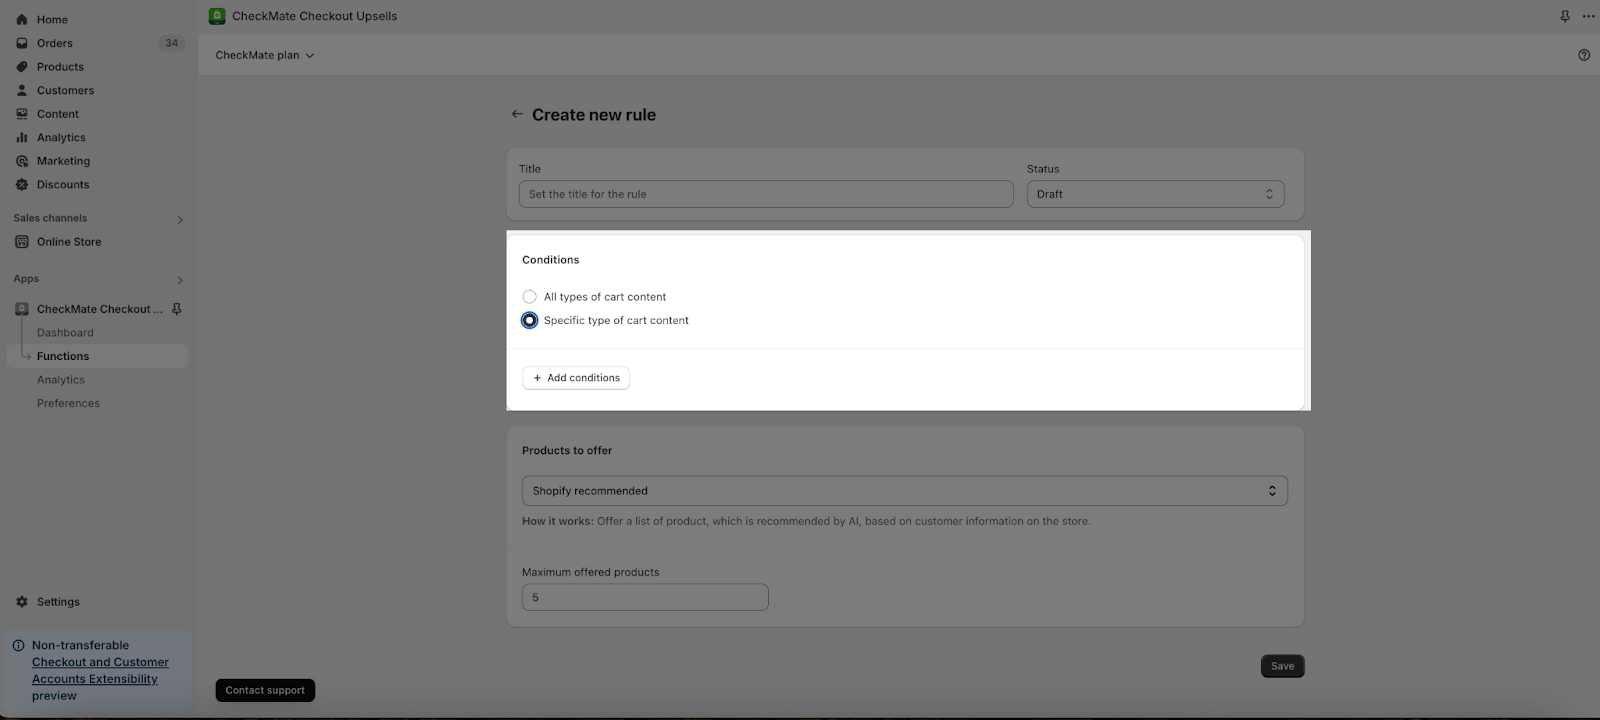
If you select the Specific type of customer and cart, you can customize this condition by clicking on the add conditions button to start. This condition can be including:
| Cart amount | You can select cart total or cart subtotal for the condition. Then add the price of the product here.
You can simply remove the condition by clicking on the red remove text. |
| Products in cart | You can select these information for the condition:
Then add products from your Shopify store here. Number of products here is unlimited.
To remove the condition, simply click on the red “Remove” text. |
| Discounts in cart | You can select the following information for the condition:
To remove the condition, simply click on the red “Remove” text. |
Afterward, you can select a list of products to apply this rule to. The AI recommends this list of products based on customer information from your store. The products are divided into two groups: standard and advanced.
Standard Group
In the standard group, it contains 5 lists of product are:
| Manual selected products | you can add product for this list manually by clicking on add product button here:
To edit the product, simply go to the “Edit” option. If you want to remove the product, just click on the X icon located there. |
| Products from collection | You can select the collection by clicking on the add product button. Next, you can add the product quantity by adjusting the number here.
If you want to remove this collection, simply click on the X icon located there. |
| Products with tag | You can add products for this list by selecting the tags. Next, you can add the product quantity by adjusting the number here.
Note that you can select more than one tag here. |
| Product of product type | You can add products to this list by selecting product type. You can add multiple product types.
|
| Product from vendor | It is the same with tag, you can add products for this list by selecting the vendors. Next, you can add the product quantity by adjusting the number here.
|
Advanced Group
In the advanced group, it contains 2 lists of product are:
- Shopify recommended: This product list will be automatically updated. You just can add the product quantity by adjusting the number here.
- Top sellers: This product list will be automatically updated. You just can add the product quantity by adjusting the number here.
Step 2: Customize Options
In the ‘Number of products‘ field, you can enter the maximum amount of products to be included in the offer.
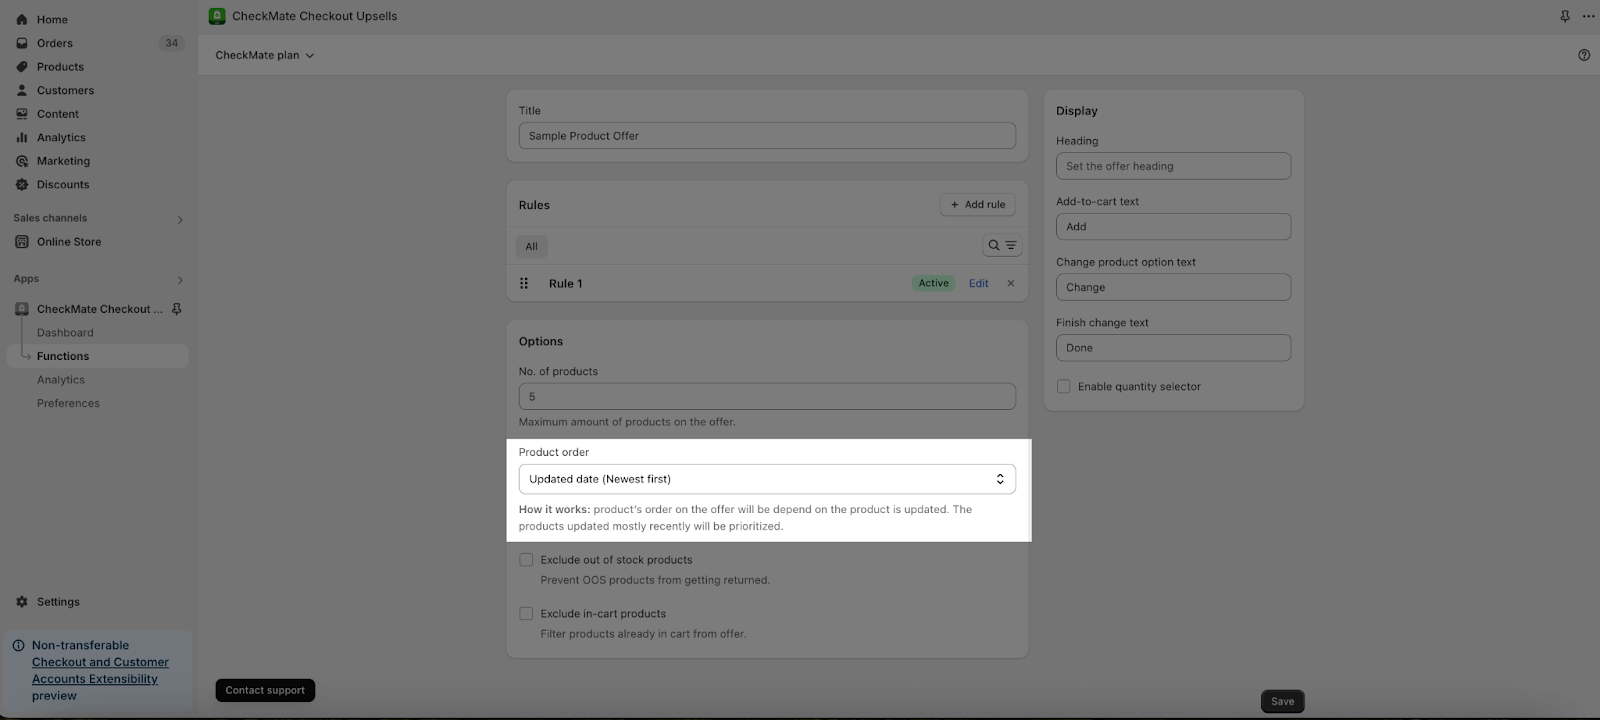
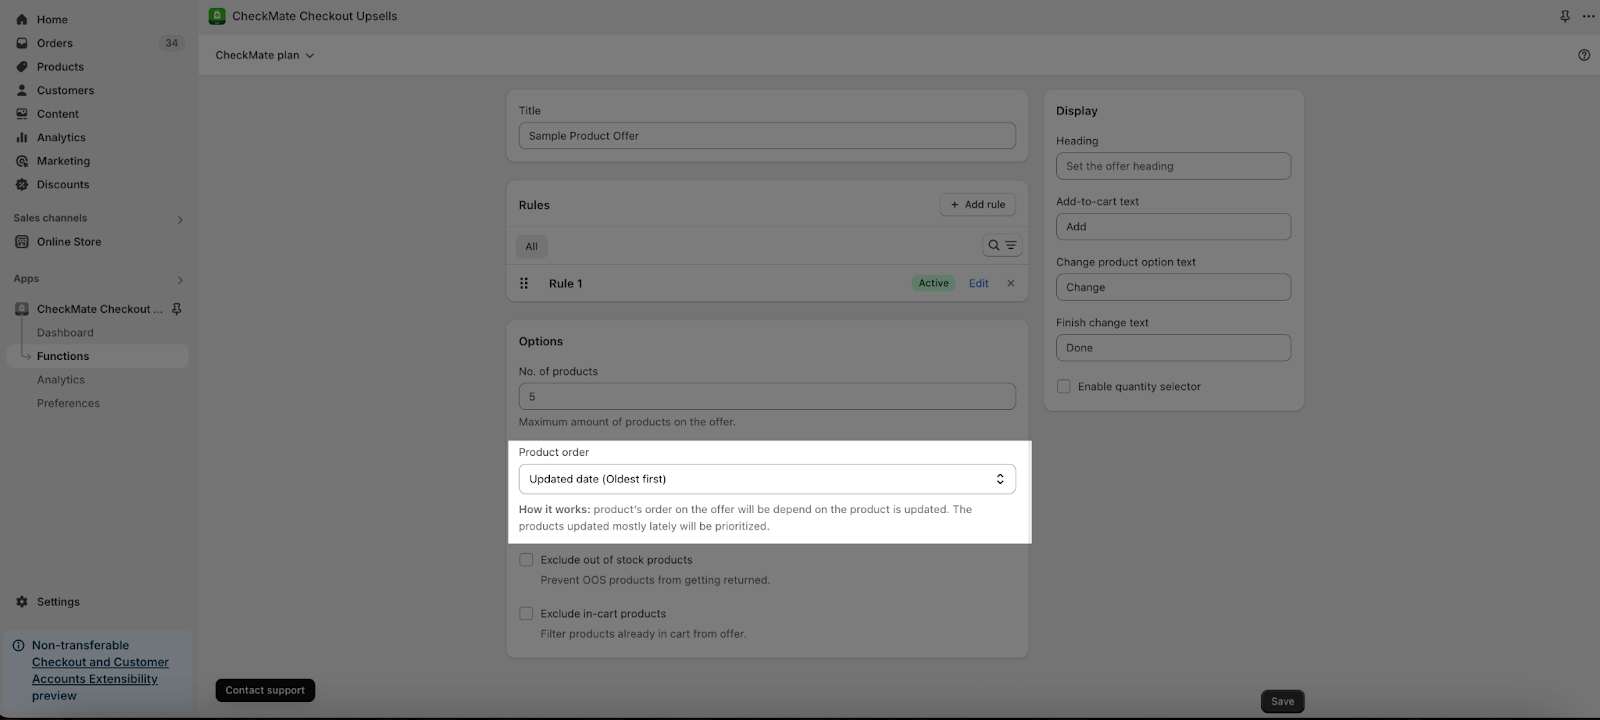
Product Order
You can set up the product order like one of 4 options below:
| Rules’ position on the list |
|
| Created date |
|
| Updated date |
|
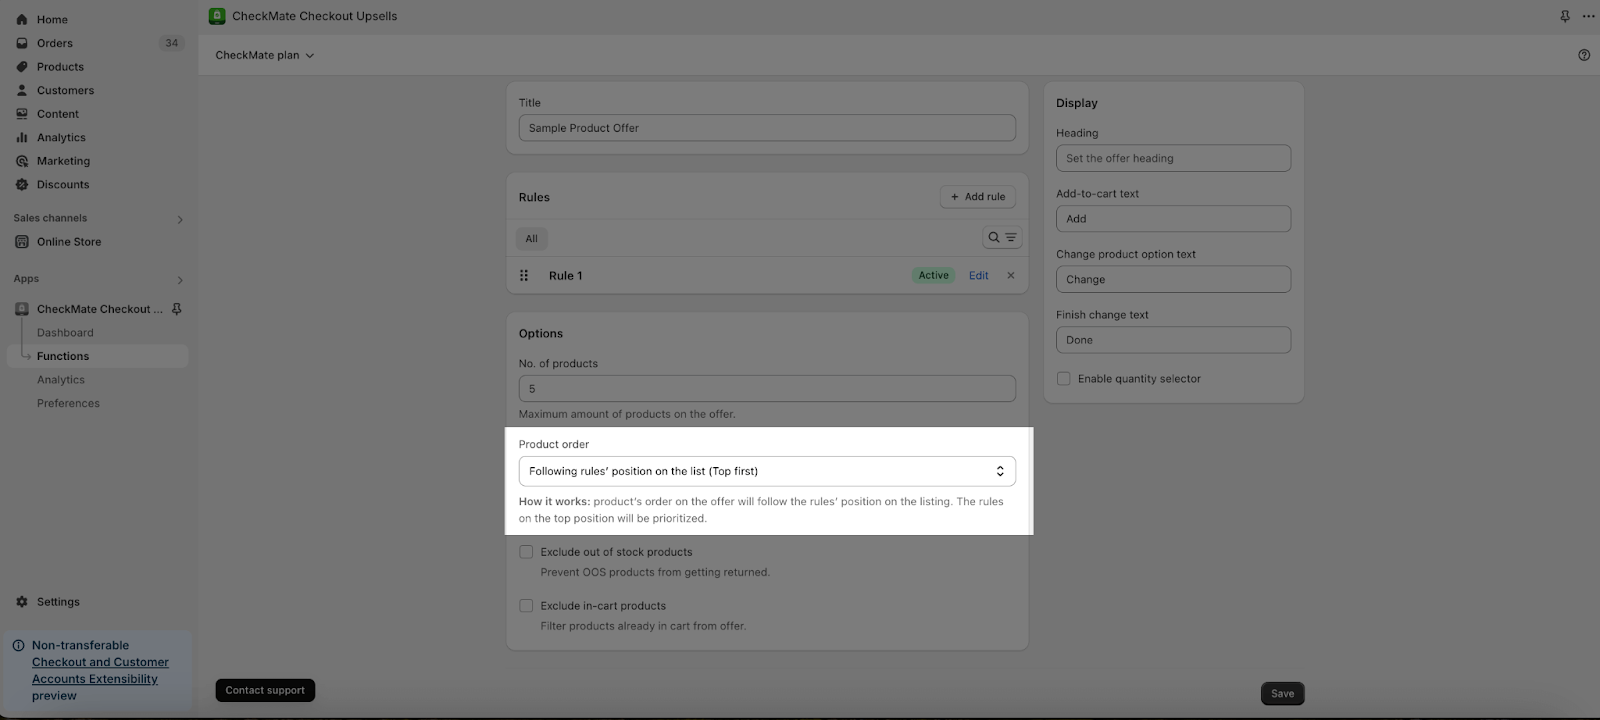


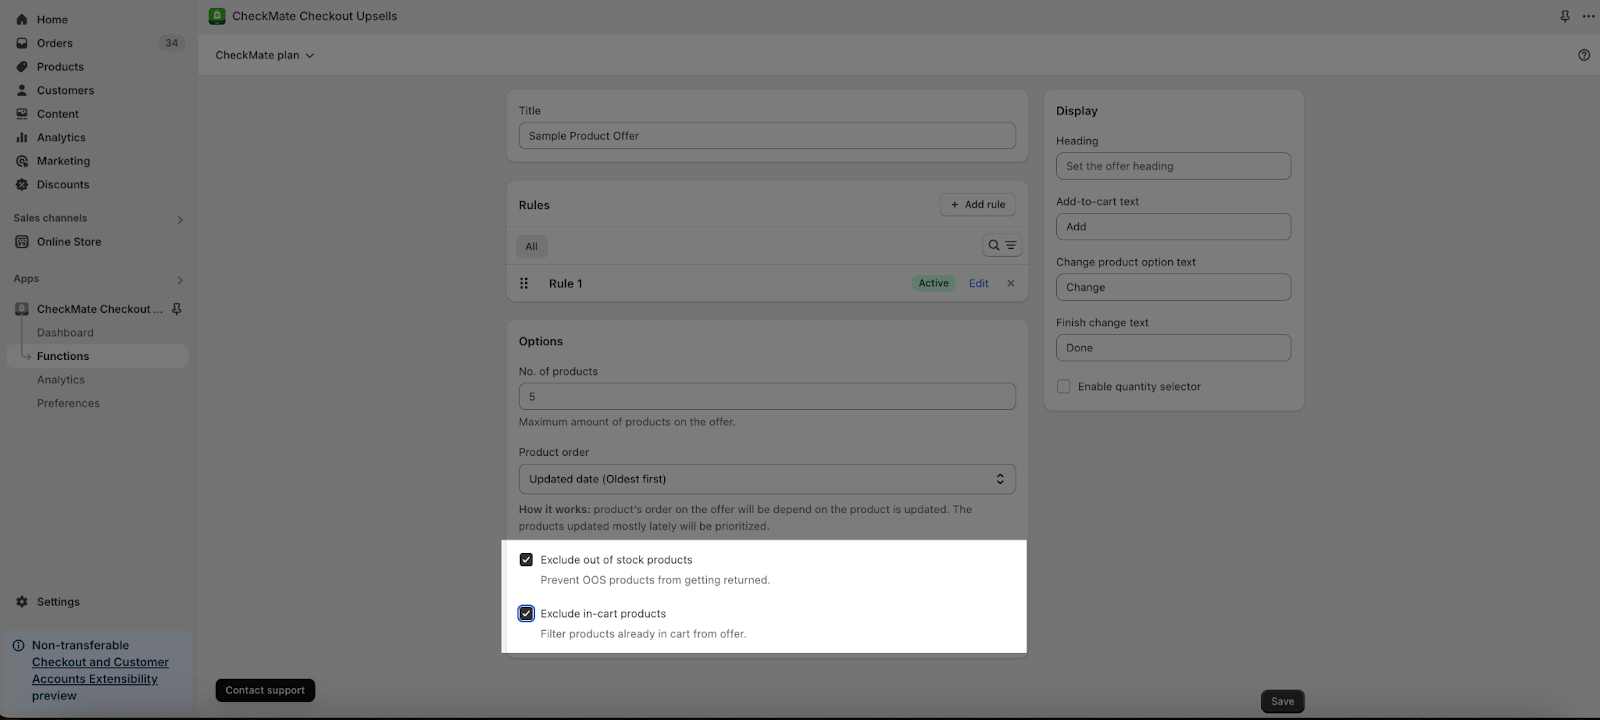
To exclude out of stock products and in-cart products from the offer, you can enable them like the image below:
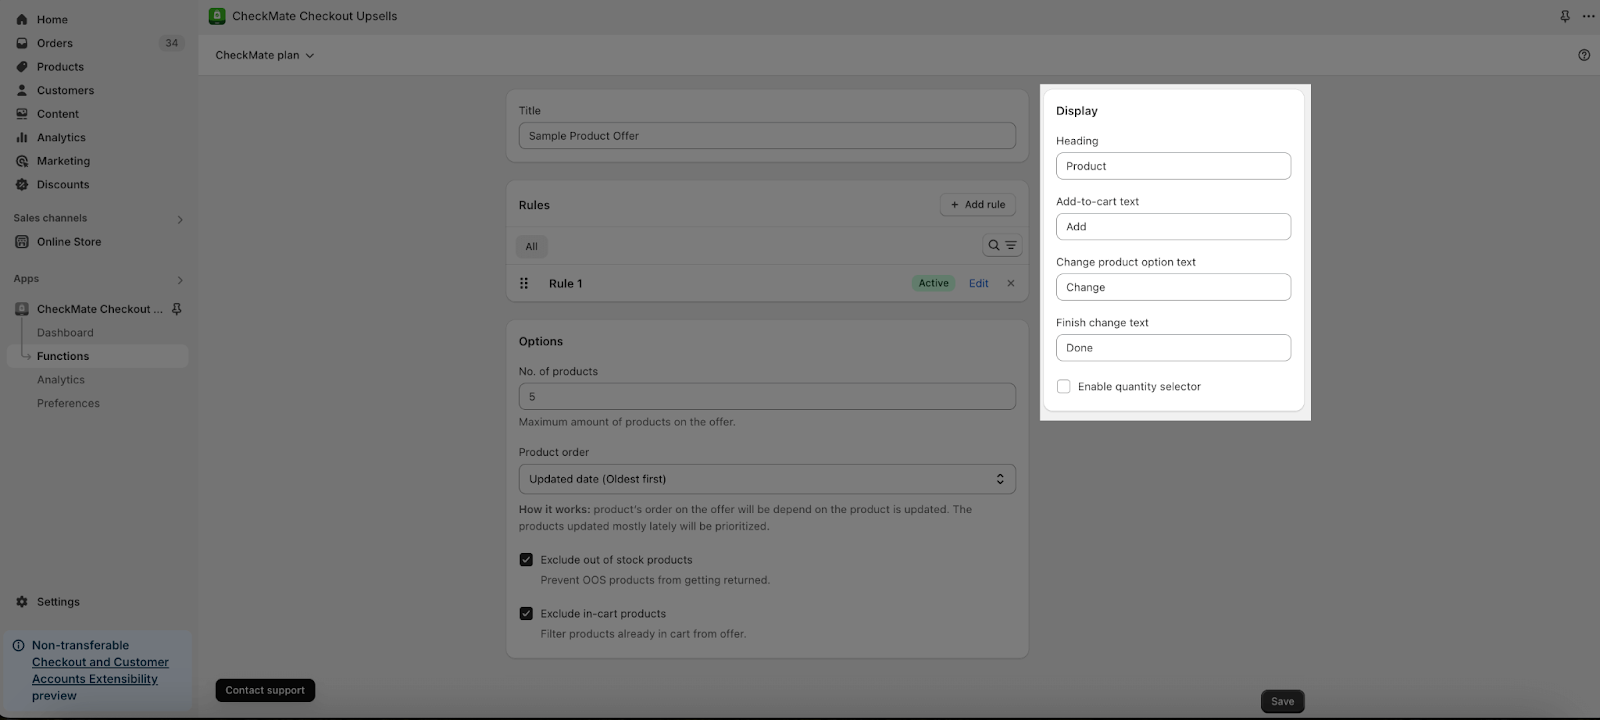
Step 3: Customize Display
In the “Display” section, there are 4 elements where you can customize the content, including:
- Heading: you can be able to add heading for the offer. The offer will not display the heading if you leave this field blank.
- Add to cart button text: please note that this field can not be blank
- Product option text: please note that this field can not be blank
- Save button text: please note that this field can not be blank
Next, you can choose to “Enable quantity selector”. When enable, this option will let customer can change or update quantity of product in the list.
After saving, you will see successful modal as below:
And product offer will appear on the product offer table listing like this result: