About Product Cross-Sells
Product Cross Sells allow you to customize and offer a list of related products to a customer who has added an item to their checkout/ cart page. The goal is to encourage them to consider purchasing additional products that complement their main choice.
Access Product Cross-sells
- Step 1: Go to Functions in the left menu bar > Choose Product Cross-sells
- Step 2: Click Manage
- Step 3: Start creating Product Cross-sells by hitting Add rules and setting up Options below
How To Create A Product Cross-sells
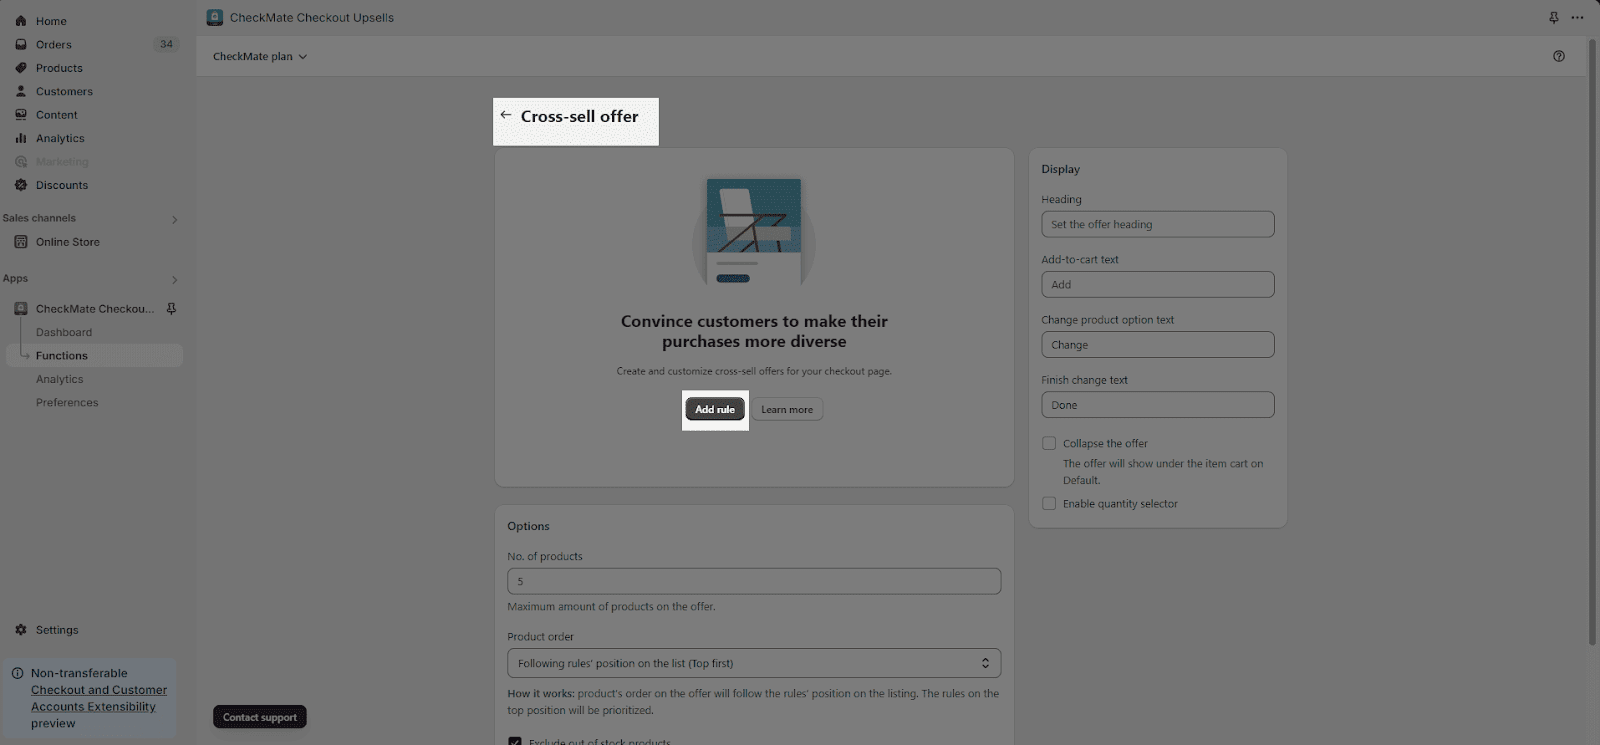
Step 1: Add Rules
To begin with, we need to add rules for each Product Cross-sells offer by clicking Add rule:
After clicking Add rules, you will be taken to the Cross sell rule page where you need to fill in the rule title and choose rule status (Active or Draft).
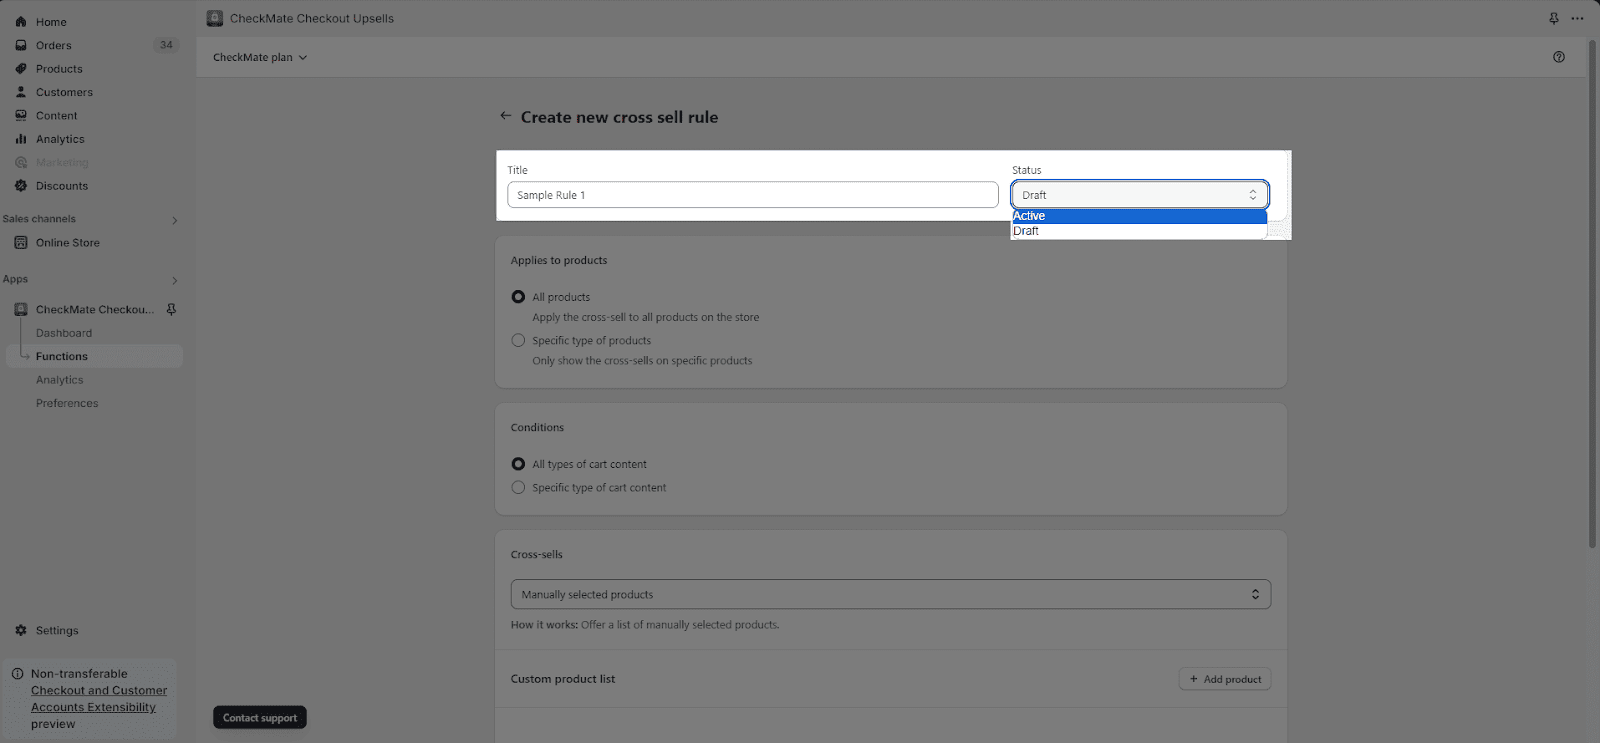
Next, there will be options for you to choose to apply the rule for All products or Specific type of products:
- All products: Apply Cross sells to All products on your Shopify store.
- Specific type of products: Only app Cross sells on specific products you assigned.
After that, we need to set up Conditions for the rule. Similarly, we can opt to app the rule conditions for All types of cart content or Specific types of cart content.
- If you select All types of cart content, Cross sells will apply to all carts of any customers.
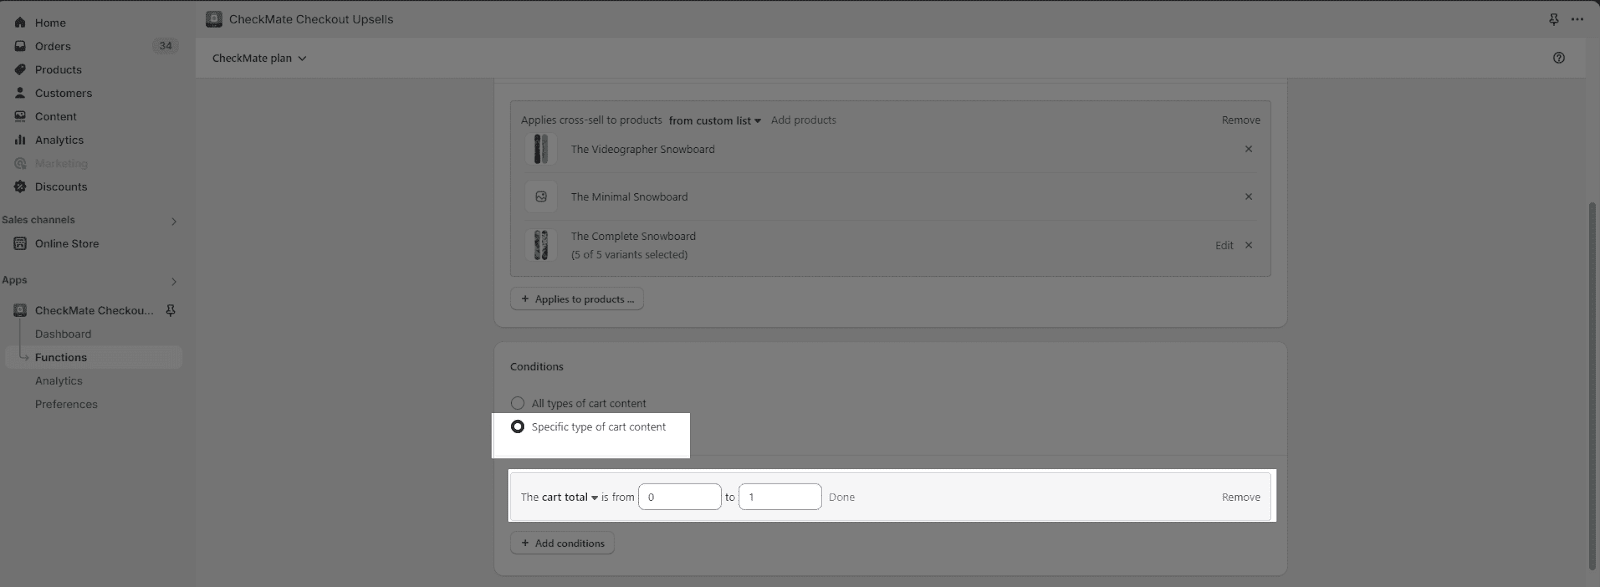
- If you select the “Specific type of customer and cart” condition, you can customize it by clicking on the “Add conditions” button. This condition can include:
| Cart amount: | Product Cross sells will apply to customers whose cart is from $X to $XX
To remove the condition, click on the “Remove” text. |
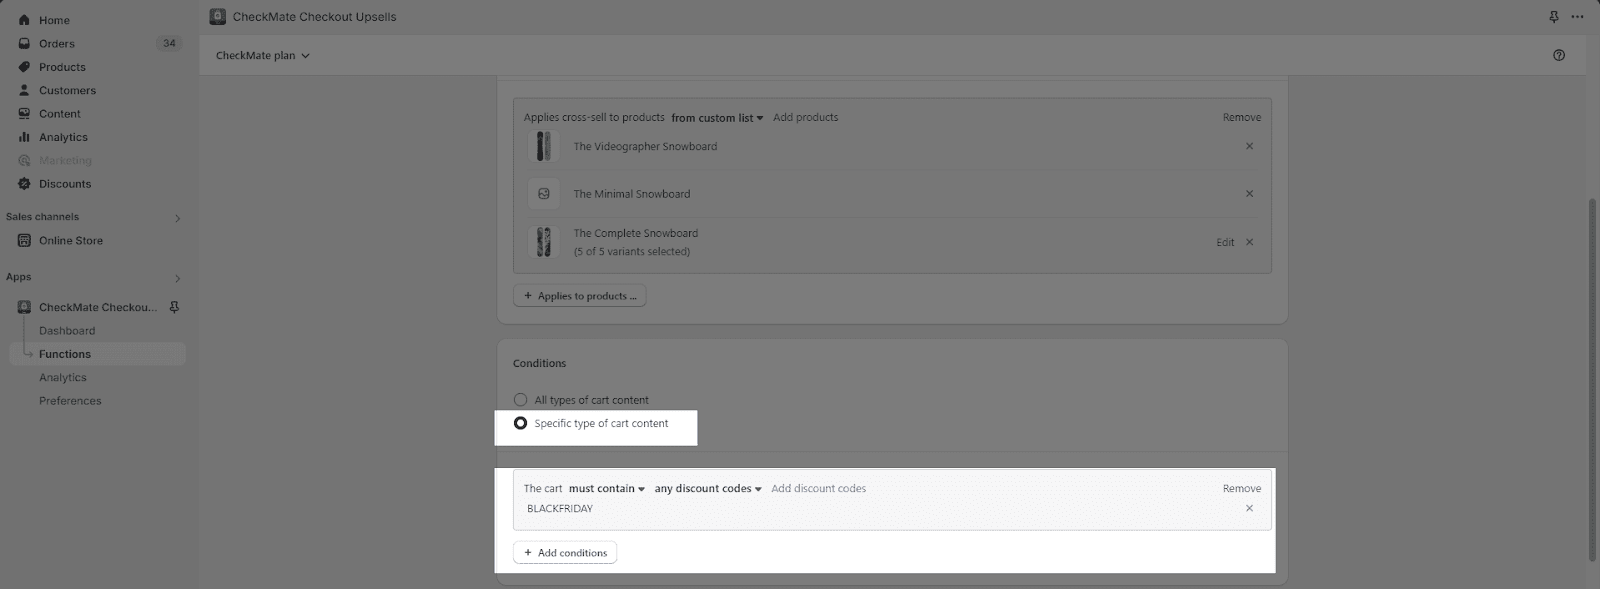
| Discount in cart: Cross Sells will be applied with specific discount codes in the cart. | Specify if the cart:
|
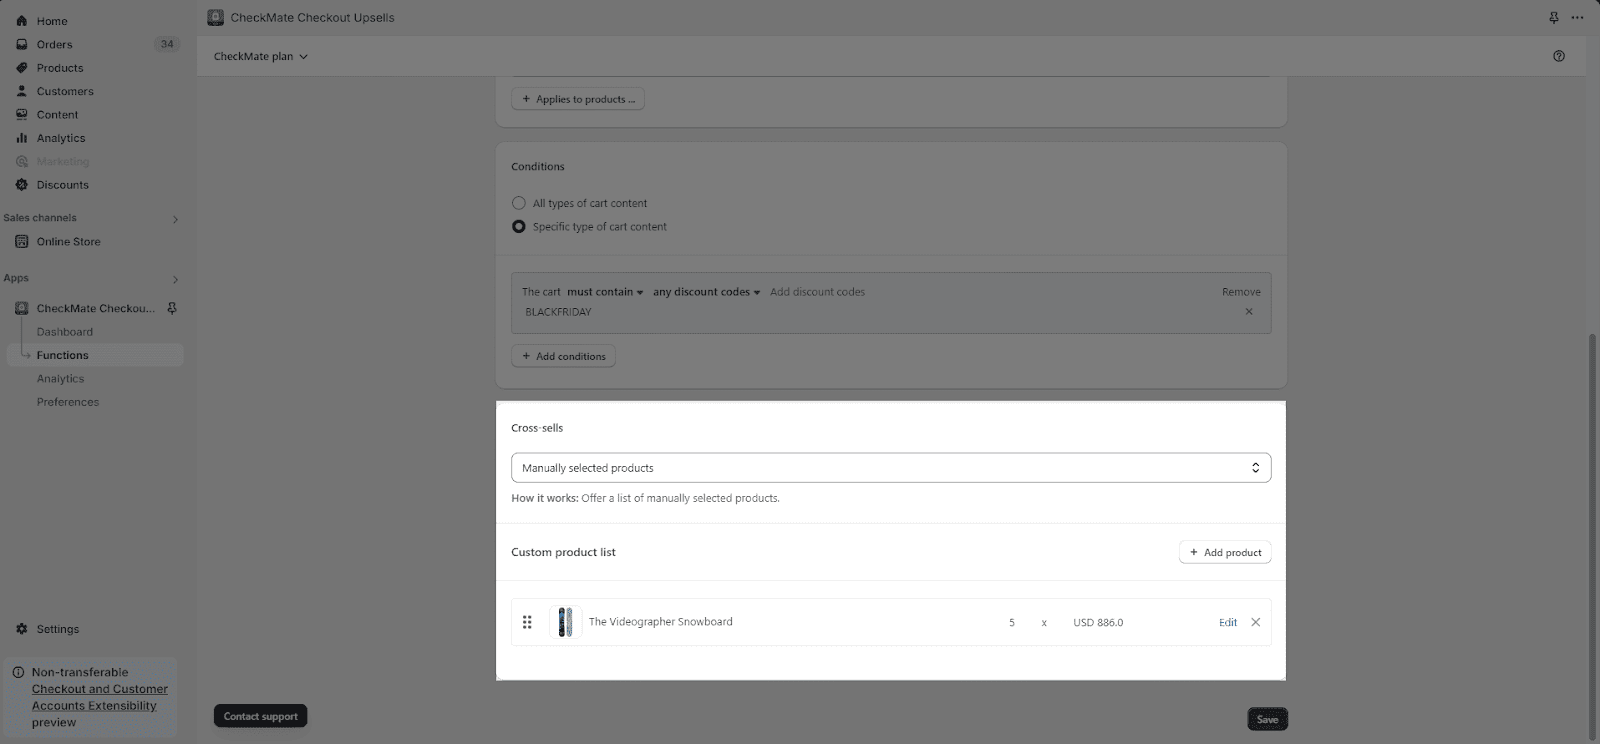
Lastly, you can choose the products you want to display the Product Cross sells from the list below:
| Manually selected products | You can manually add products to this list by clicking on the “Add product” button. To edit a product, simply select the “Edit” option. If you want to remove a product, click on the X icon.
|
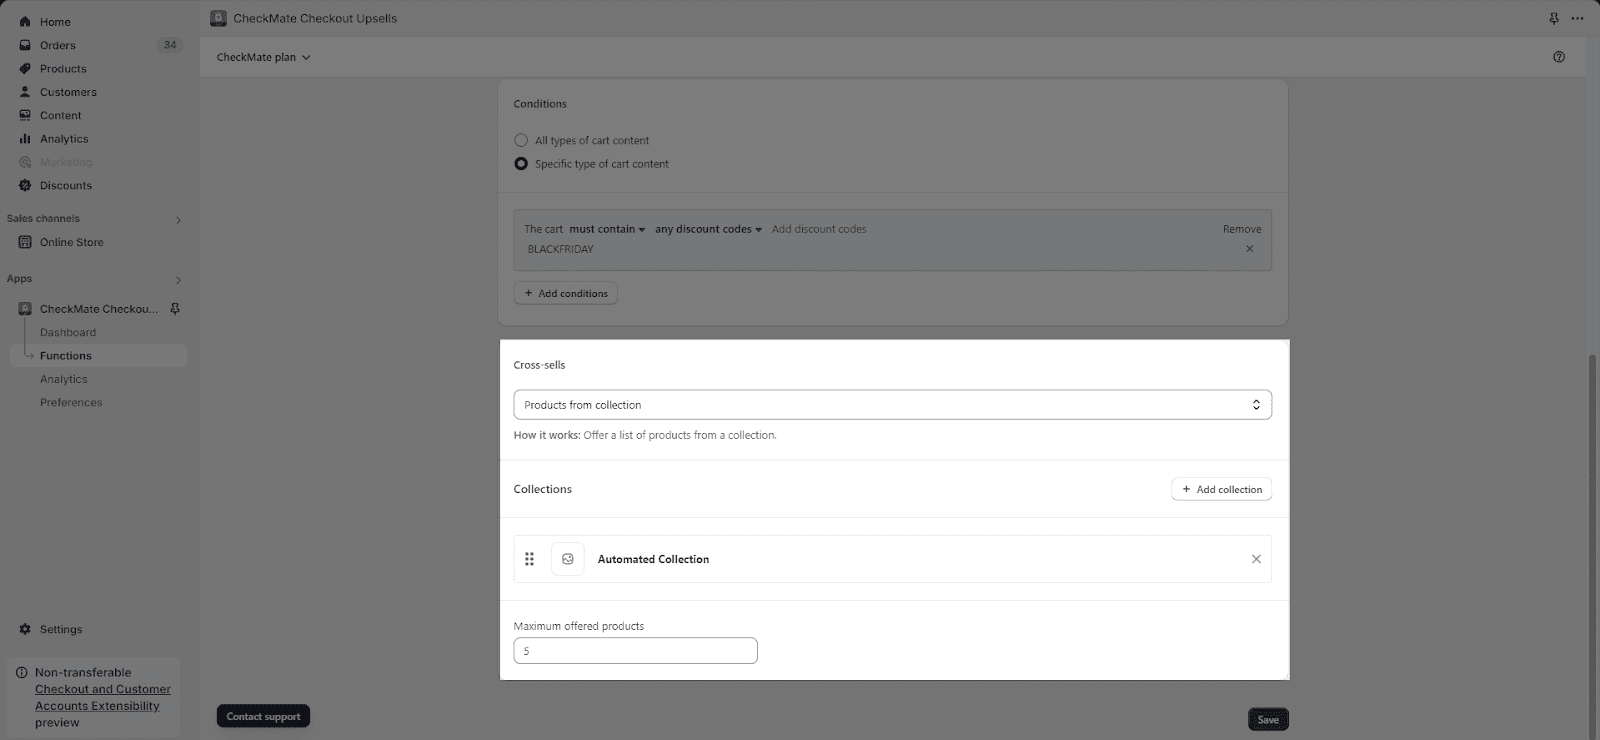
| Product from Collection | You can select a collection by clicking on the “Add product” button. Then, you can specify the product quantity by adjusting the number.
To remove a collection, simply click on the X icon.
|
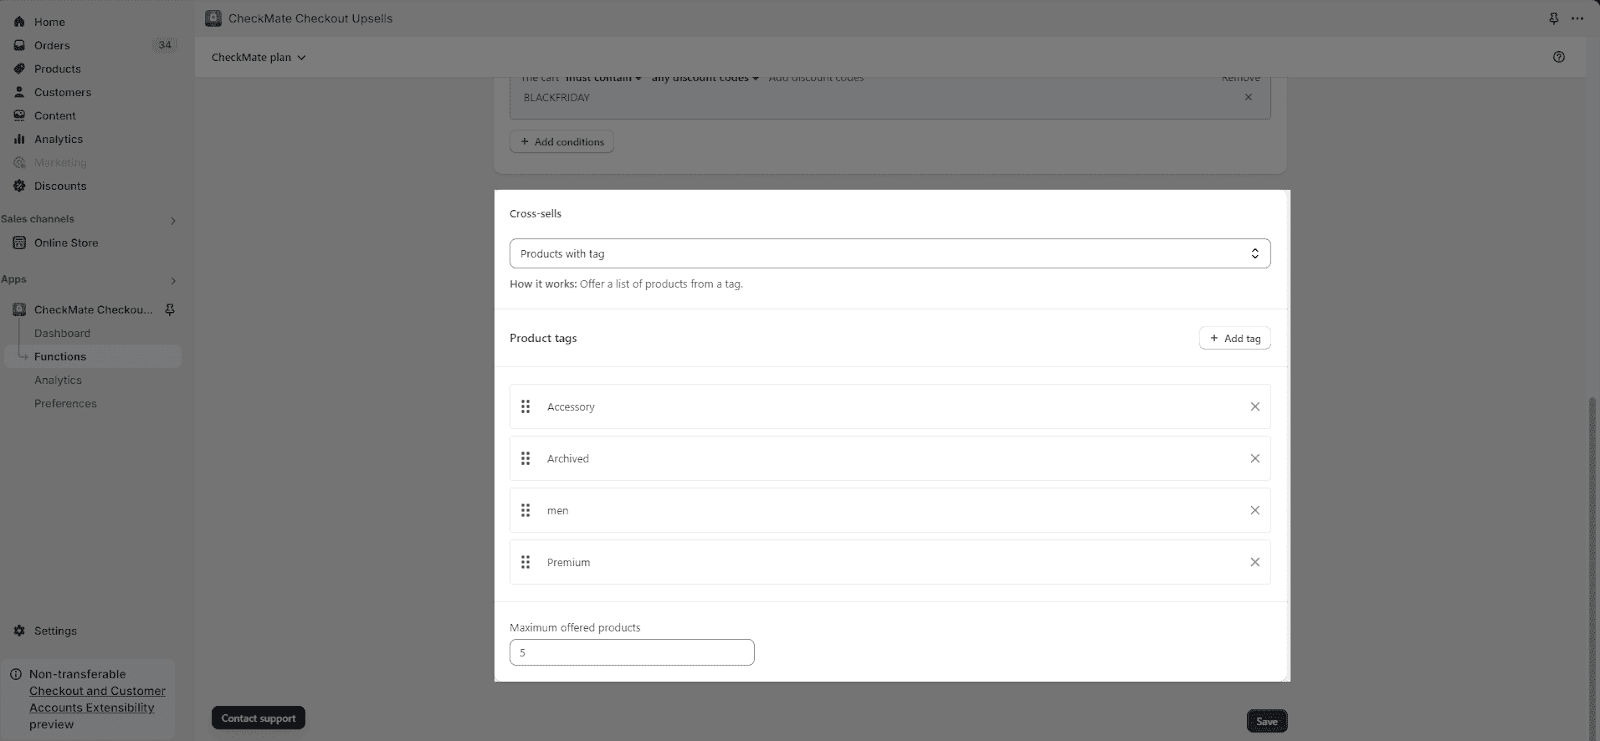
| Products with tag | You can add products to this list by selecting tags. You can add multiple tags. Specify the product quantity by adjusting the number.
Note that you can select more than one tag here.
|
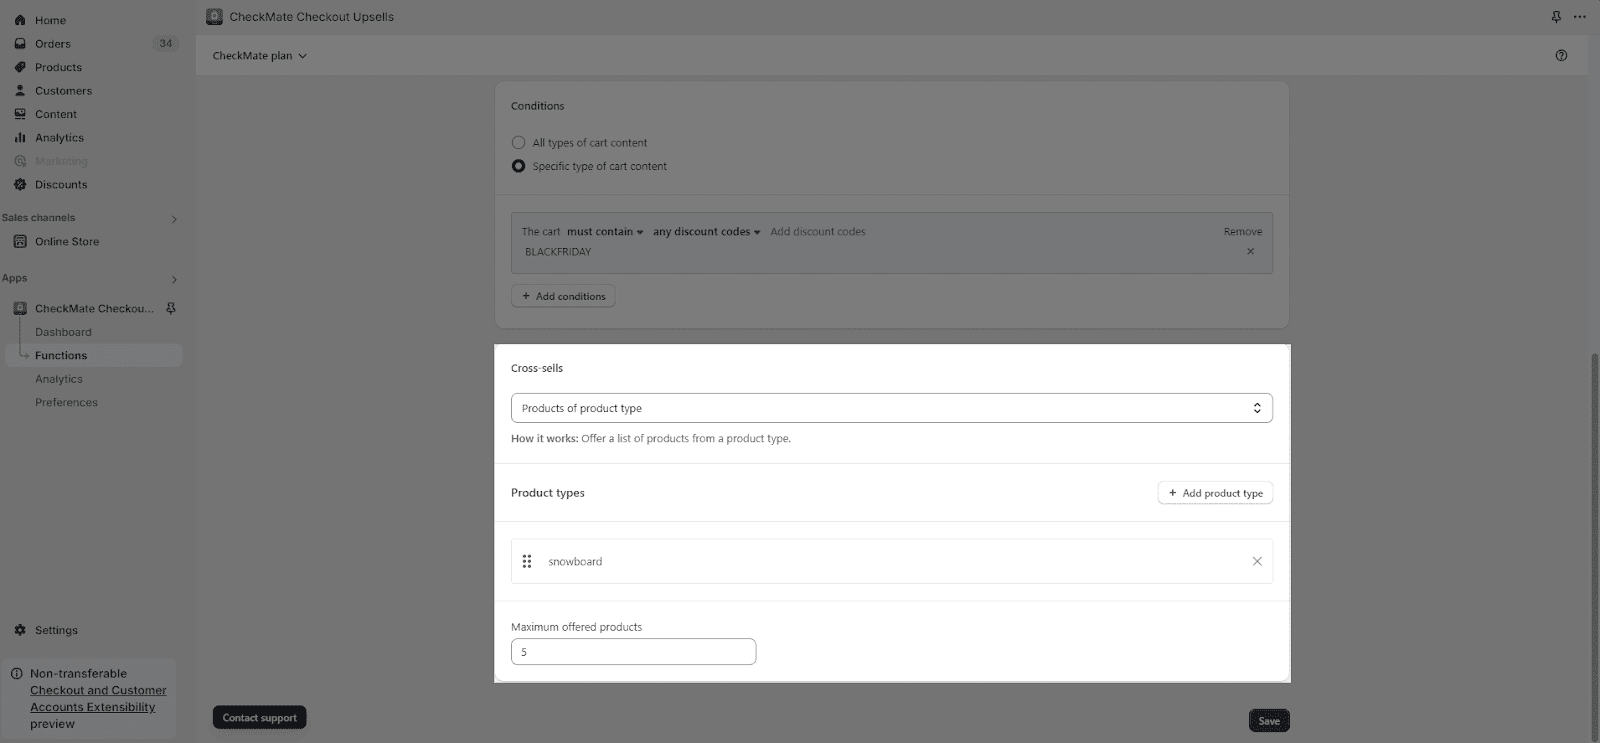
| Products of product types | You can add products to this list by selecting product type. You can add multiple product types.
|
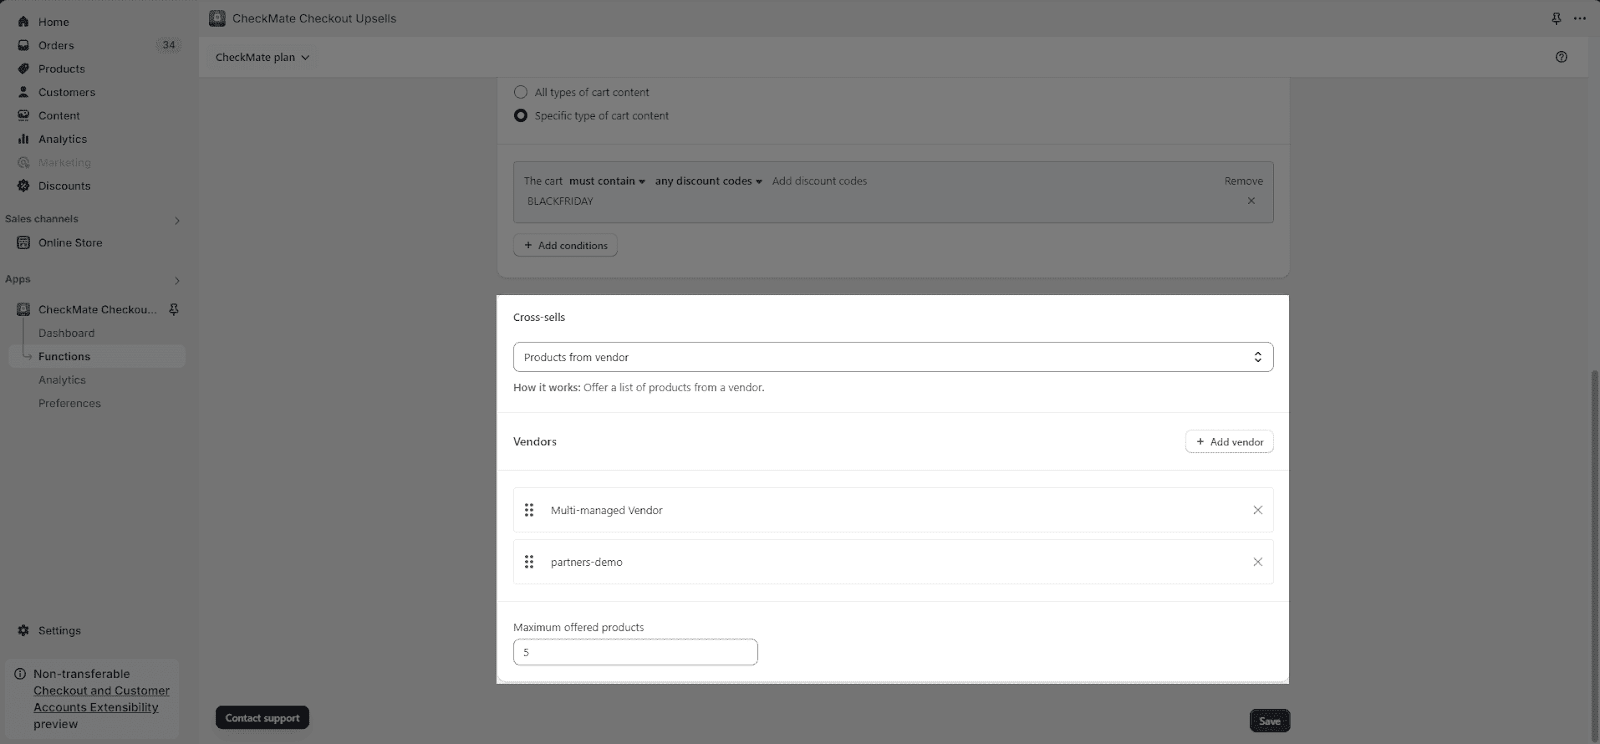
| Product from vendors | Similar to tags, you can add products to this list by selecting vendors. Specify the product quantity by adjusting the number.
|
Otherwise, you can customize your own list by manually creating and adding products to that list.
Remember to click Save to proceed.
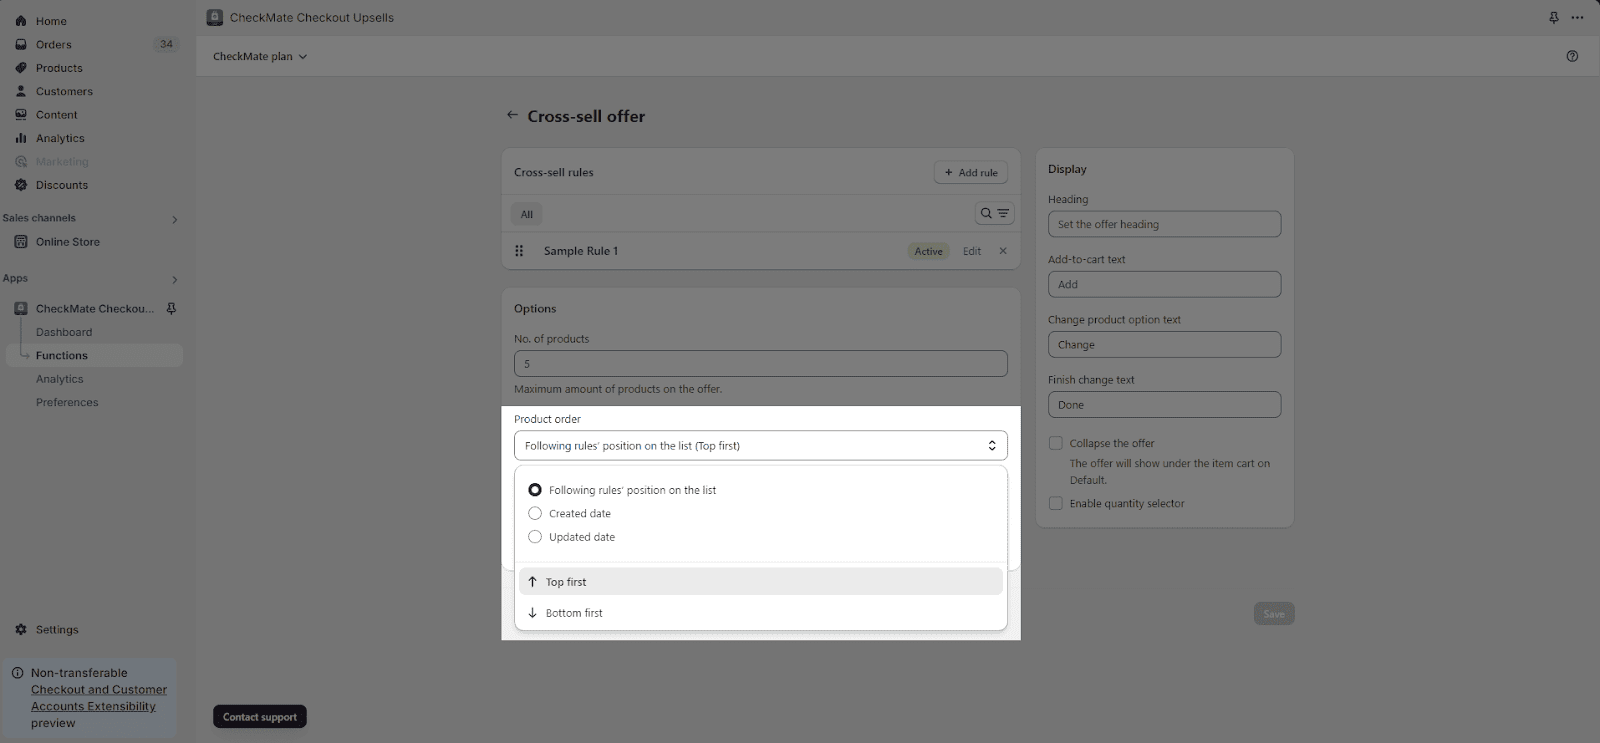
Step 2: Set Up Options
You can set the Maximum amount of products on the offer.
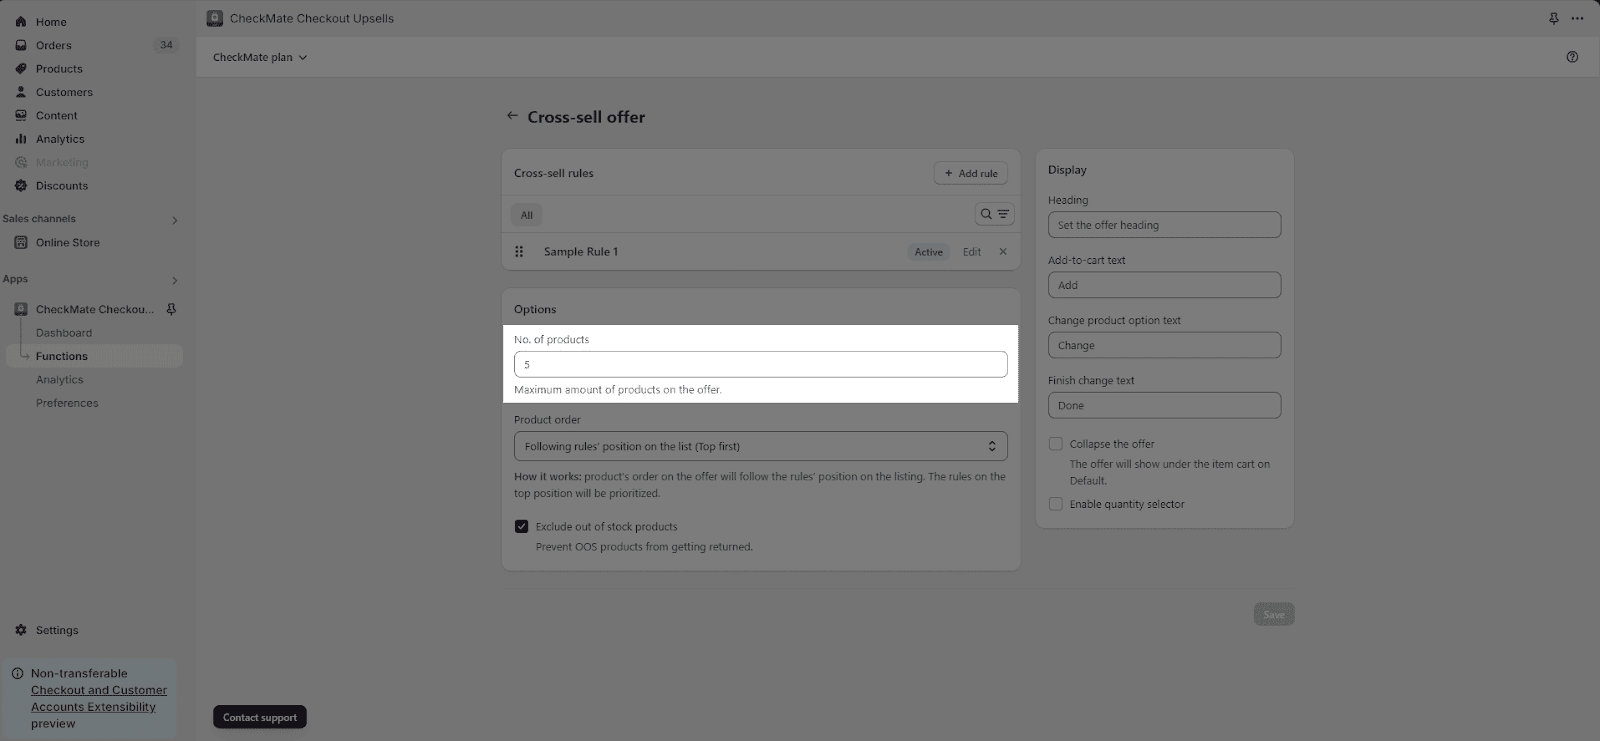
Then set the priority order for each rules (in case you have more than 1 rules for your Cross-sells):
- Rule’s position on list:
-
- Top first: The order of products in the offer will follow the position of the rules on the listing. The rules at the top position will be given priority.
- Bottom first: The order of products in the offer will follow the position of the rules on the listing. The rules at the bottom position will be given priority.
- Created date
-
- Newest first: The order of products in the offer will be based on the date they were created. The products that were created most recently will be prioritized and displayed first.
- Oldest first: The order of products in the offer will be based on the date they were created. The products that were created earlier will be prioritized and displayed first.
- Updated date:
-
- Newest first: The order of products in the offer will be based on the date they were last updated. The products that have been updated most recently will be prioritized and displayed first.
- Oldest first: The order of products in the offer will be based on the date they were last updated. The products that have been updated earlier will be prioritized and displayed first.
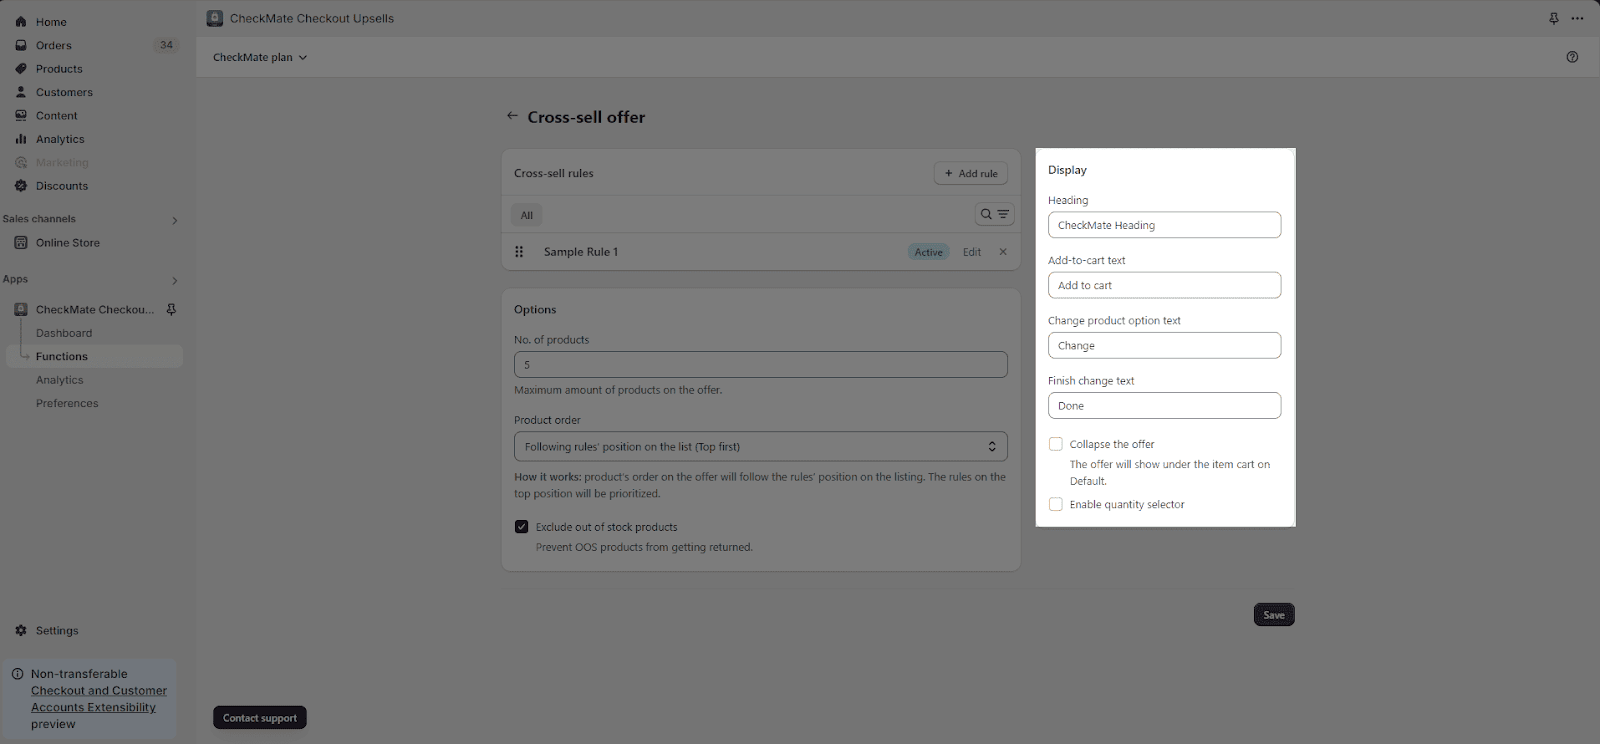
Lastly, you can enable the Exclude out-of-stock products to prevent Out-of-stock products from getting returned.
Step 3: Set Up The Display
In the “Display” section, there are four elements where you can customize the content:
- Heading: You can add a heading for the offer. The offer will not display the heading if you leave this field blank.
- Add to cart button text: Please note that this field cannot be blank.
- Product option text: Please note that this field cannot be blank.
- Save button text: Please note that this field cannot be blank.
- Collapse the offer: The offer will show under the item cart on Default.
- Enable quantity selector: This option will allow customers to change or update the quantity of product in the list.
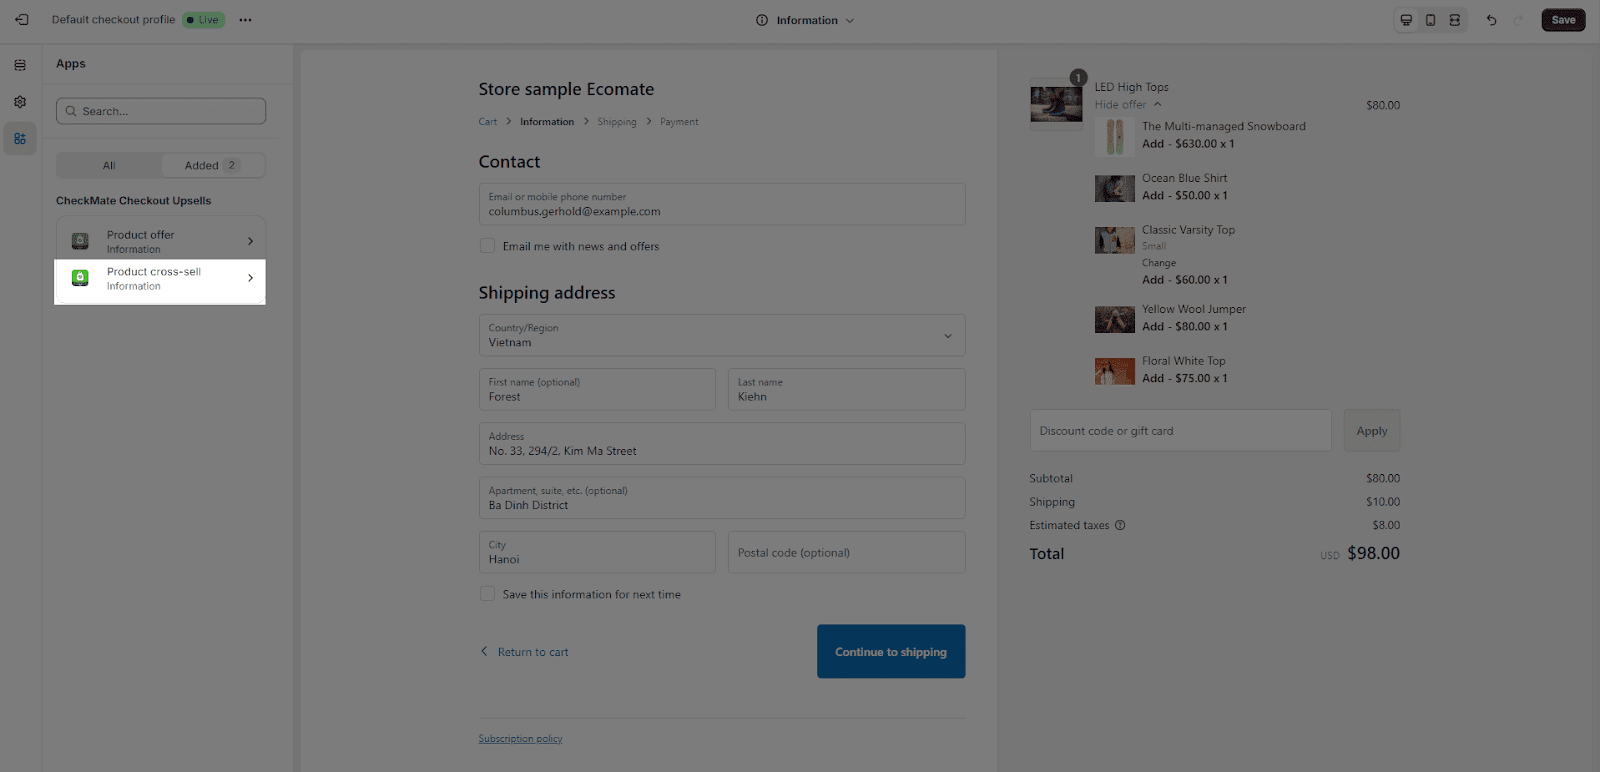
How To Add Product Cross-sells On Checkout Page Editor
Here is a step-by-step guide on how to use the CheckMate product cross-sells function on your Shopify checkout page:
First, from the checkout page editor dashboard, click on “Add app” in the bottom-left corner. The Product Cross-sells option will appear there.
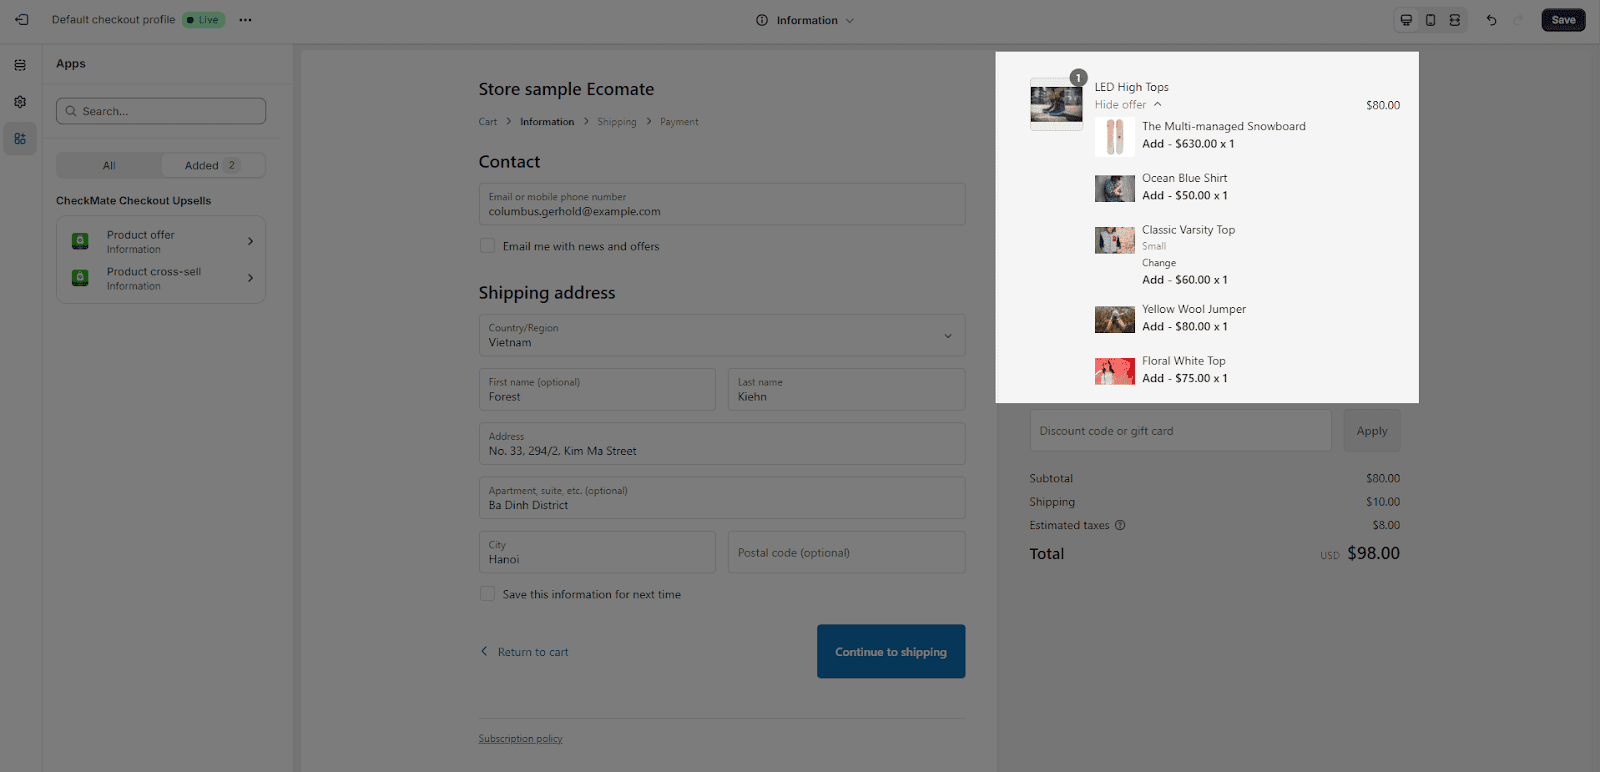
When you are done adding the app, the Cross-sells offer has no parameters to configure and it will show in the cart like this:
What Is The Difference Between Product Offer And Product Cross-Sells?
| Product Offer | Product Cross-sells | |
| Placement on Checkout page | The Product offer is a dynamic block that can be dragged and placed anywhere. | The Product Cross sell is a static block that is required to be located within each cart item detail. |
| Using purposes | It is used to offer the products that you want to display to customers on the Checkout page. | It is used when you want to sell additional or related products alongside the main product |
| Require an ID? | Yes | No |
Frequently Asked Questions
1. What is the CheckMate Product Cross-sells function?
Product Cross Sells make it easy for you to offer a curated list of related products to customers who have added an item to their checkout/cart page. This helps encourage them to think about buying additional products that go well with their main choice.
2. Do I need to pay extra for the Product Cross sell function?
No, this function is included in the CheckMate plan.