About TailorKit Option Set
The option set feature allows users to customize each layer by selecting different images. This powerful tool enables users to personalize their products effectively.
In this article, we’ll guide you through the process of creating an image option set for layers.
Requirements
- PSD File (Photoshop Document): It contains multiple layers, which allow for layers editing. Each layer can be edited independently, making it easier to work on complex images.
- Images: You can choose different styles and formats for each layer which you want to make changes.
- Texts layer: Add the Text layer to the file to use the Text option for the product in liveview.
Creating Image Option Set For Layers
Step 1: Choose A Specific Layer
Identify the specific layer for which you want to create an image option set. An image option set allows you to replace the ordinary layer’s image with a variety of alternatives.
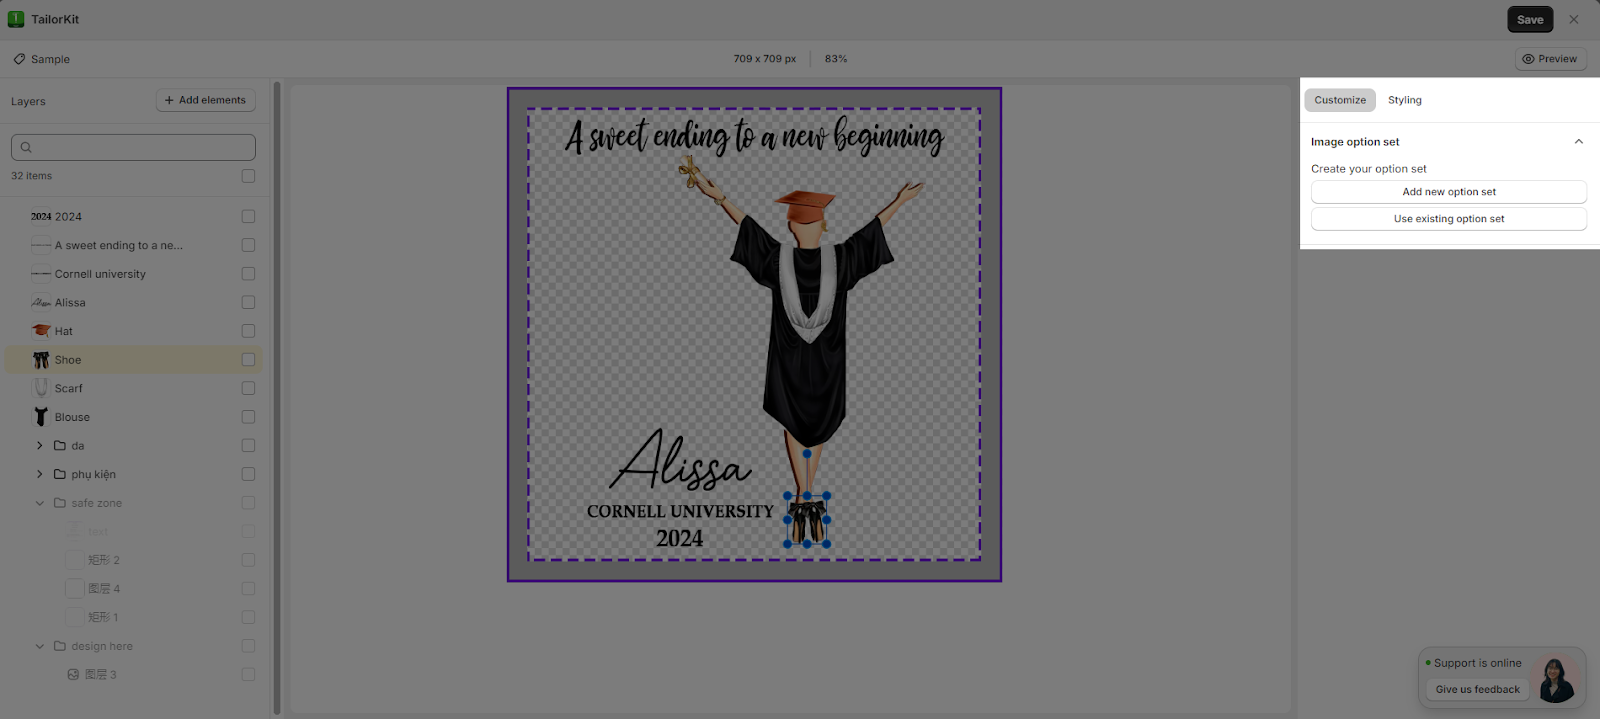
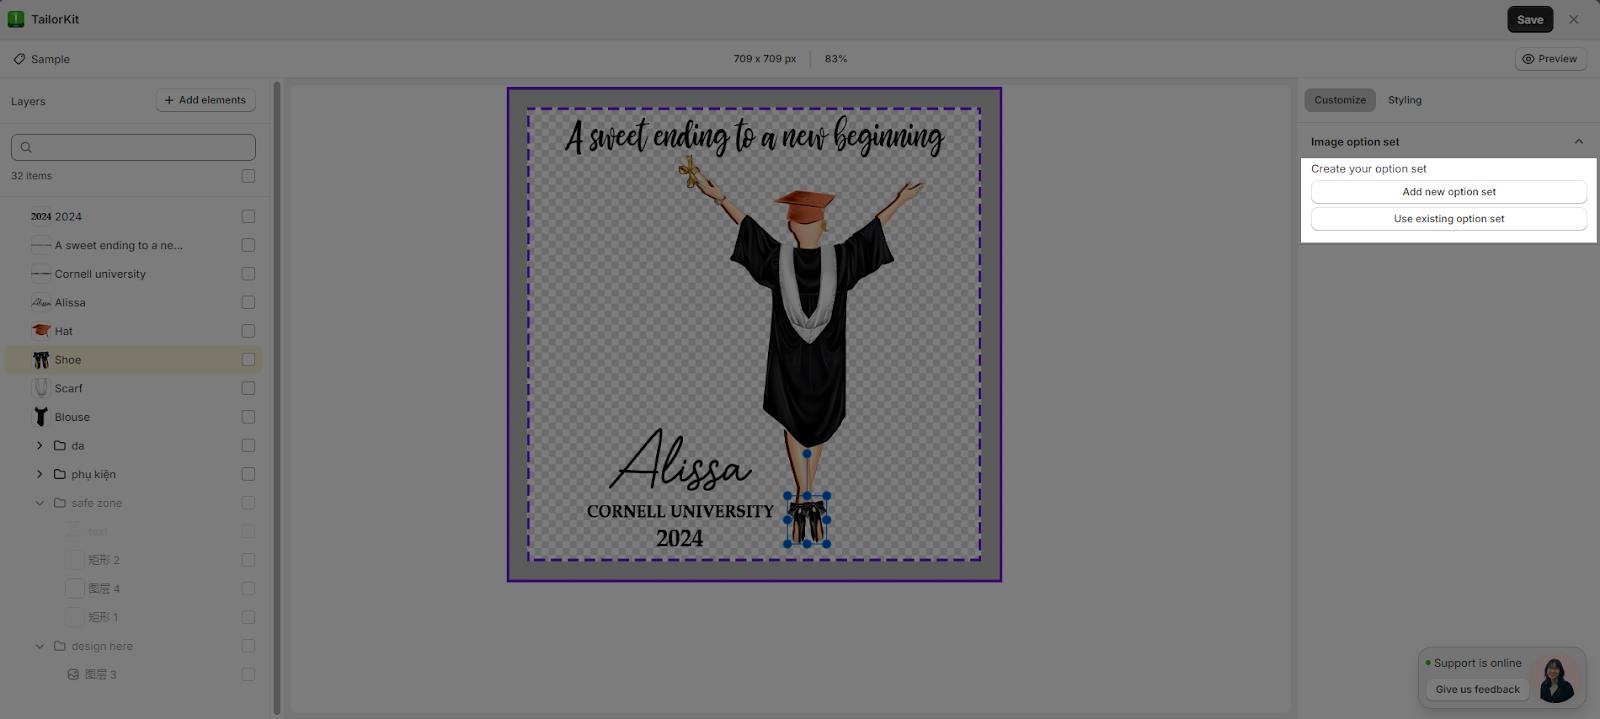
Step 2: Add Option Set
You can choose to create a new option set or use an existing option set.
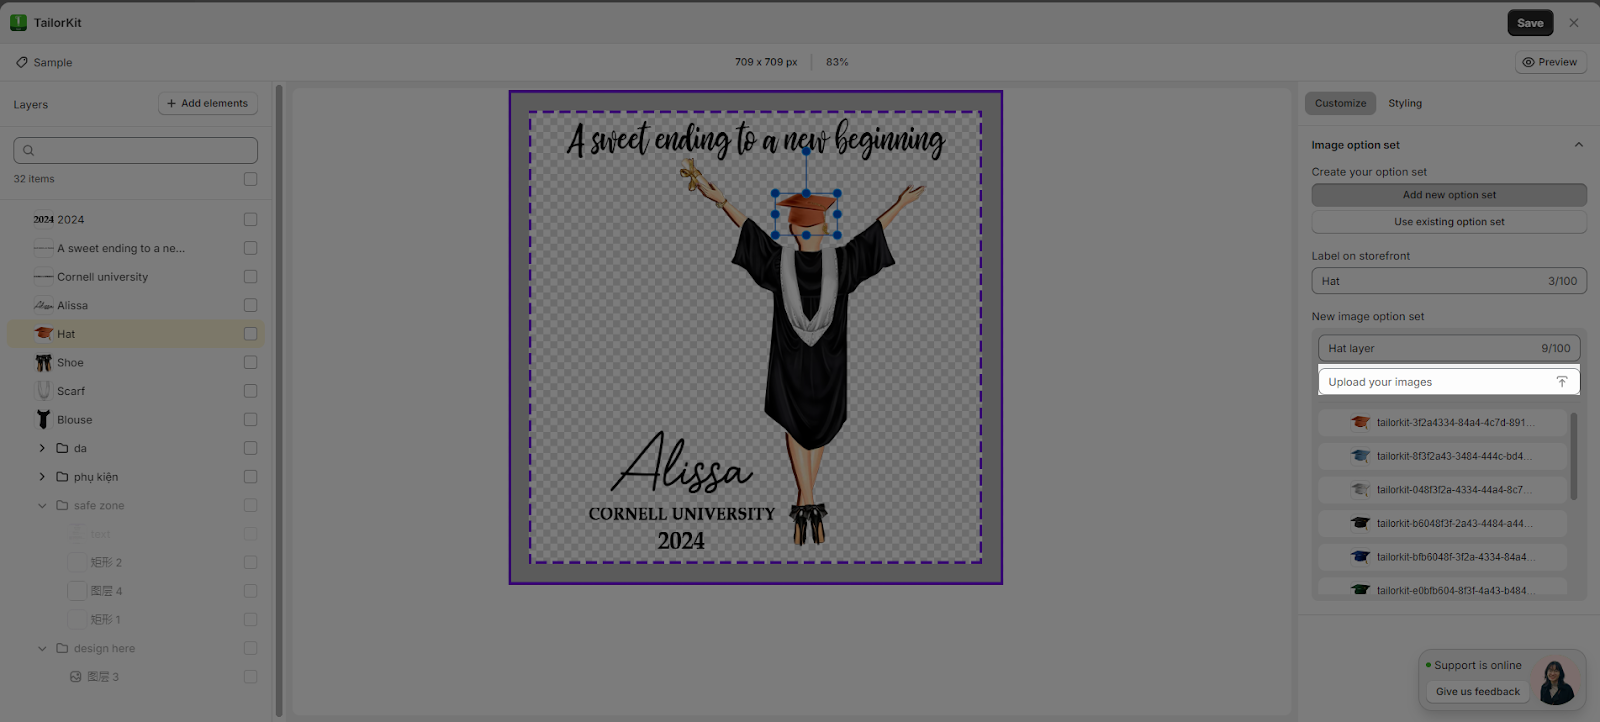
Step 3: In The “Image Option Set” Space:
- Name the Option Set: Input a name for the option set.
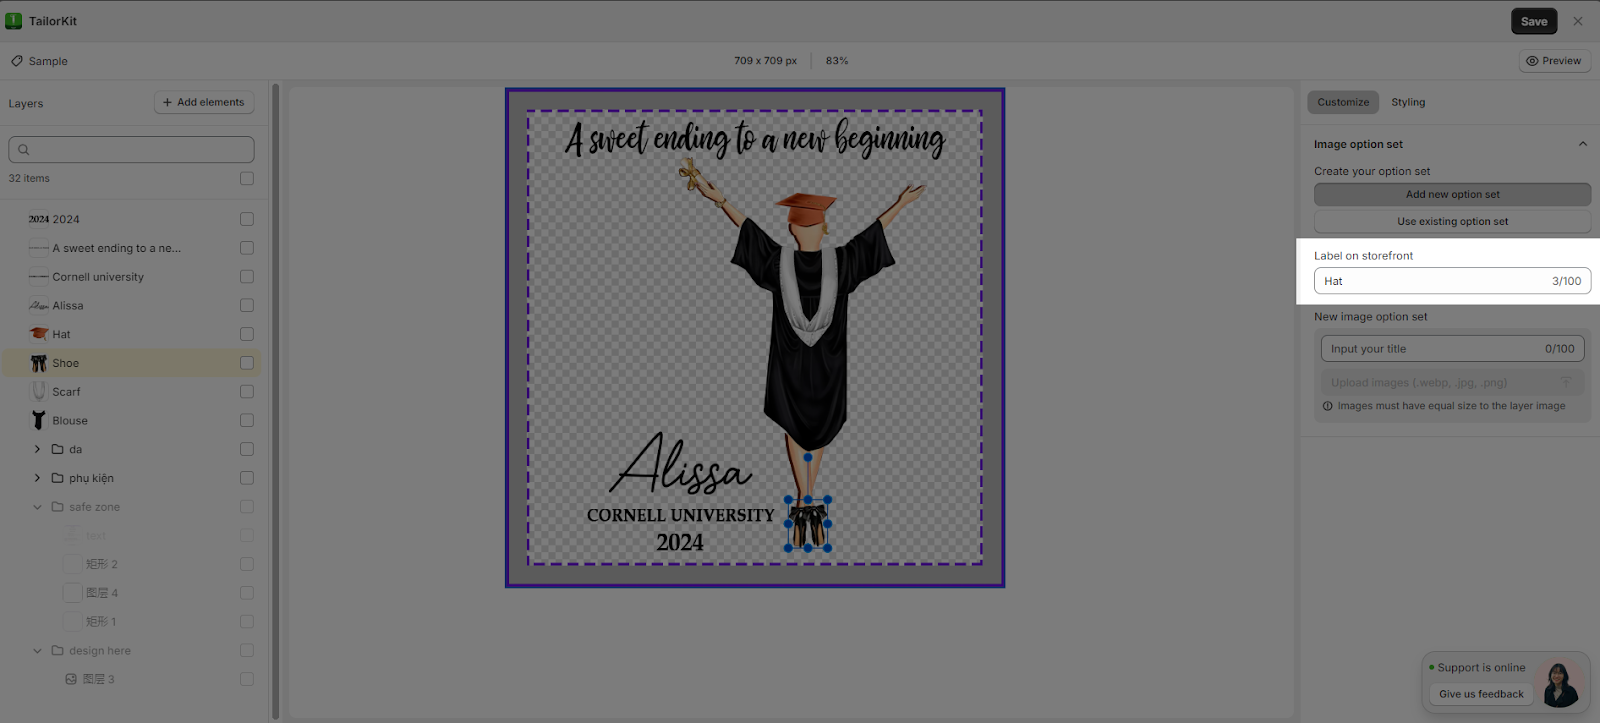
- You can add file images after inputting the name.
- The “Add files” button will be disabled unless users type completely the name for the option set.
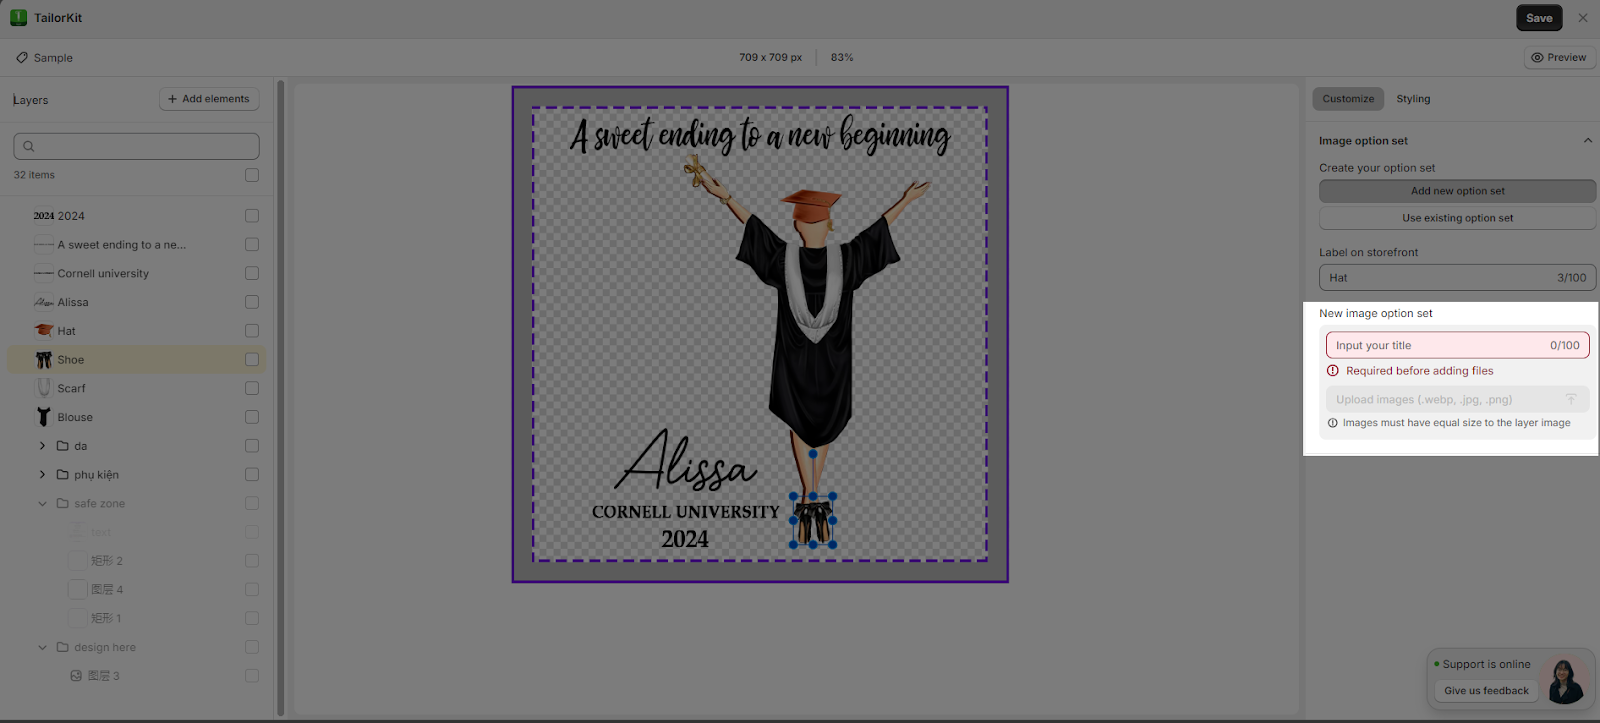
- You can upload multiple file images at the same time.
Step 4: After Uploading File Images
- Once you have uploaded the images, they will appear in the “Option set” column. Click on the “Preview” button for a more detailed view.

- You can add more files by clicking on the “Upload your image” button.
- You can move the position of each image by using the “Drag handle icon” to organize the order of images displayed.
- You can click in the name area to edit the image names.
- You can delete specific uploaded images by clicking on the “Delete icon”.

Please note that:
- The image displayed on the canvas for the layer is the first image in the option set.
- Selecting different images in the “Option set” column will update the layer’s image on the canvas accordingly.
Step 5: Add “Option Set” For Other Layers
- To create Option Set for other layers, simply click on the desired layers to continue
- After that, you can repeat the whole process from Step 1 to Step 5.
Creating Text Option Set For Text Layer
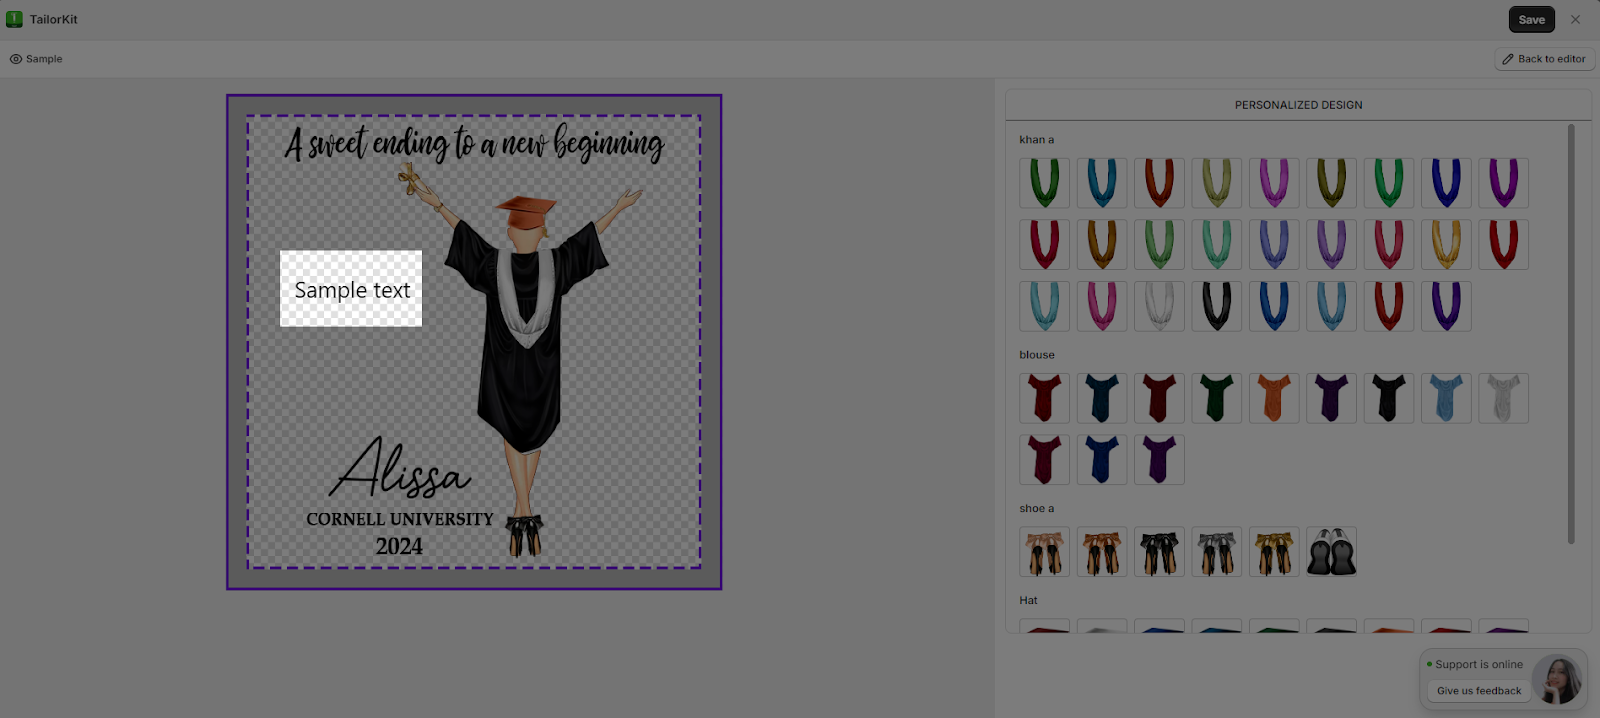
The Text option set allows your customers to add custom text to the print template.
To create a text option set:
- Click on ‘Add Element‘
- Choose ‘Text‘
You can customize the following settings:
- Label on Storefront: Enter the text that will appear as the label in the live preview.
- Character Limit: Set the maximum number of characters customers can enter.
- Notes: Add guidelines or instructions for customers regarding the custom text.
These options help you control how customers interact with and personalize your print-on-demand products.
After adding the Text element, you can customize the following fields:
- Content
This is what the element will look like in preview
- Text option set created by you: If you go with this option, your customer will not be able to customize the text element as they want, instead, they will be able to only choose between the options you have set up.
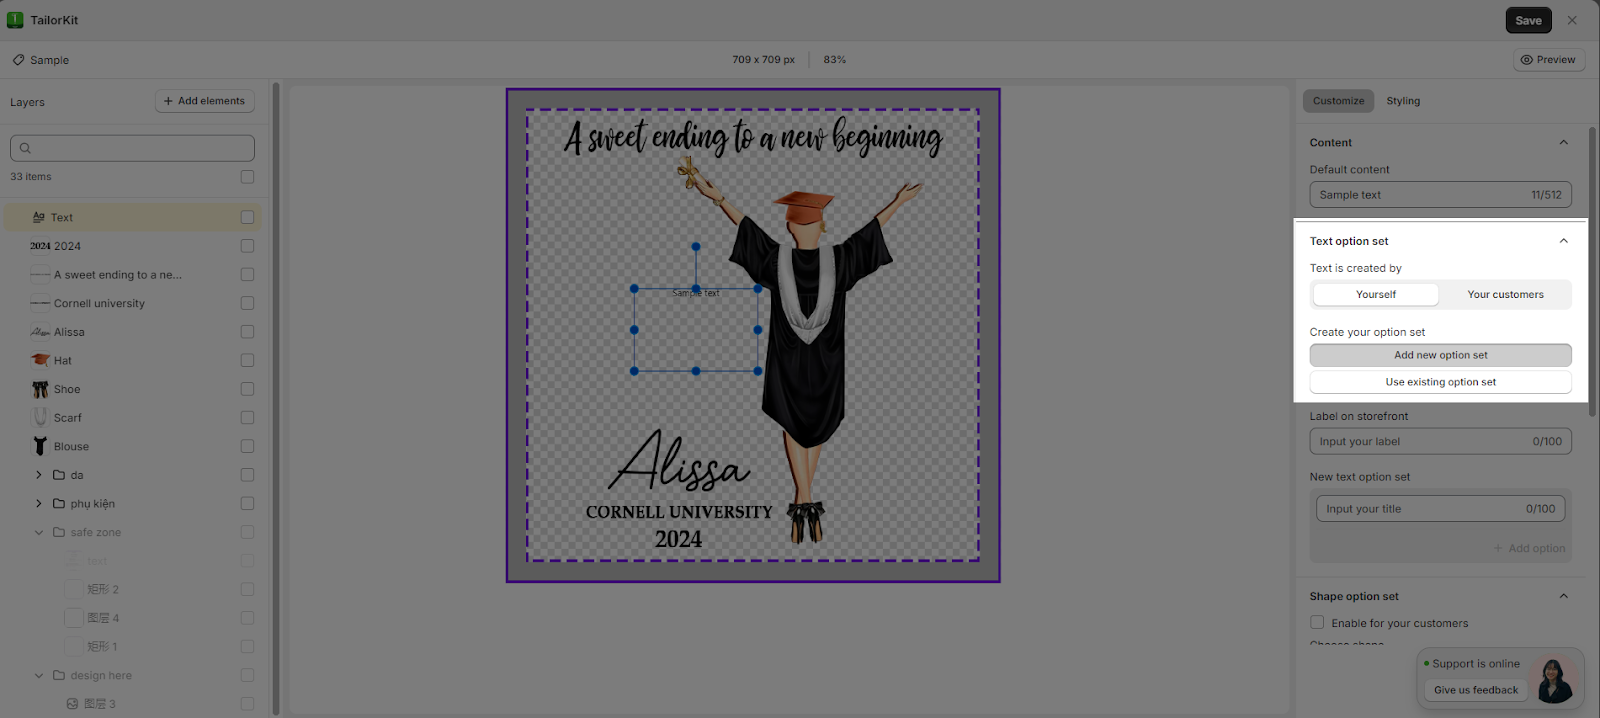
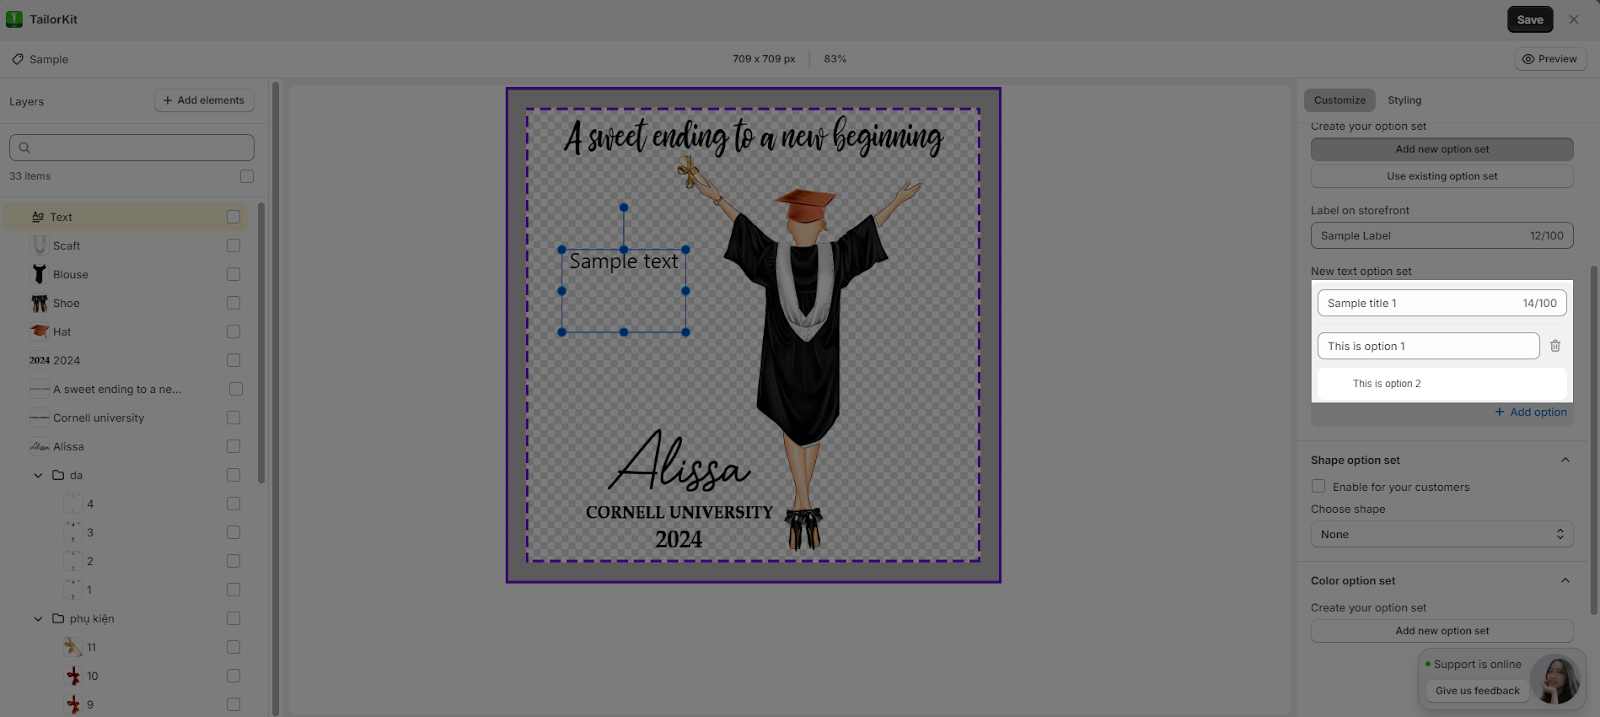
In order to set up this type of Option set, select “Add new option set” to begin creating the text option set:
After that, you need to fill out the followings:
- Label on storefront
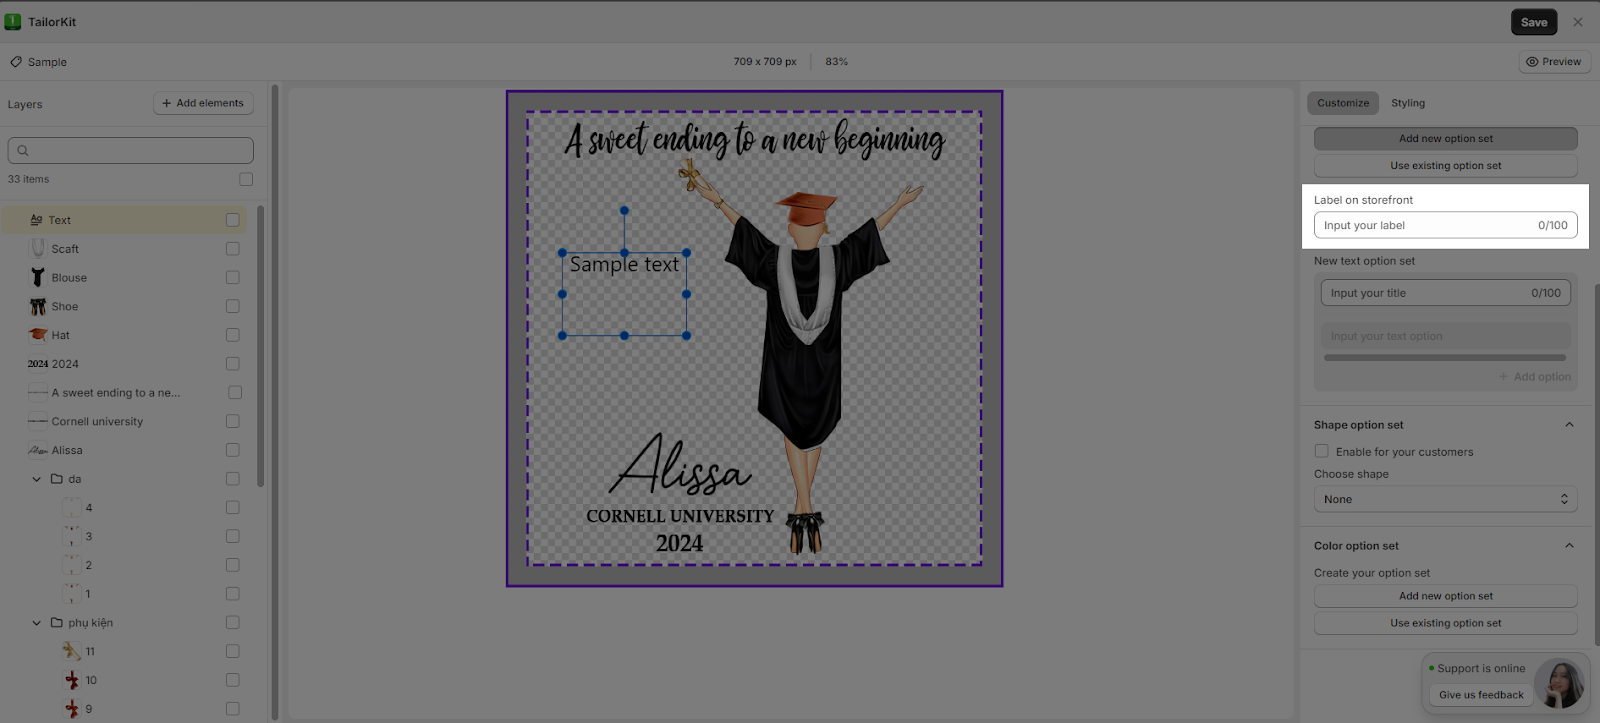
- New text option set: For this one, you will need to create a set of text options for your customer to choose from. This will include setting up the Title and the options.
When you have finished setting up the option, you can view it on the preview page. In the Preview field, you can actually see how your customers will acknowledge the options and choose between them.
- Text option set created by your customers. If you choose to go with this option, you will need to set up a frame to help your customer customize their own text on the storefront. You need to do that by setting up the Label on storefront, Character limit and the Notes for your customer
When you have finished setting up the option, you can view it on the preview page
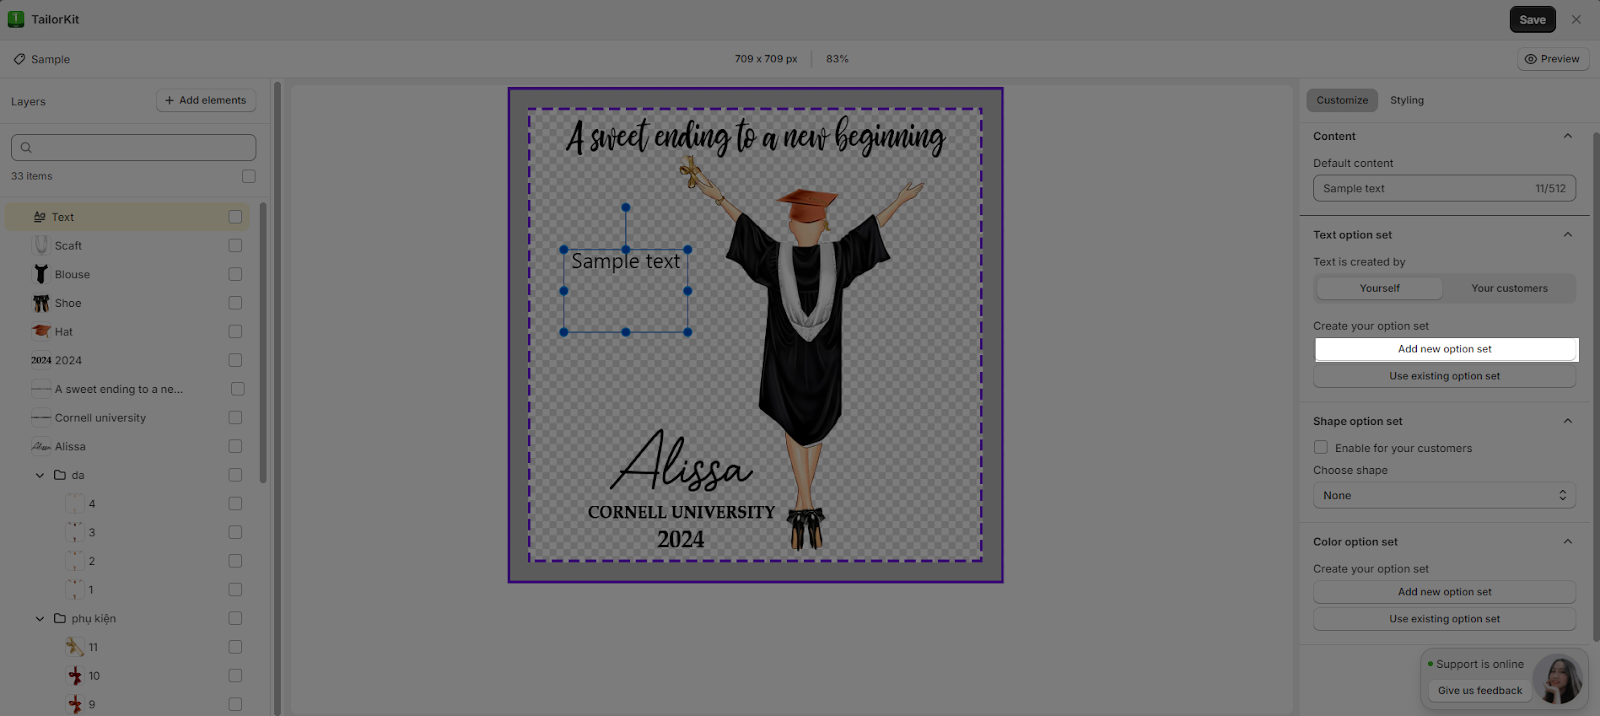
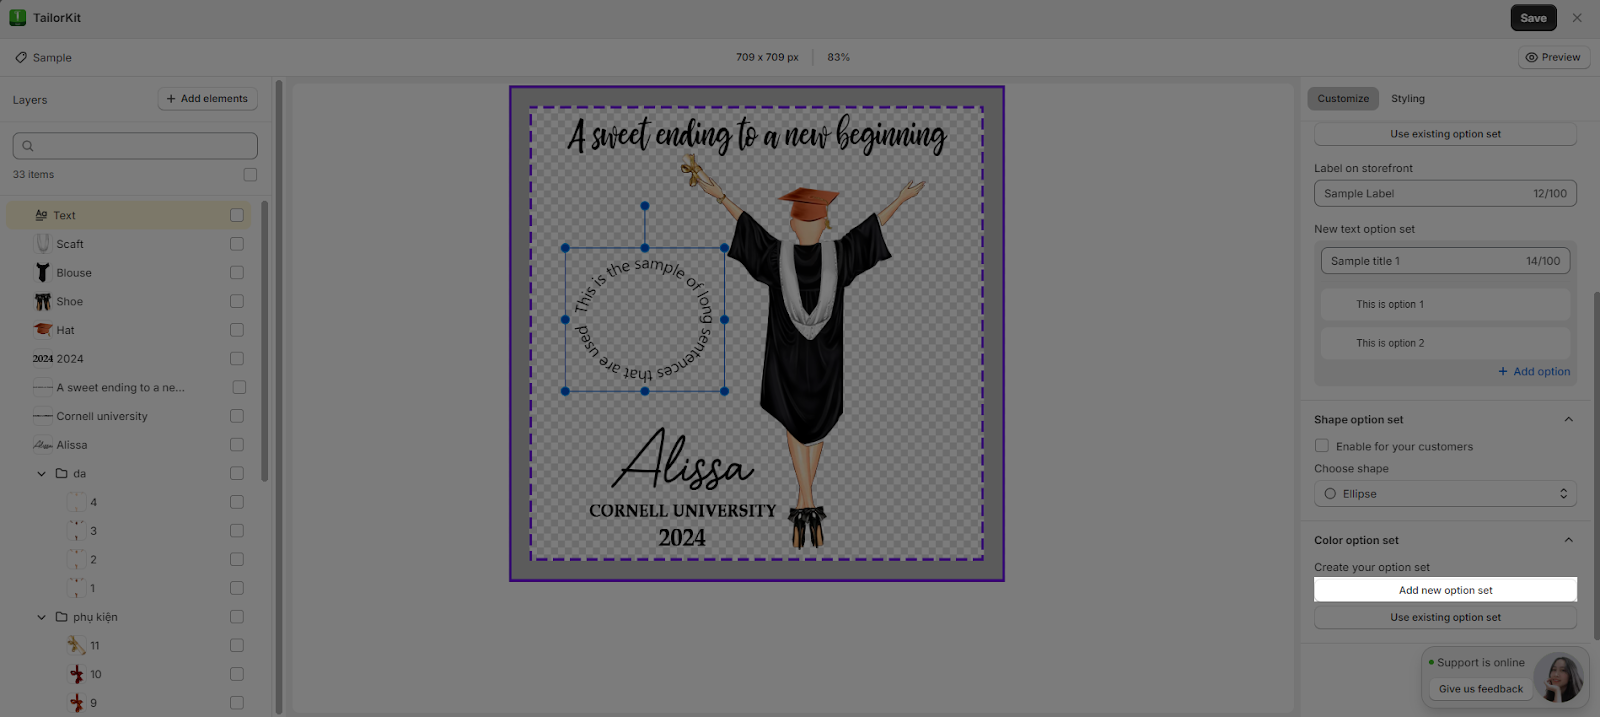
- Shape option text (Enabled for your customer or not): For this option, you can choose, or let your customer choose the shape of the text options.

- Color option set: For this option, you can create a new color option set for your customers to choose from. You can start creating the color option set by clicking the button: “Add new option set”
After that, you need to fill out the followings:
- Label ọn storefront
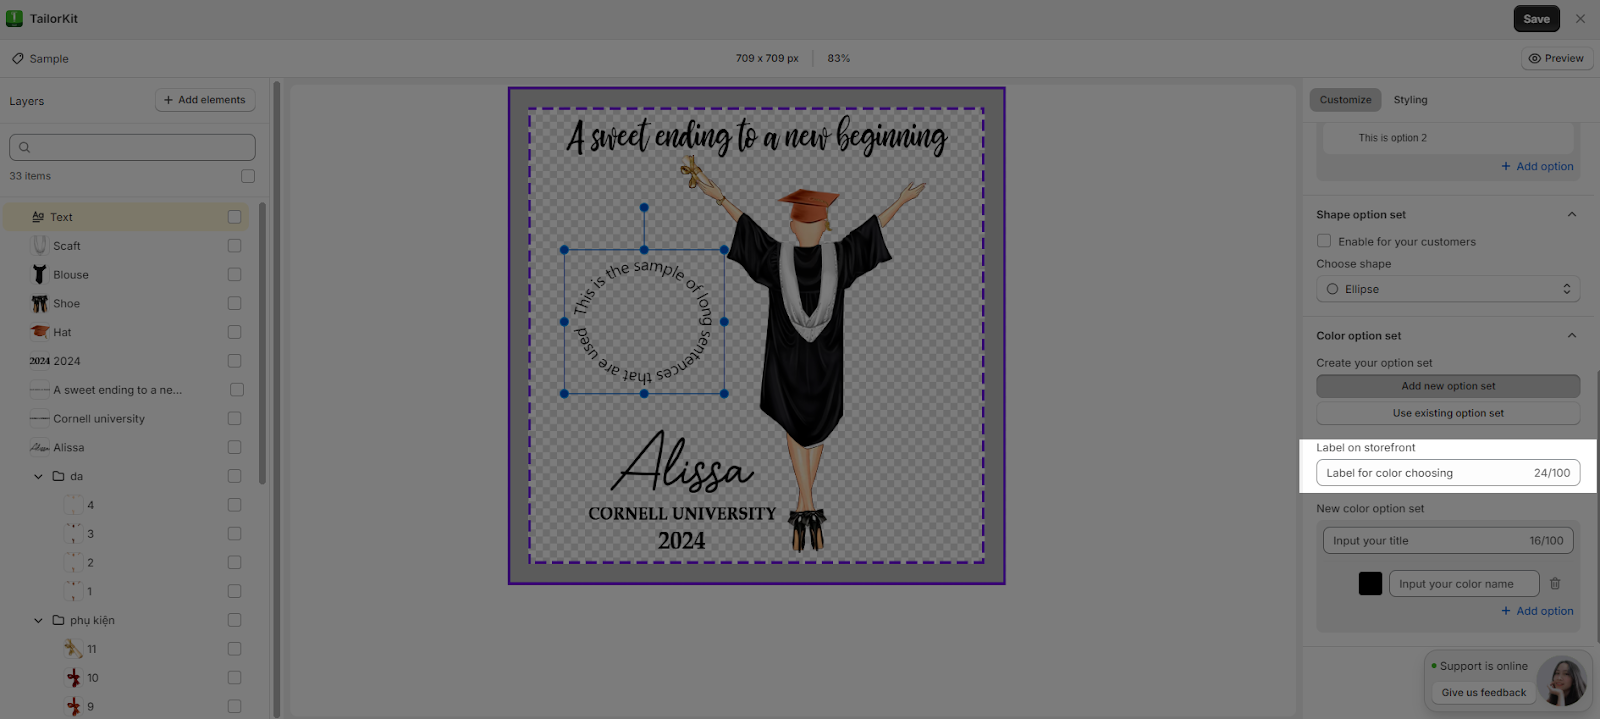
- New color option set: New text option set: For this one, you will need to create a set of color options for your customer to choose from. This will include setting up the Title and the color options.
When you have finished setting up the color options, you can view it on the preview page. In the Preview field, you can actually see how your customers will acknowledge the options and choose between them.
For the Styling field, you can customize:
- Typography: On this field, you can customize how the element will show up on your store in terms of:
- Font size
- Text alignment:
- Text style:

- Layer Transformation: In this field, you can customize the Width, Height, X and Y axis and the Tilt level of your element.
Frequently Asked Questions
1. How can we create layers?
When we upload the PSD File, it will identify all layers appearing in the file and automatically show under Layers Tab.
2. Do the image’s options automatically appear?
No, you need to upload manually.