About TailorKit Template Integration
Integrating the template you have created with the product can create customizable products, making it more appealing to users. This can boost user confidence and encourage purchases, while also improving the overall quality of the product.
In this article, we will guide you how to integrate the template with products with the specific steps.
Requirements
- Product Media: You upload the images of products so that it can be edited with the template.
- Template: It will add to the product image to make it more visual and beautiful.
How To Integrate Template With Products
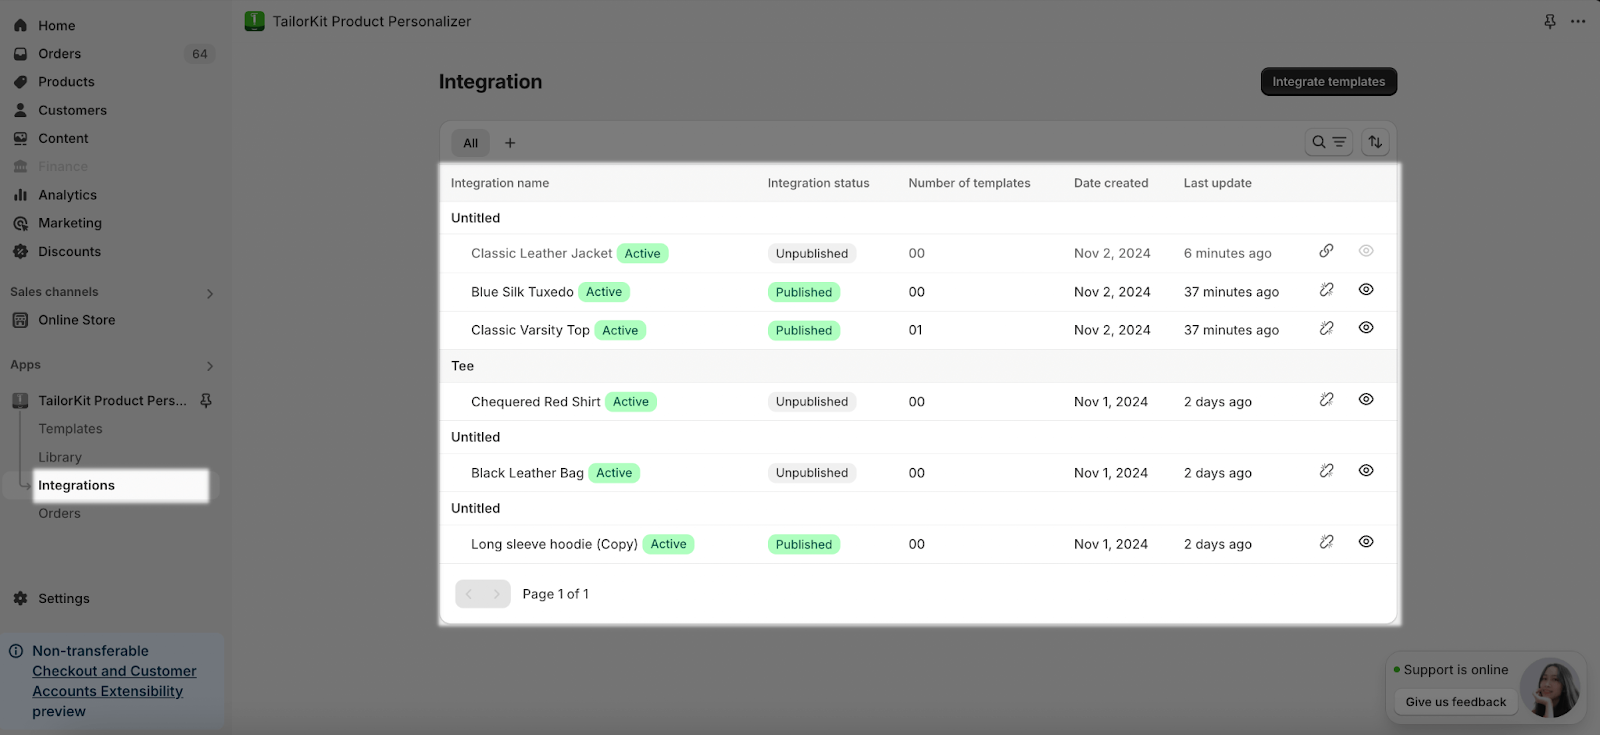
Step 1: Access To The Integrations Page
From the app dashboard, choose Integrations and navigate the Integrate Products button to select the specific product you want to integrate with the created templates.
You can search for the product by clicking the search icon and entering the product name.
You can select multiple products to integrate with the template.
However, please be noted that with the products integrated before, the tick option will be gray.
In the Integration Page, you will see all created Integrated products with its name, status, Number of Templates, Date created and Last Update.
After clicking the “Integrate Products” button and selecting the products, it will open the Print Area page for you to integrate the Products with the Template created.m
Step 2: Set Up The Print Area Page:
In the Print Area Page, you can customize the Title, Product Setting and The Template.
Title
You can edit the Print Area’s name for the Integrated Products.
Products
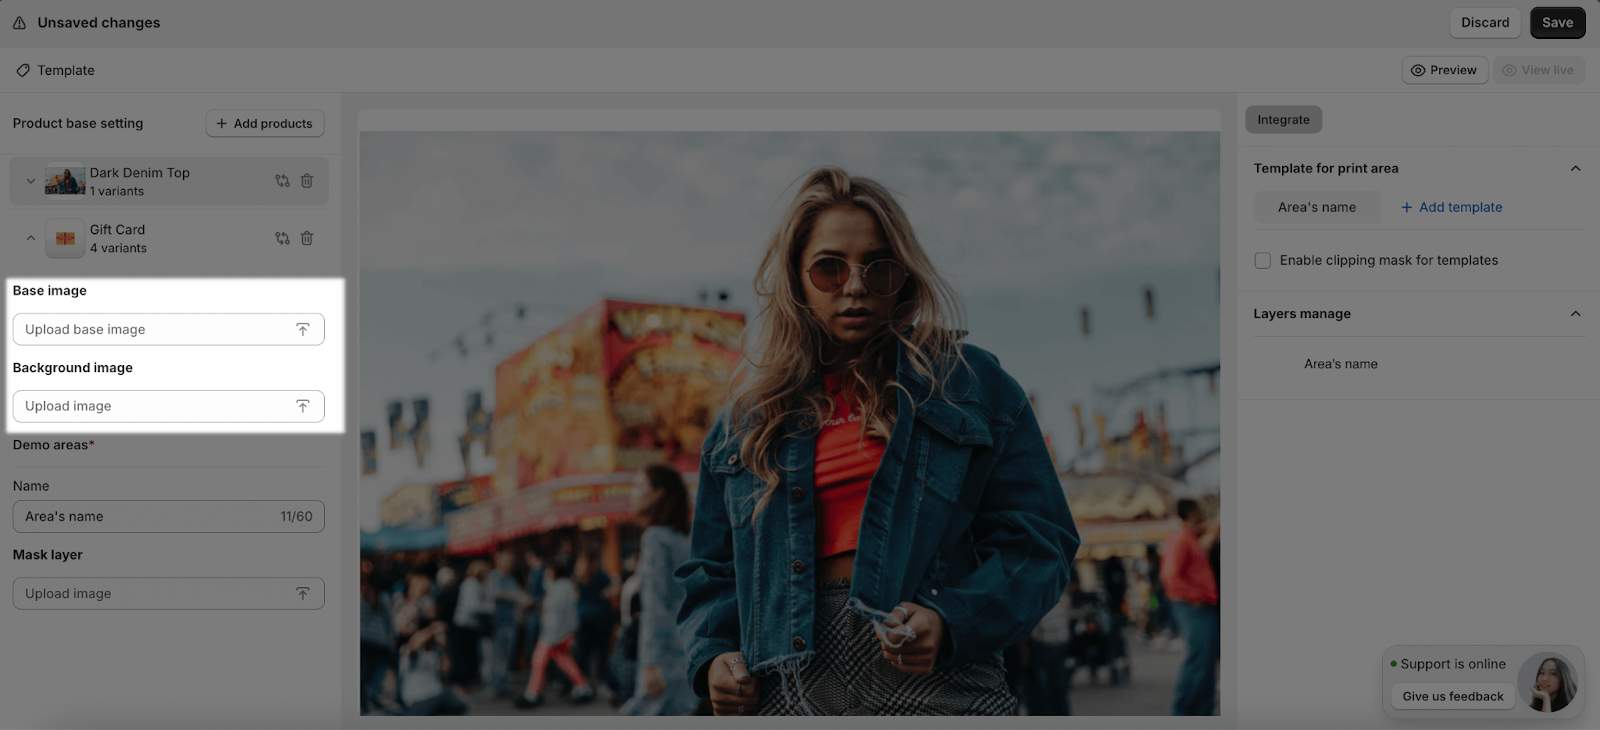
The first important thing you need to have in the Print Area is the Products. From here, you can add the products by choosing the Add products button in Product base setting to select the Products. Please be noted that you need to have one available product then you are able to add more products.
Next, it’s time for you to upload the Base and Background Image for the Products.
Template
After the Image and Product’s customization, now you will add the Template to integrate. By choosing the Add Template button, the Template created will appear in the Layers manager. Please be noted you can only choose one Template.
If you want to change the Template, click “Change Template” button.
You can also edit the name of the Template.
Besides, you can upload the Mask Layer for the Template.
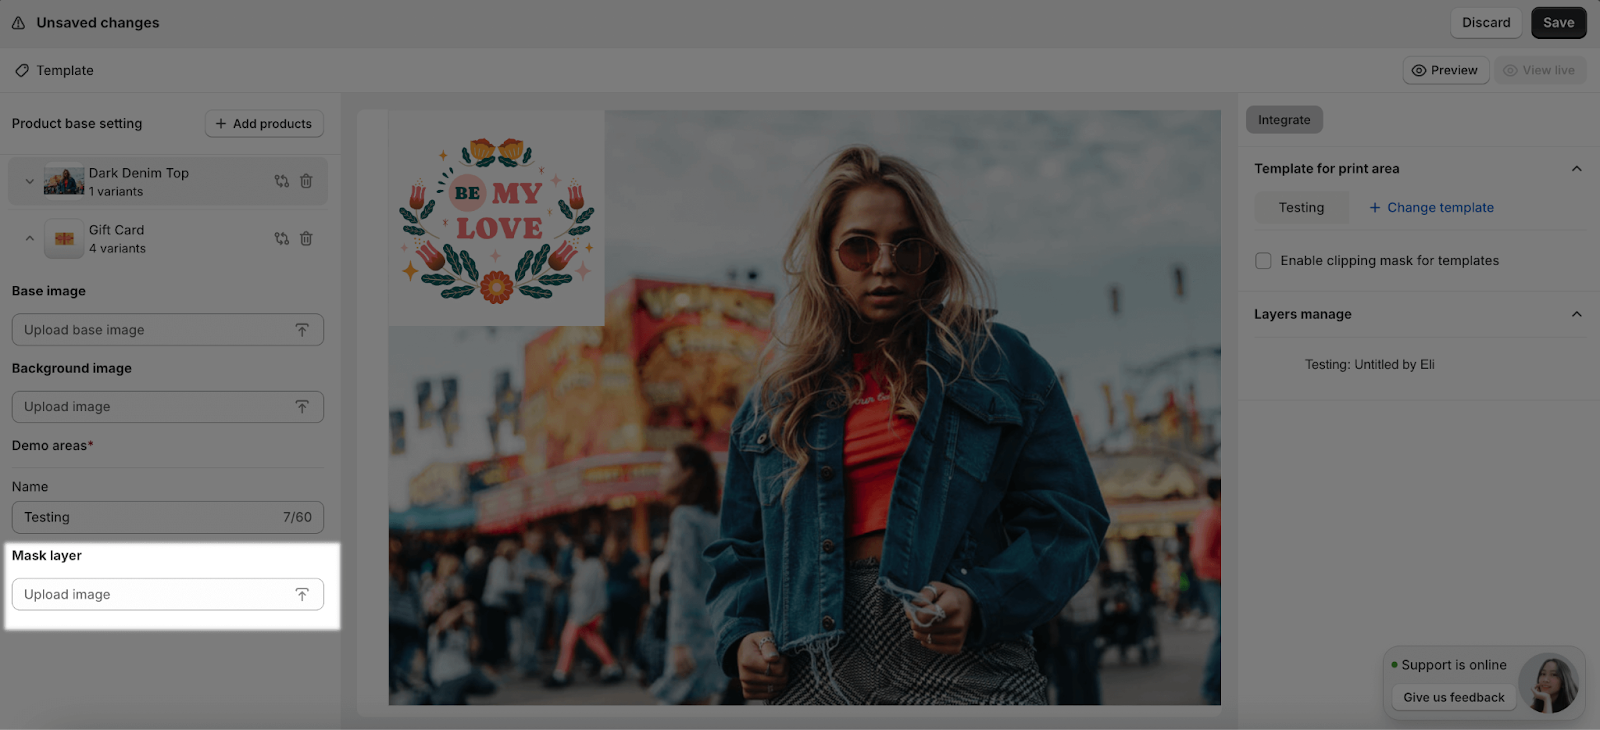
Regarding the Mask, you can enable the option Clipping Mask for the Template.
You can style the size of the Layer by inputting the information about the Width, Height, X and Y of the Layer.
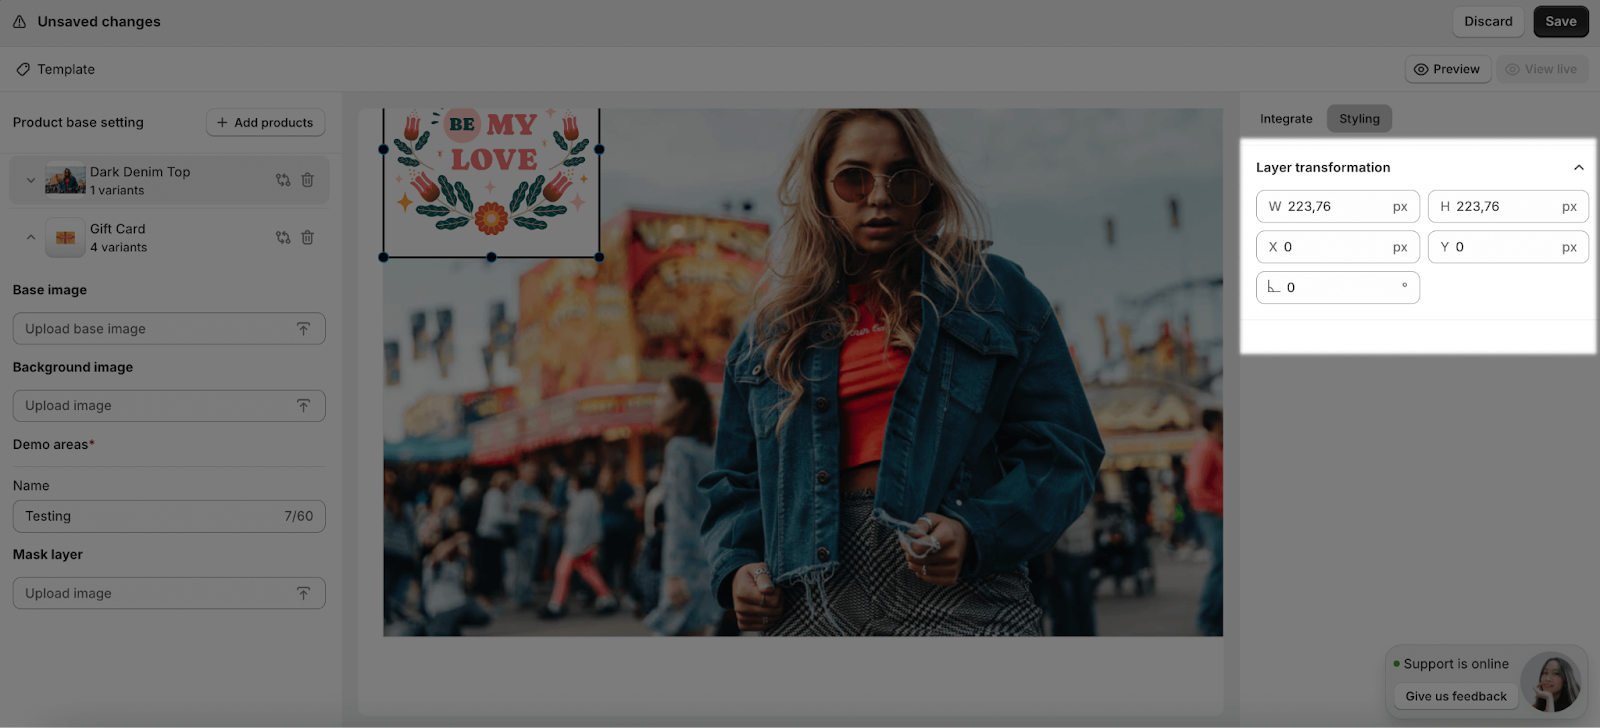
Or you can hold and drag the Layer to resize.
Step 3: Make Changes On Preview Screen
After setting up the print area, you can choose the Preview button to see the Integrated Products.
If you want to re-edit the Integrated Products, choose Back to Editor.
Step 4: Save And Publish The Result
After previewing, you can click Save and it will show a pop-up whether you will publish the Integrated Product or not.
If you want to edit something again, please choose Unpublish to re-edit the product before publishing.
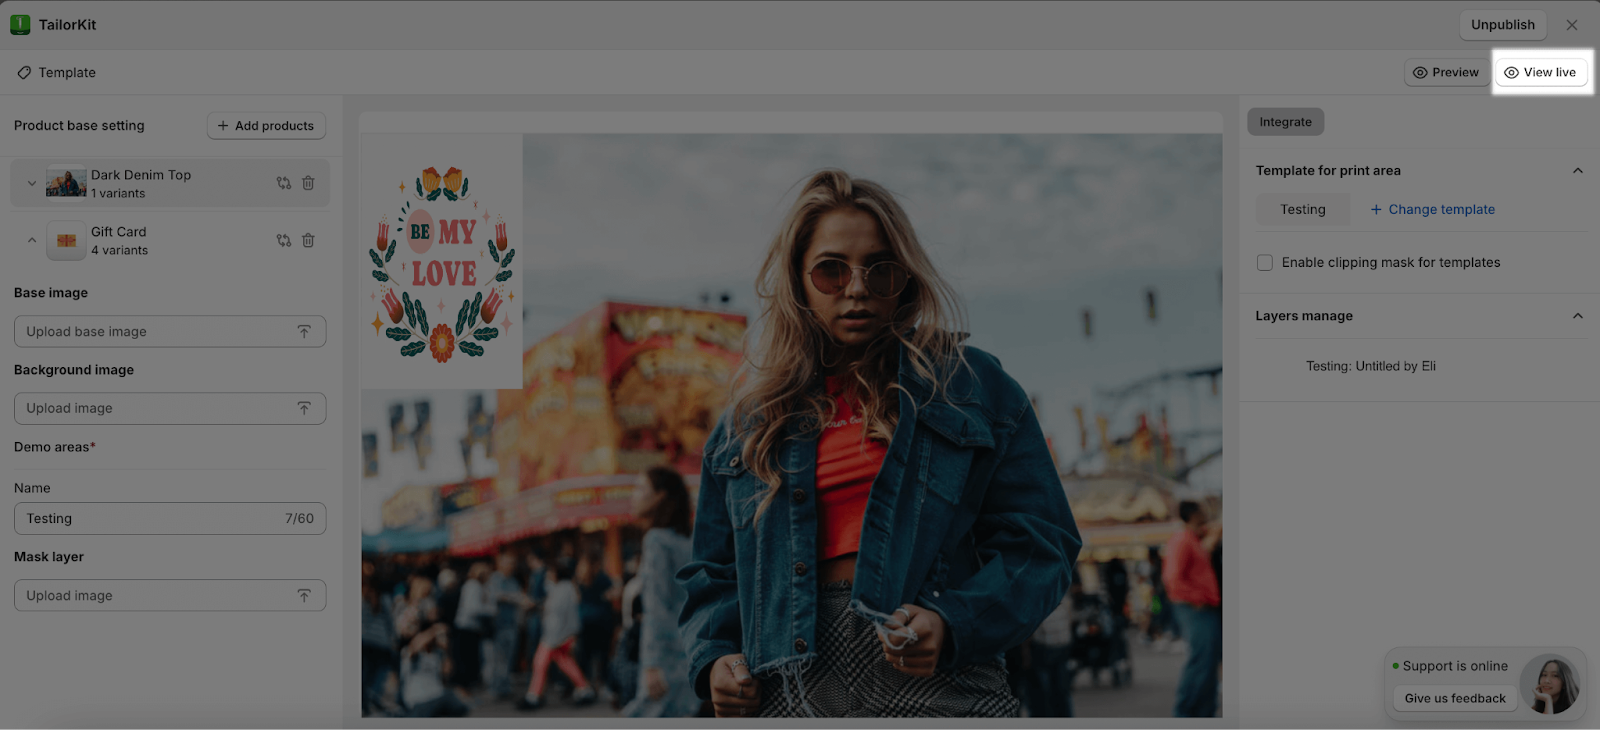
Step 5: View It In Live Store
In order to view it on the storefront, you click on the “View live” button. From there, users can view the products after integrating templates on their storefront.
Frequently Asked Questions
1. How can I add another product image on the specific product’s template?
This feature is currently unavailable as it only supports the default products. For example, you want to add a template for Product 1, the uploaded product image is Product 1. You cannot change it to the Product 2’s image.
2. Can I edit the template in the Print Area?
No, the Print area is for applying or switching between existing templates. To edit a template, go to the Templates page. For more information, see the ‘TailorKit Template Page’ section.”.