About TailorKit Integrations Page
TailorKit’s Integrations Page simply allows you to choose the products which you want to integrate your TailorKit template to.
In this article, we will cover:
- Accessing TailorKit’s Integrations Page
- What is on TailorKit’s Integrations Page?
- What to do after choosing a desired product?
- Frequently asked questions
How To Accessing TailorKit Integrations Page
On the TailorKit’s Dashboard, click on Integrations to access the Integrations page.
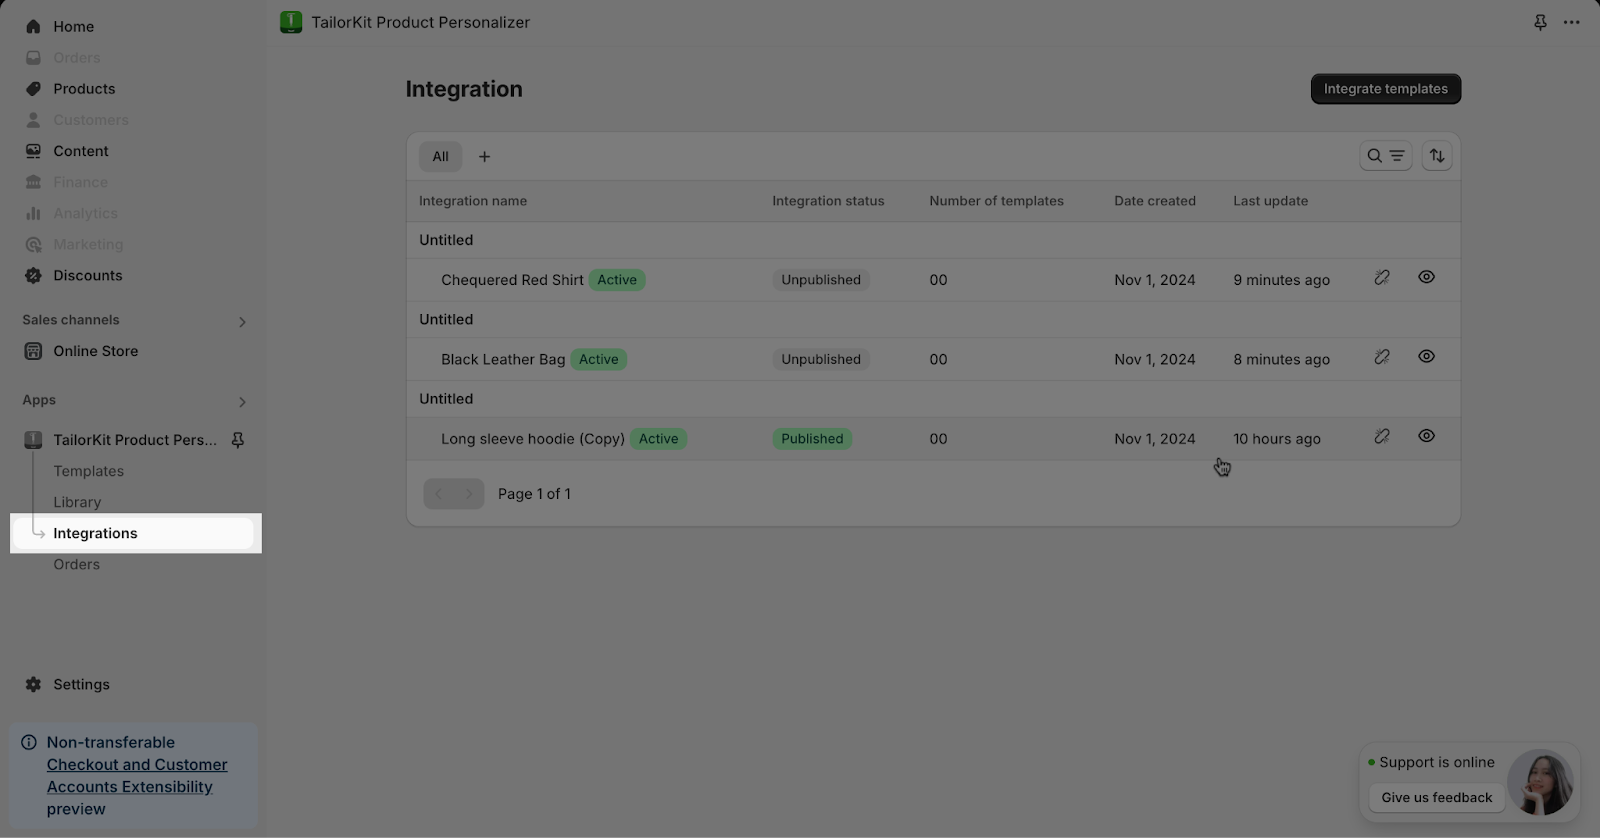
What Is On TailorKit Integrations Page?
On this page, you can:
Find A Desired Products
On the right corner, there is a search icon you can click on to find your products
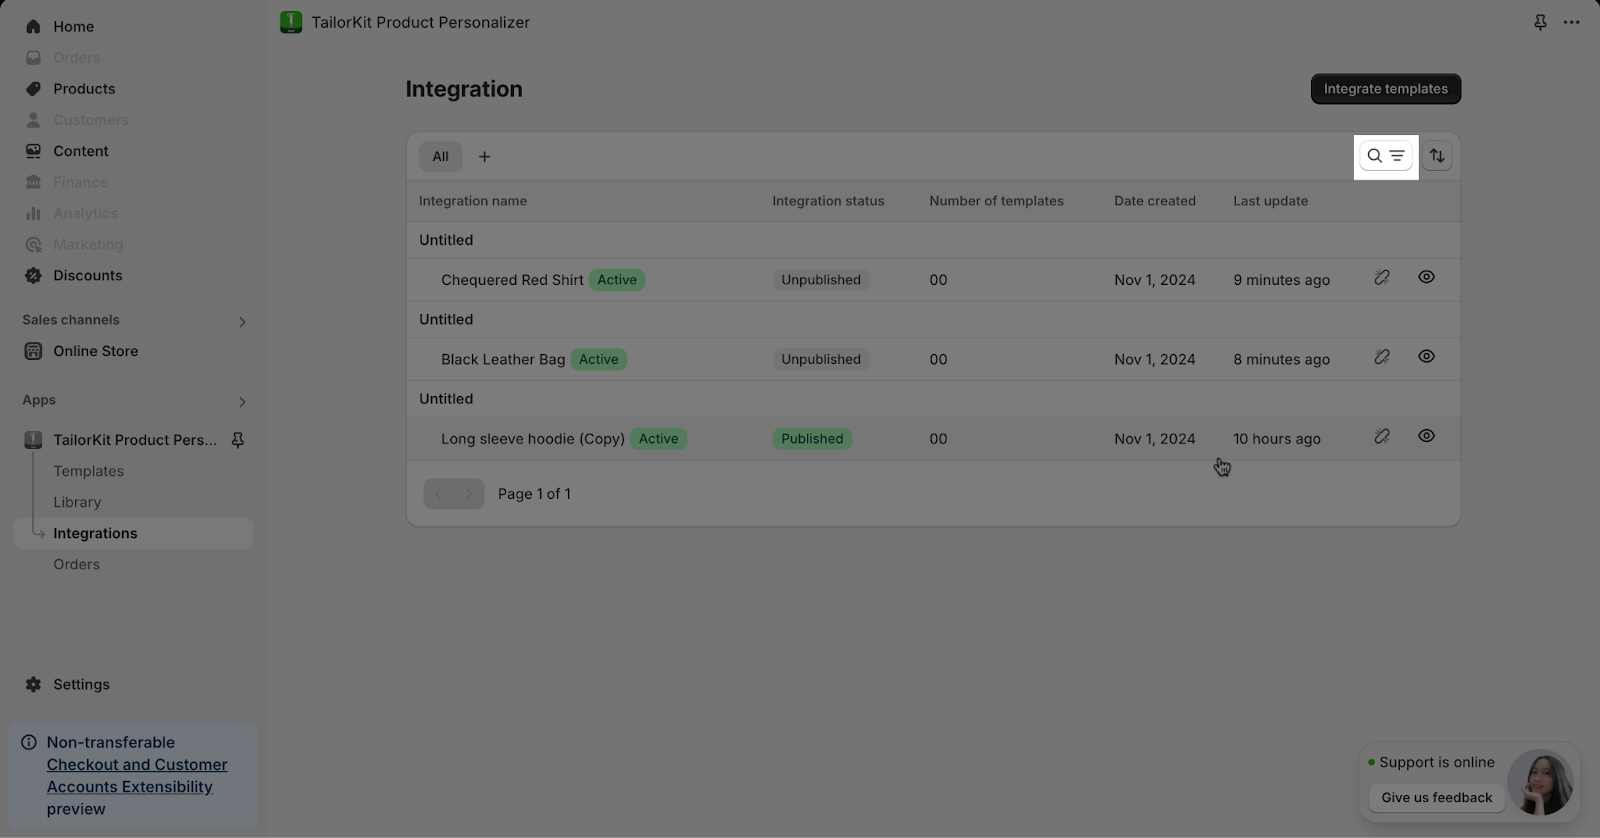
Moreover, to better improve your search process, you can filter the products through the following step:
Click on the search icon > Add filter > Status > Choose the status of the products you want to filter out: Published/Unpublished or enter the Integration name in the search field.
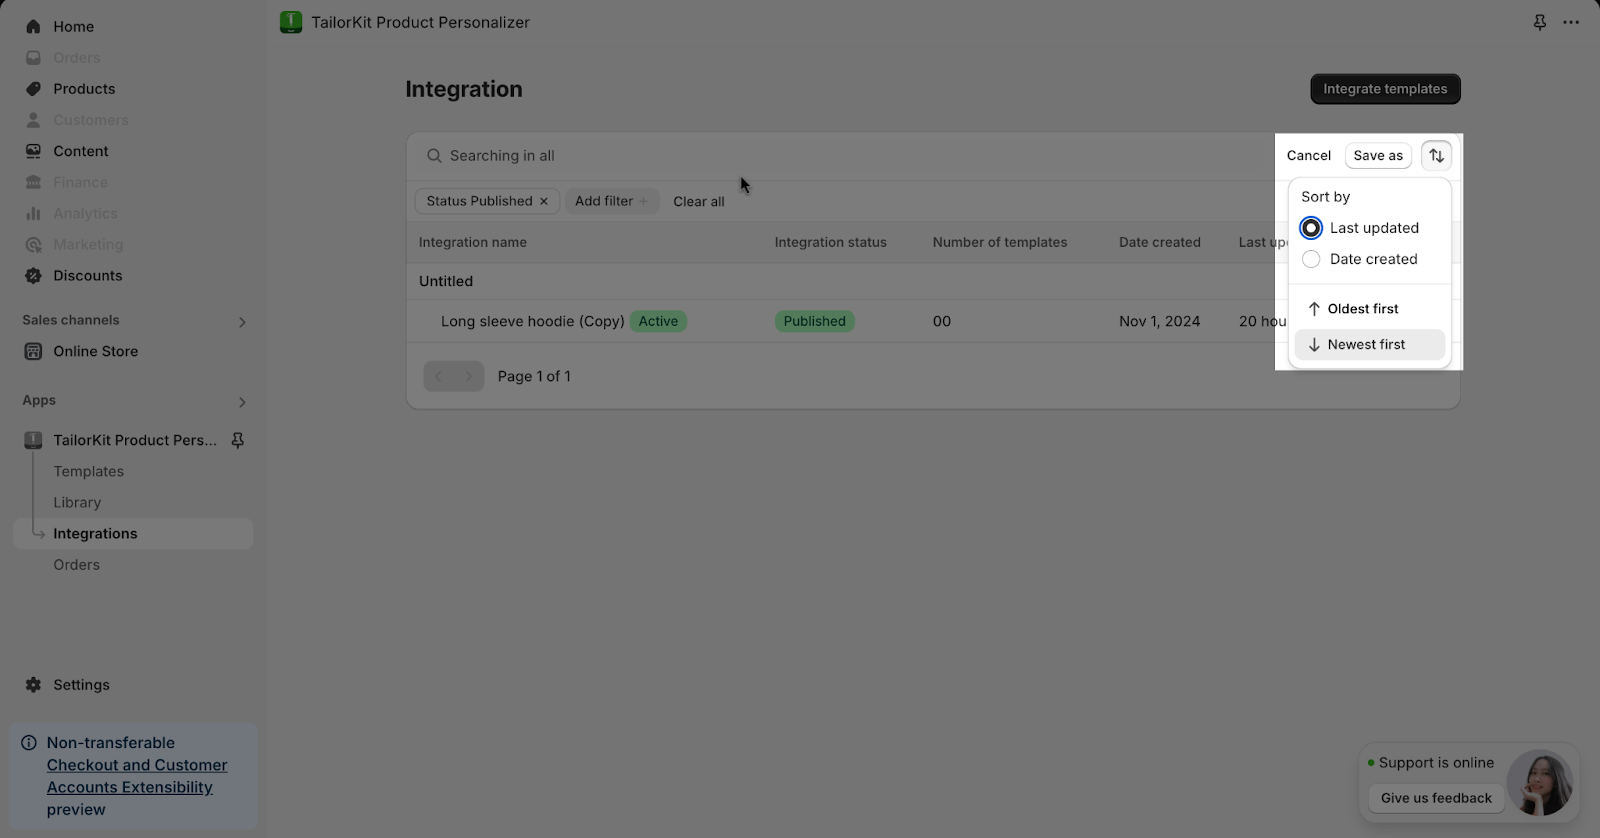
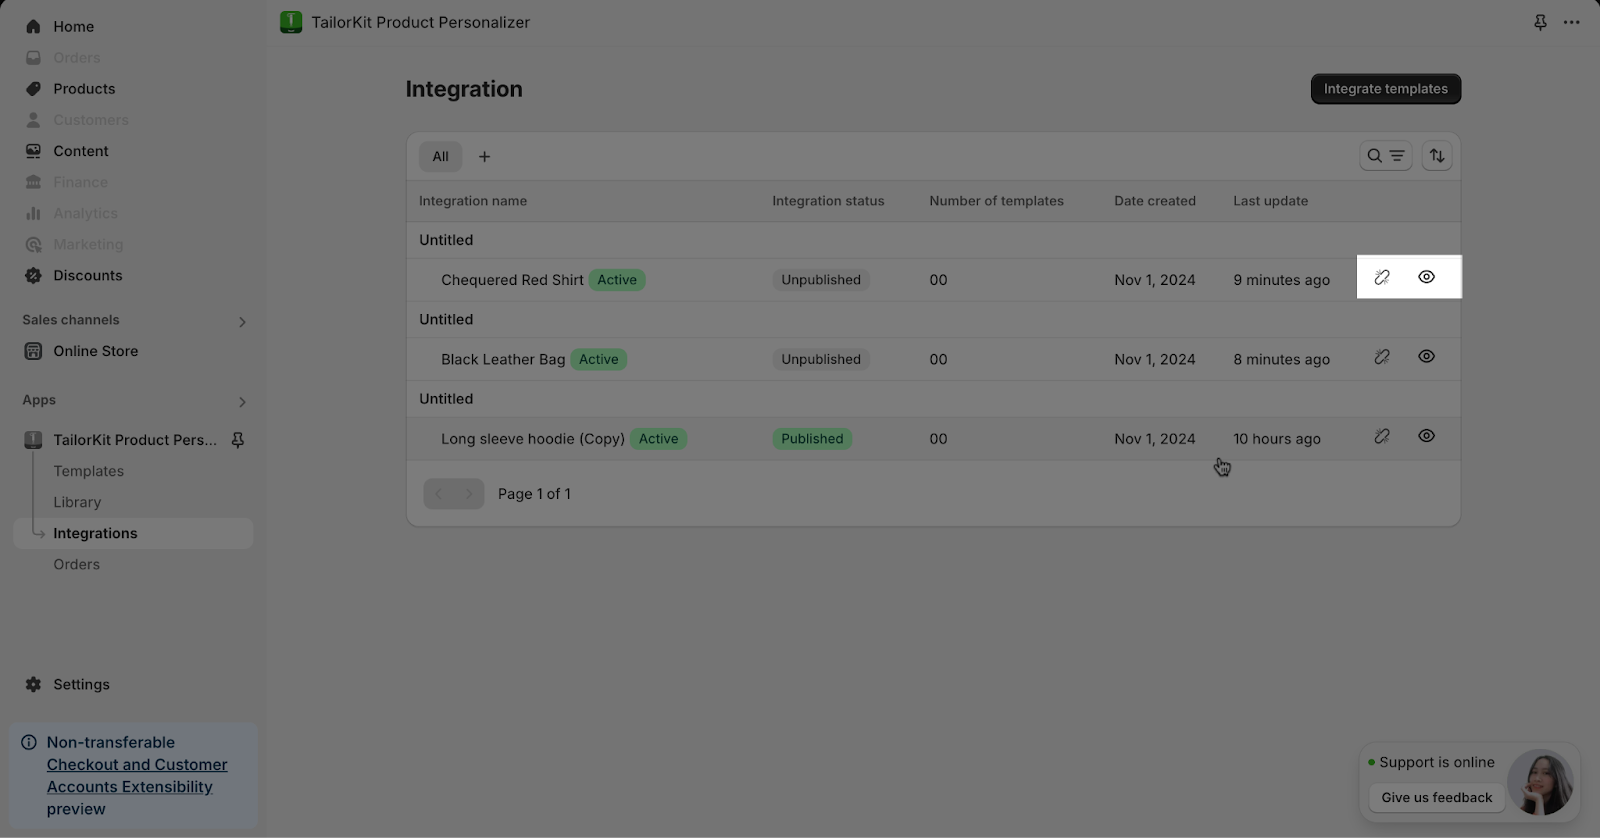
You can also sort the products by clicking the sort icon next to the search icon, you can sort your products by:
- Date created
- Last updated
- Oldest first
- Newest first
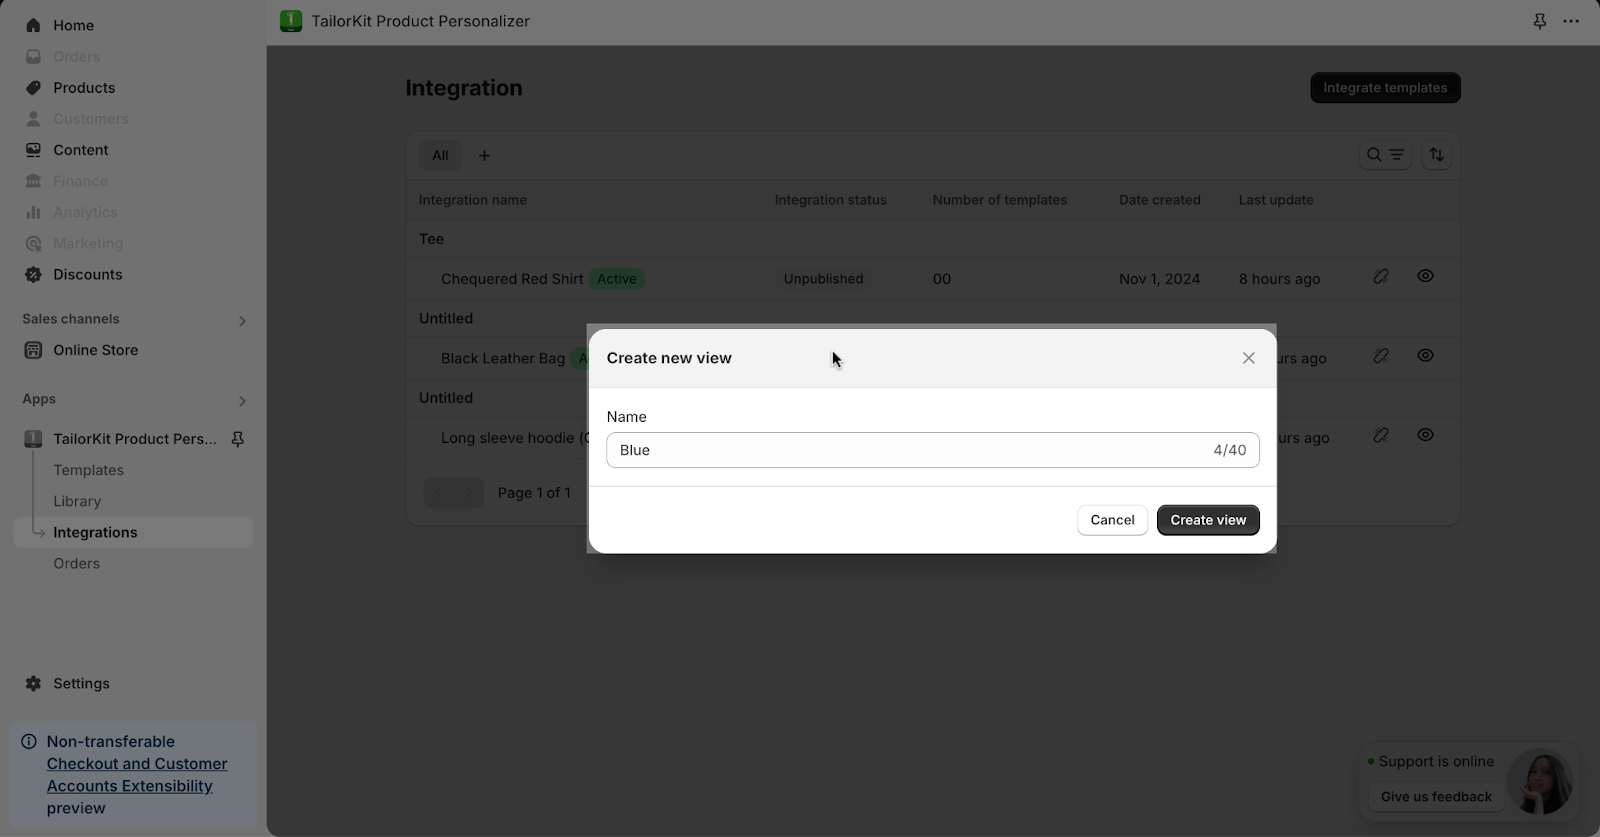
Create New View Format
If you want to create a separate view to group your products regarding their status, click on the “Create view” button.
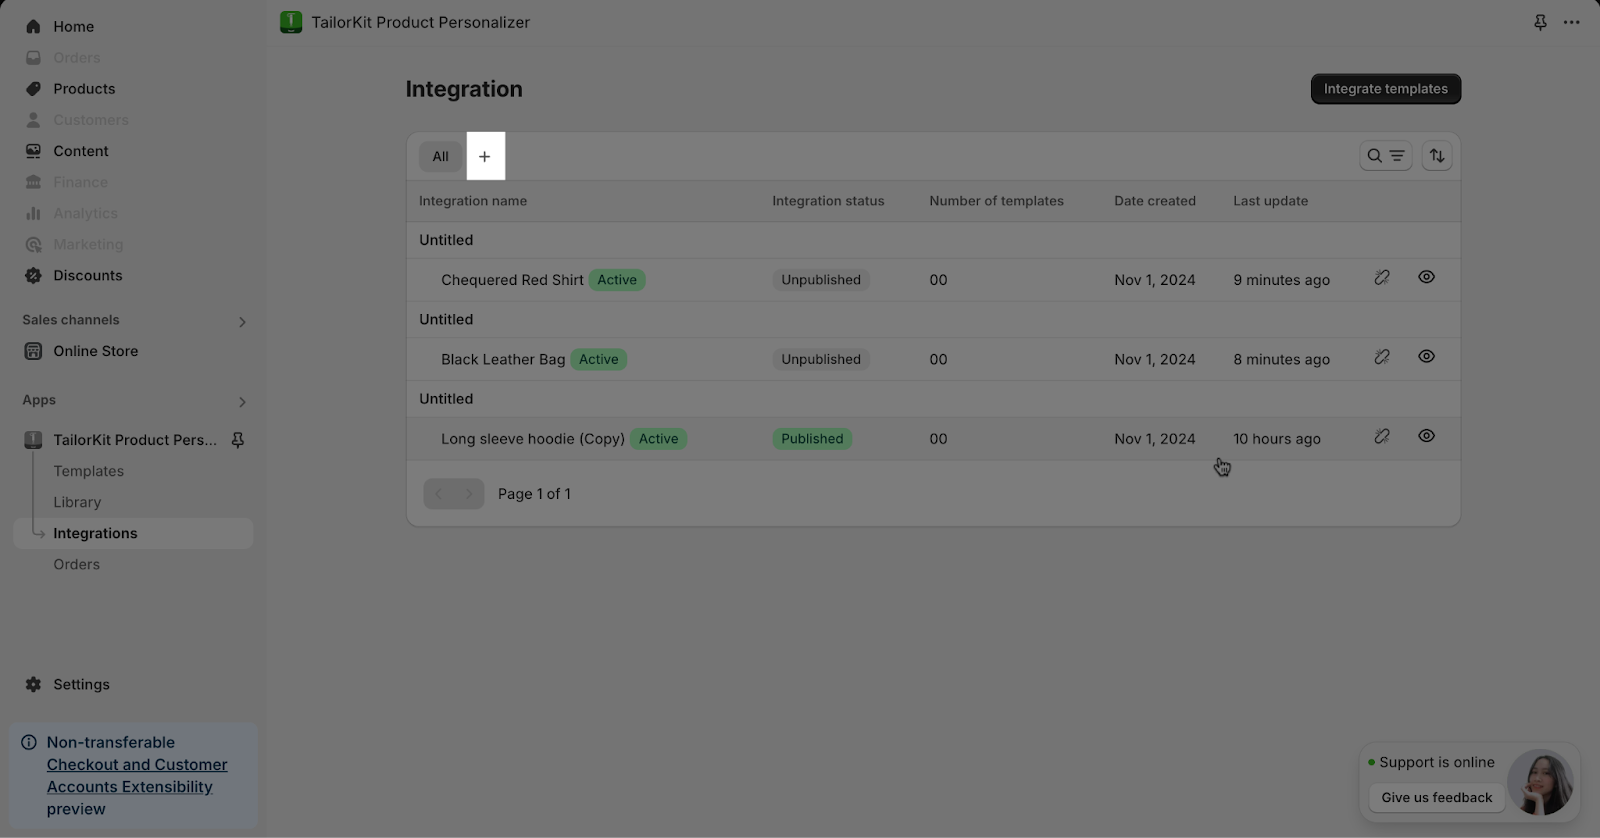
After clicking on the button, you need to name your new view then choose “Create view”
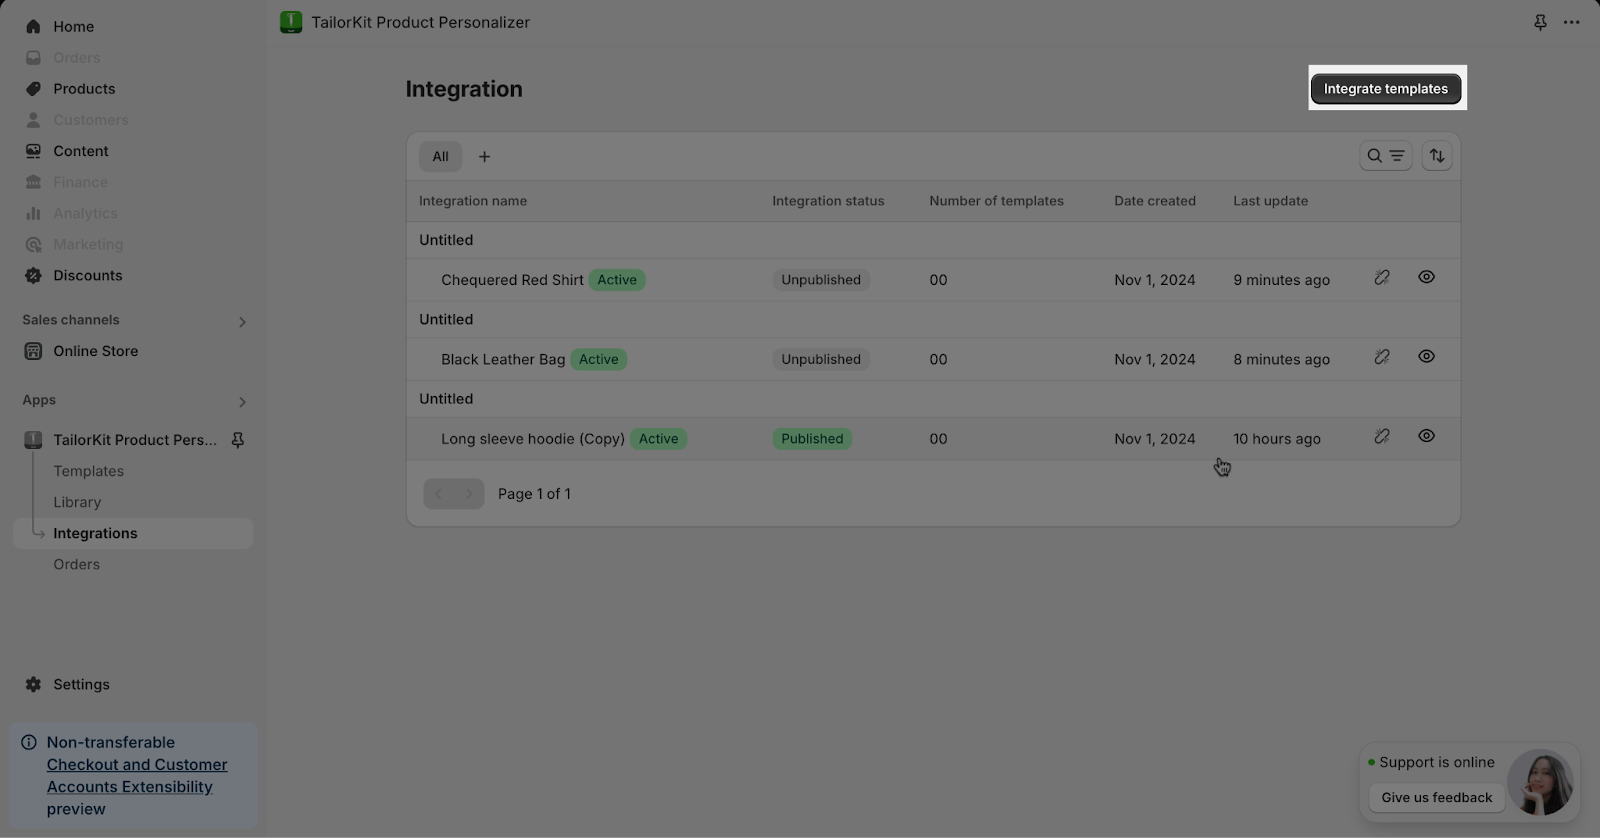
Integrate Template
Click on the “Integrate templates” button to select the product you want to integrate into your template.
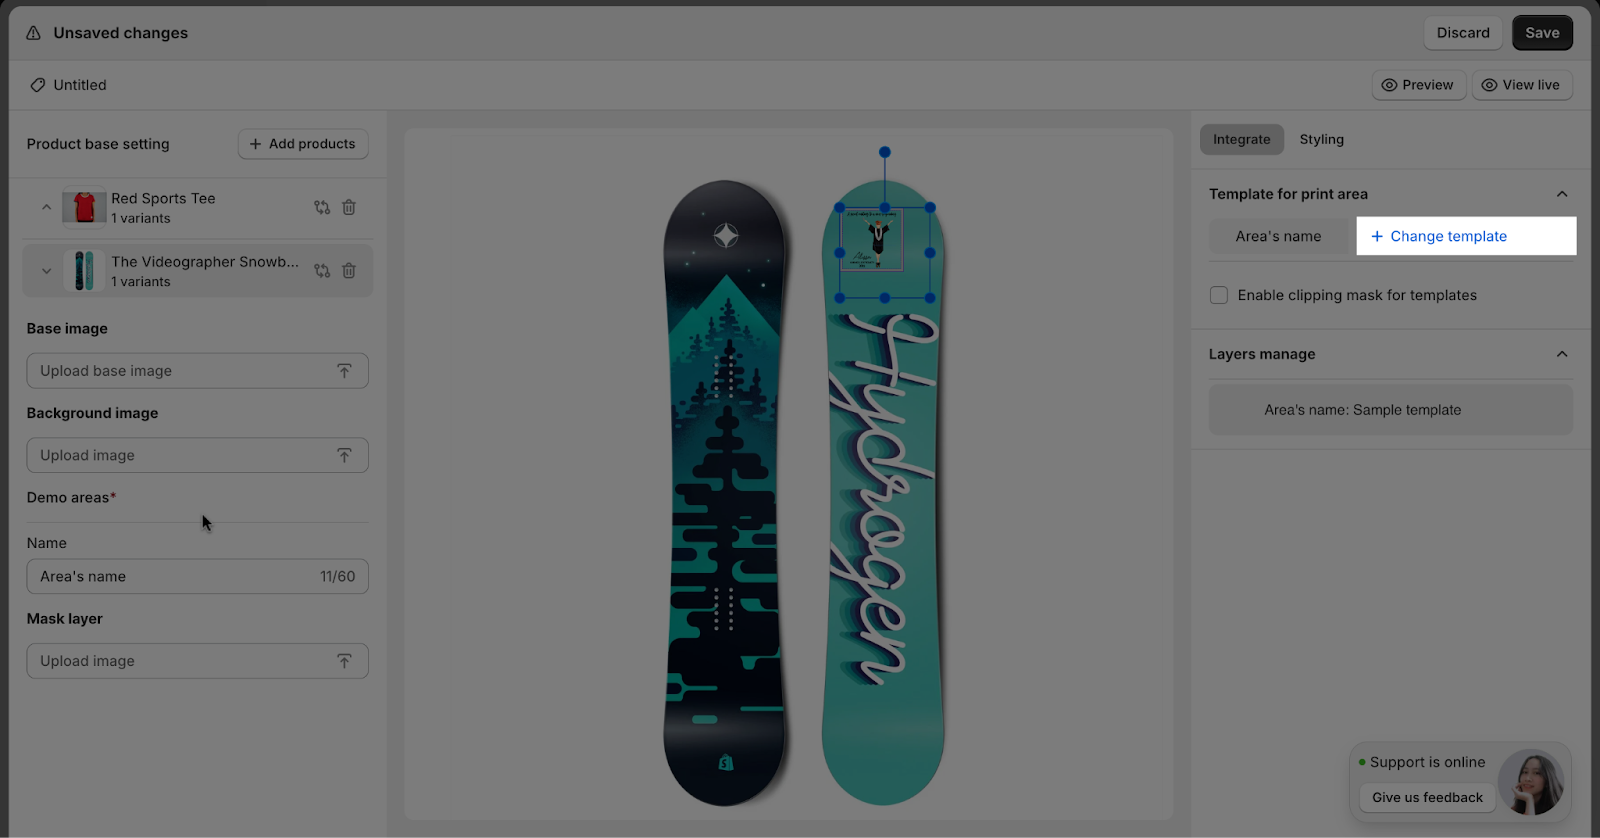
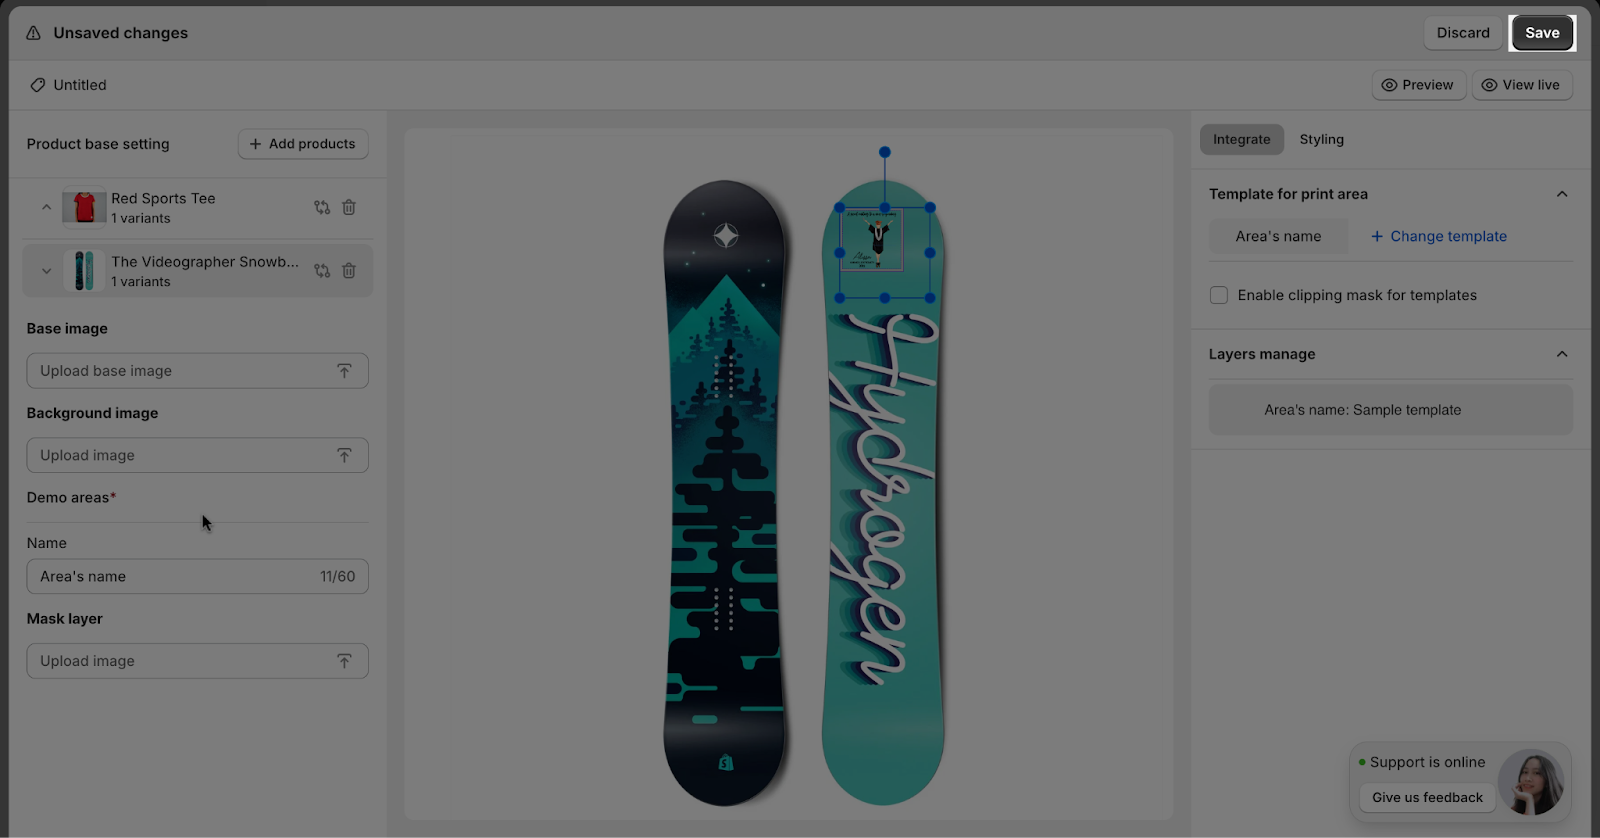
After clicking on the button, you need to set up the product base settings, you can add a product, upload a base image, upload a background image, add an area name, and upload a mask layer image.
- Add products that you want to integrate templates
- Base image: This image will set as the foundation for integrating templates

- Background image: The background image is the visual that appears behind the base image.
- Name: you can change the area’s name, maximum of 60 characters allowed.
- Mask layer
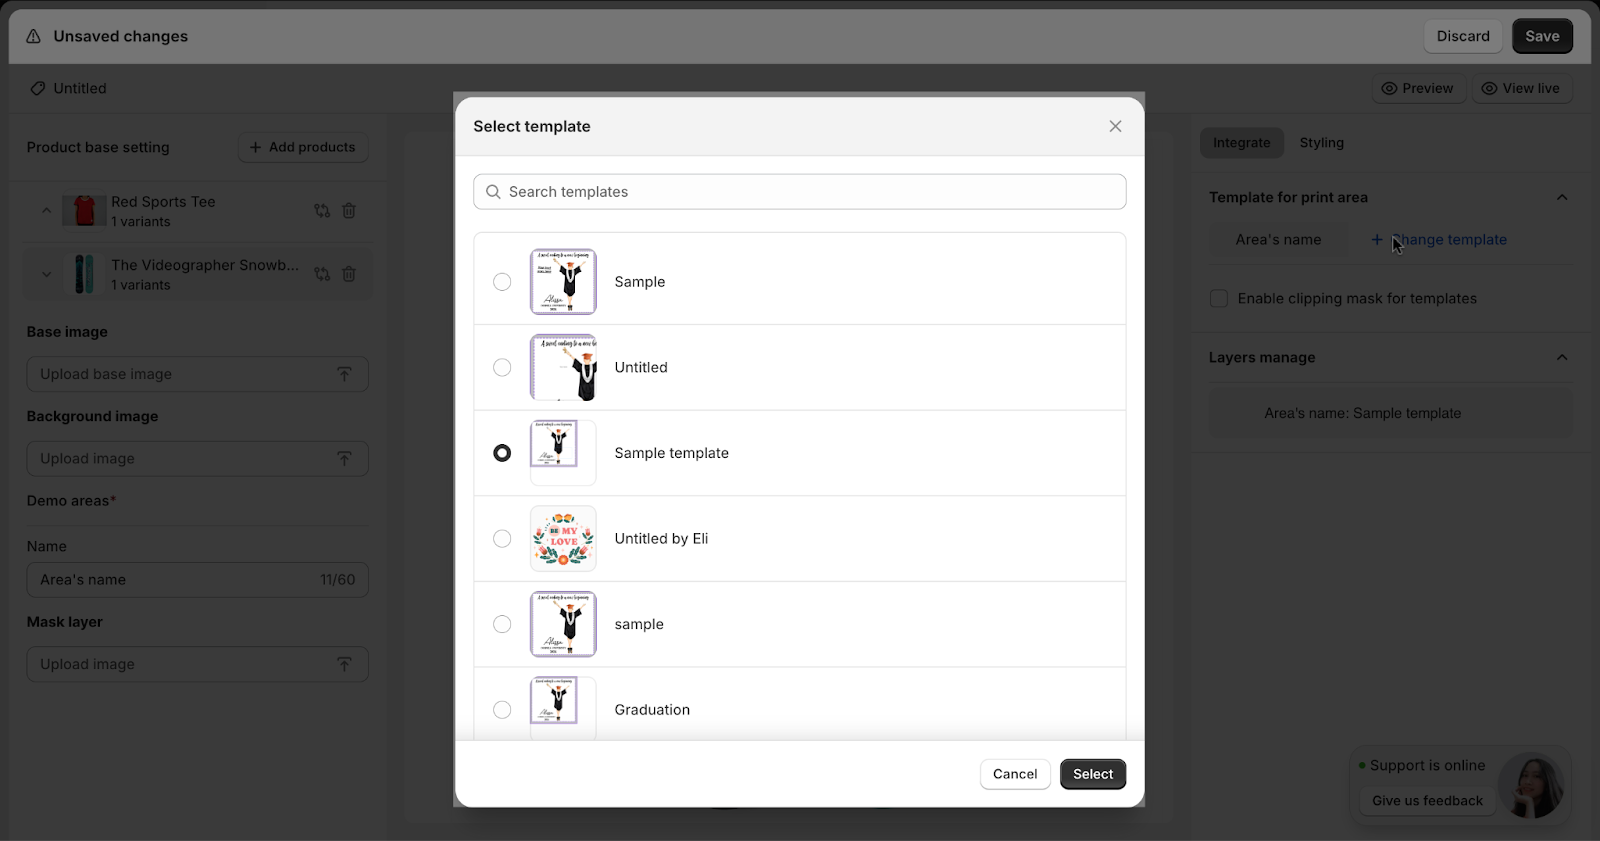
Click on the “change template” button to select a template.
After clicking on the button you will need to select a template and then choose the “Select” button
After making changes, you can preview and view it live before saving it
- Preview
- View live: you can see how it looks on your Shopify website.
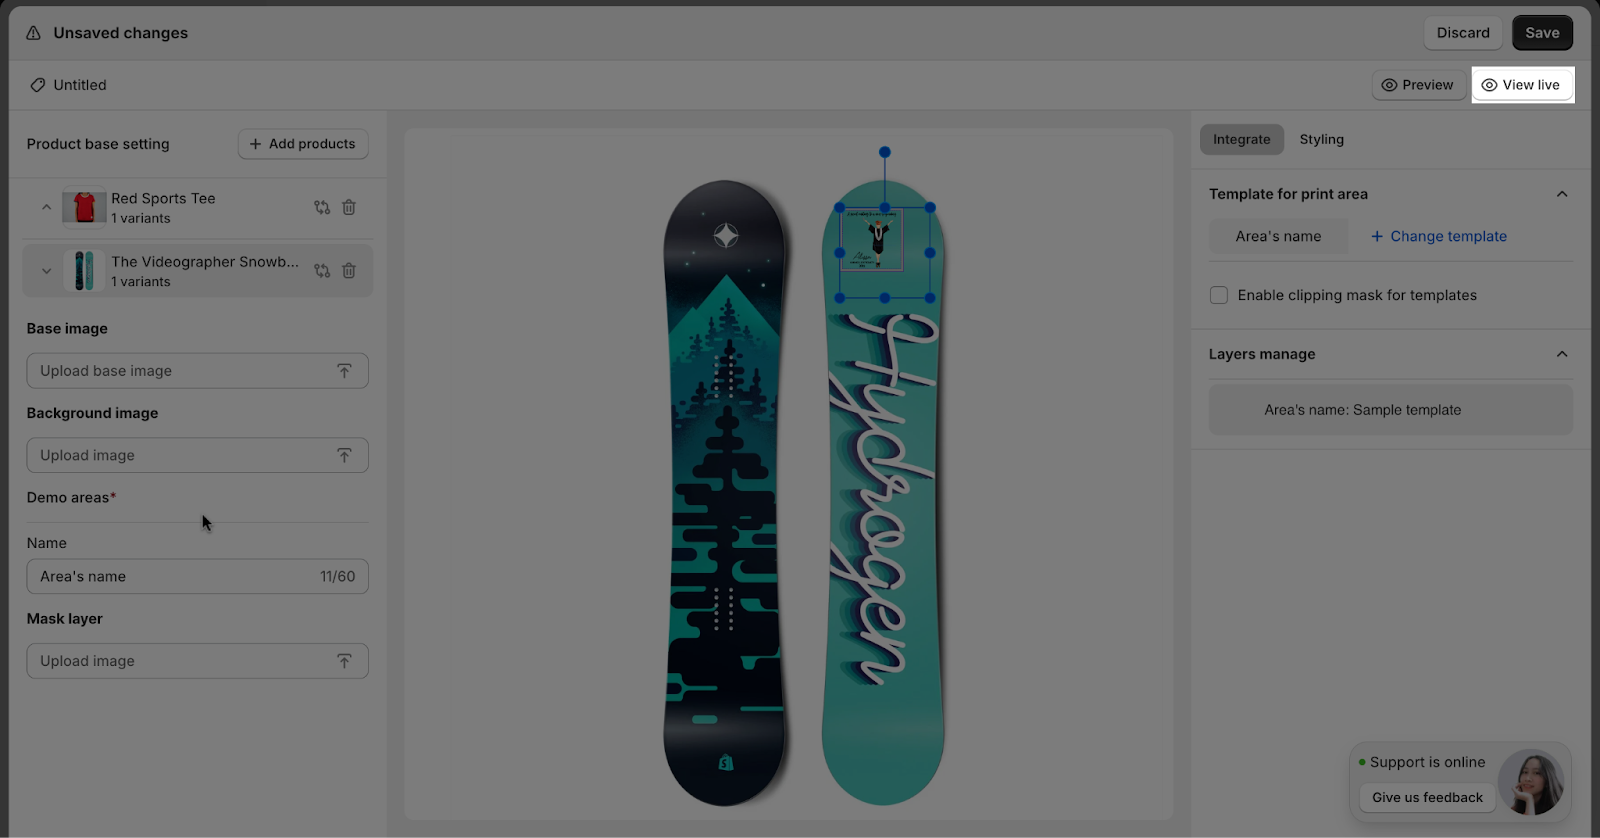
After making all the changes needed, you can click on the “Save” button
Frequently Asked Question
1. What do I need to prepare in order to add a template to my products?
In order to add a template to your products, first of all, you will need to integrate the template so that it will be available for you to add to your products. For more informations on how to create a template, please refer to our manual of How to create template
2. How many products can I integrate into my template to each time?
You can integrate into your template more than one product at a time, once you click on the integrate template button you can be able to select multiple products.