About TailorKit Templates Page
TailorKit’s Template Page allows users to select multiple images for each layer to create a template, which can then be combined with the product, thereby helping to diversify the product.
In this article, you can understand about:
- Accessing TailorKit’s Templates page
- What is on TailorKit’s Templates page
- Frequently asked questions
Accessing TailorKit Templates Page
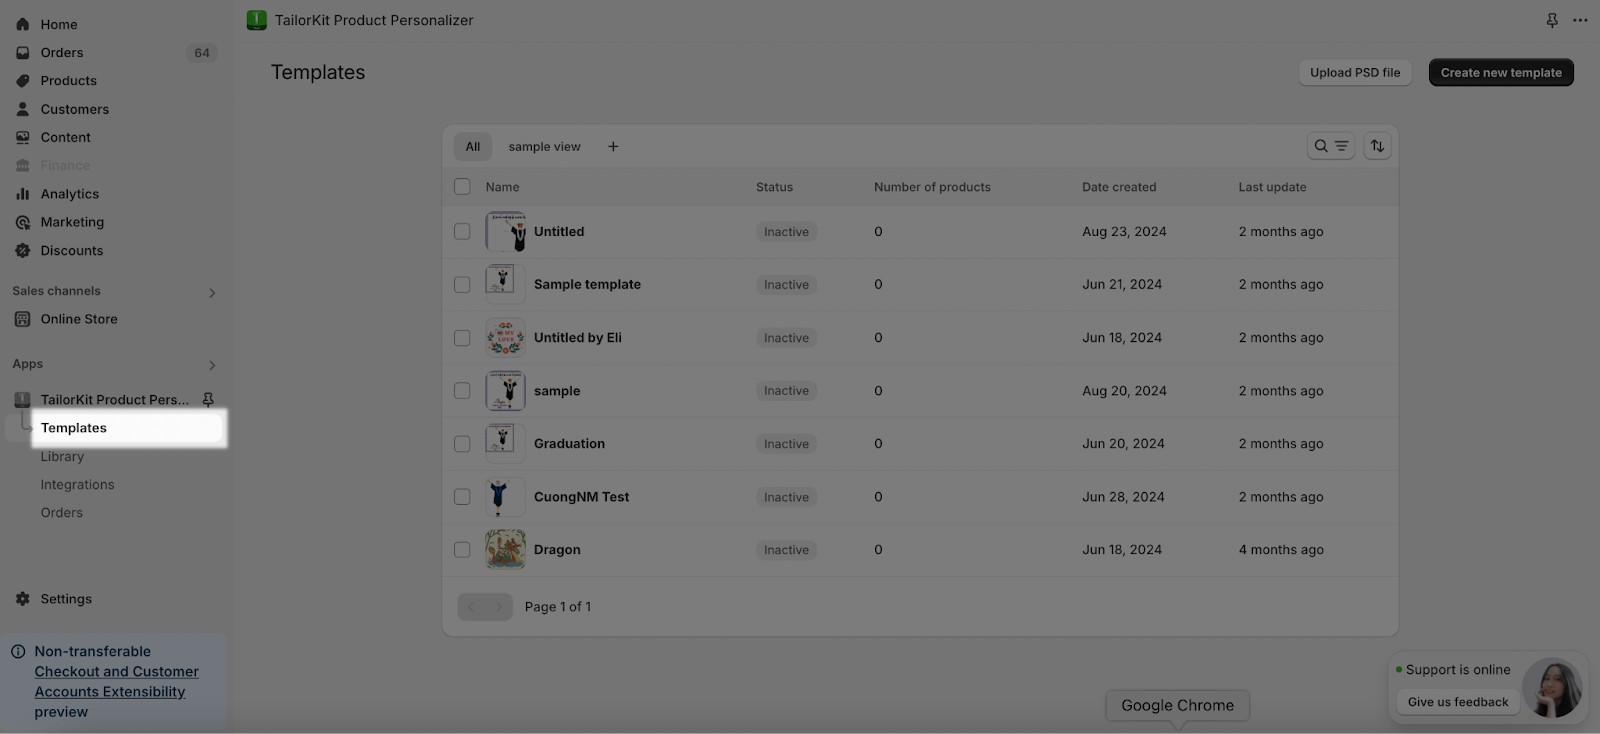
On the TailorKit Dashboard, click on Templates to access the Templates page.
What Is On TailorKit’s Templates Page?
On the Templates Page, you can:
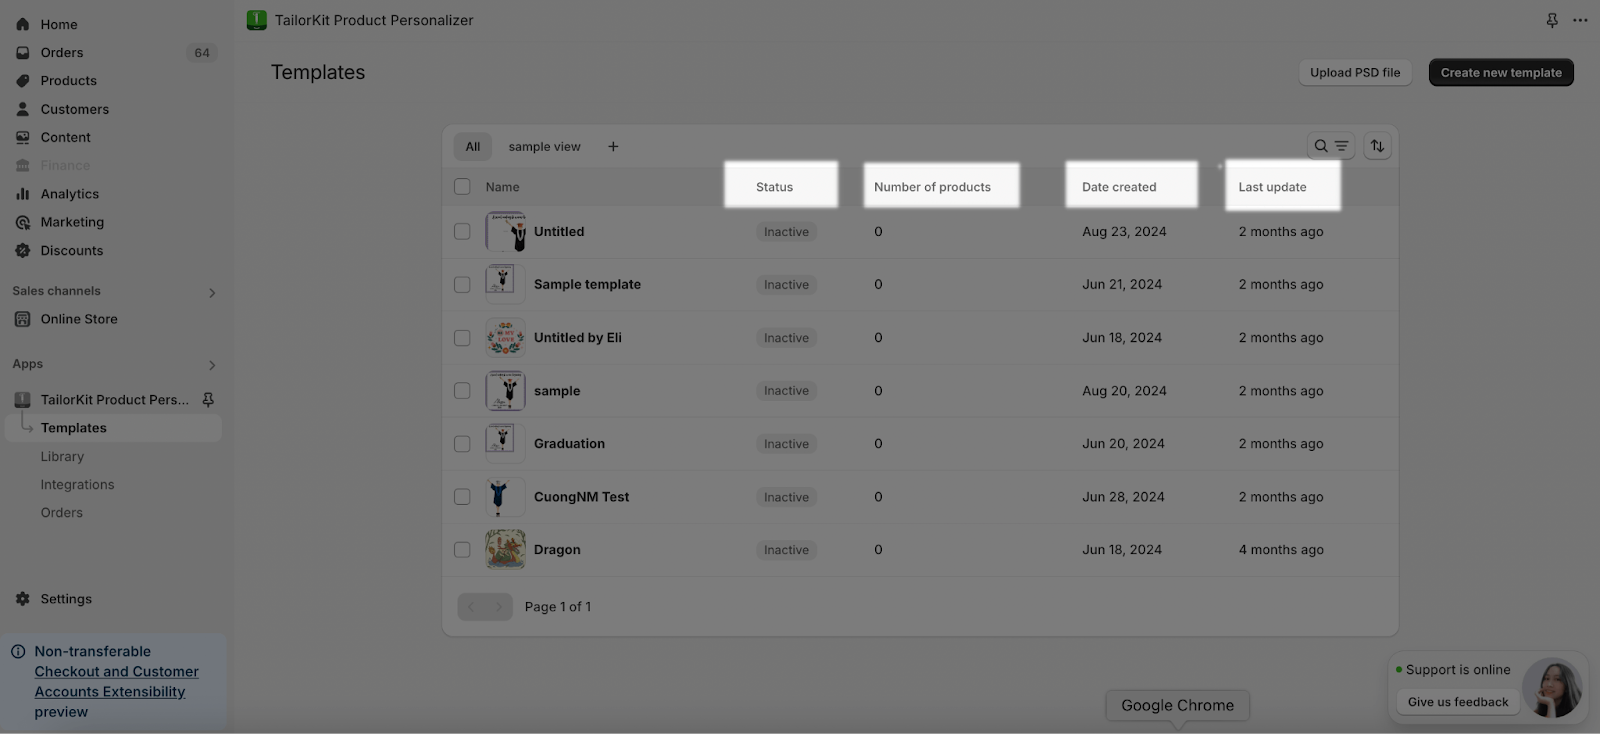
- View all templates you created with its status, number of products, date created and its last updates.
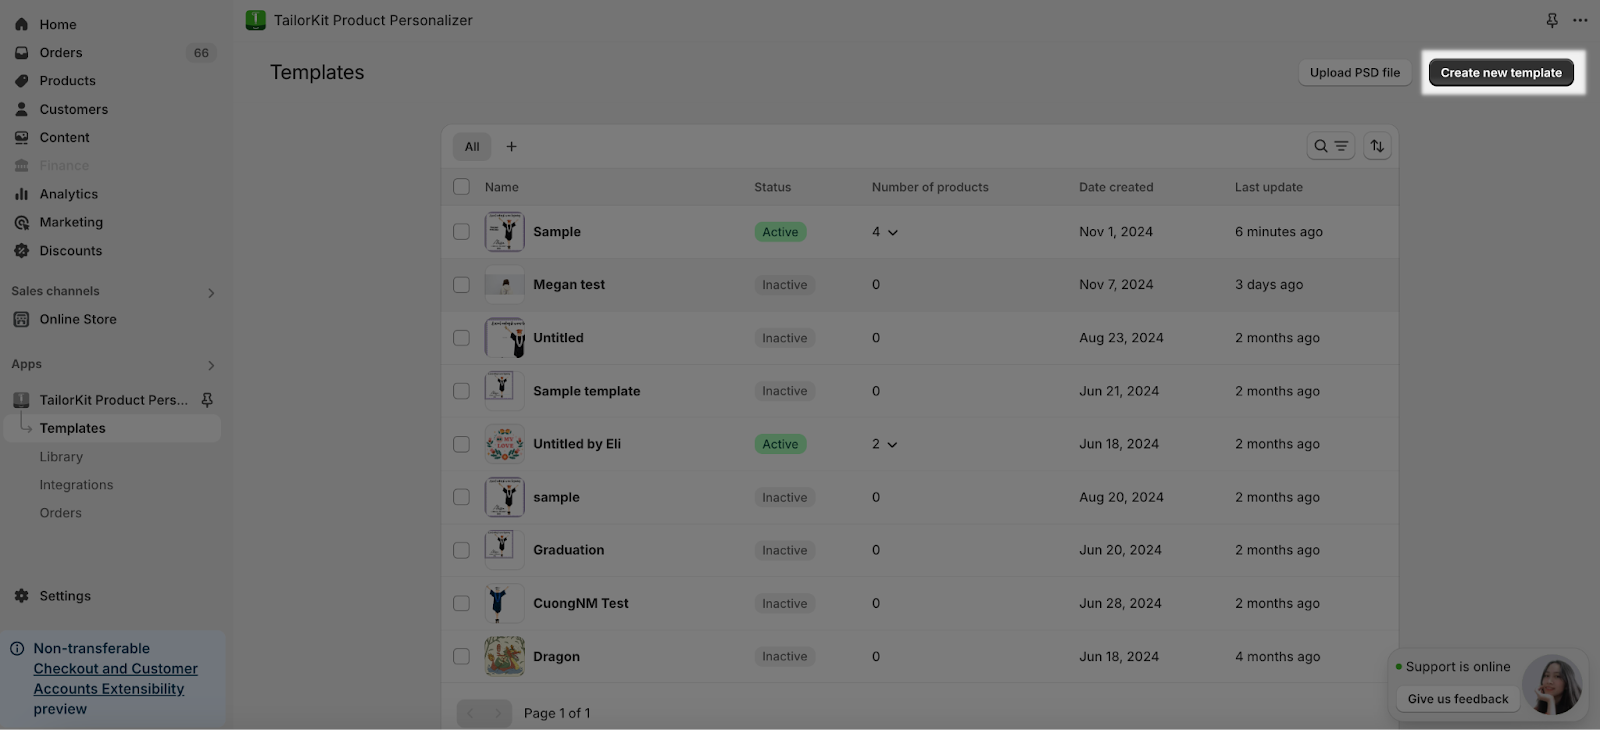
- Create a new template: You can create a template by choosing this option.
How To Use The Template Page?
Step 1: Popup Information
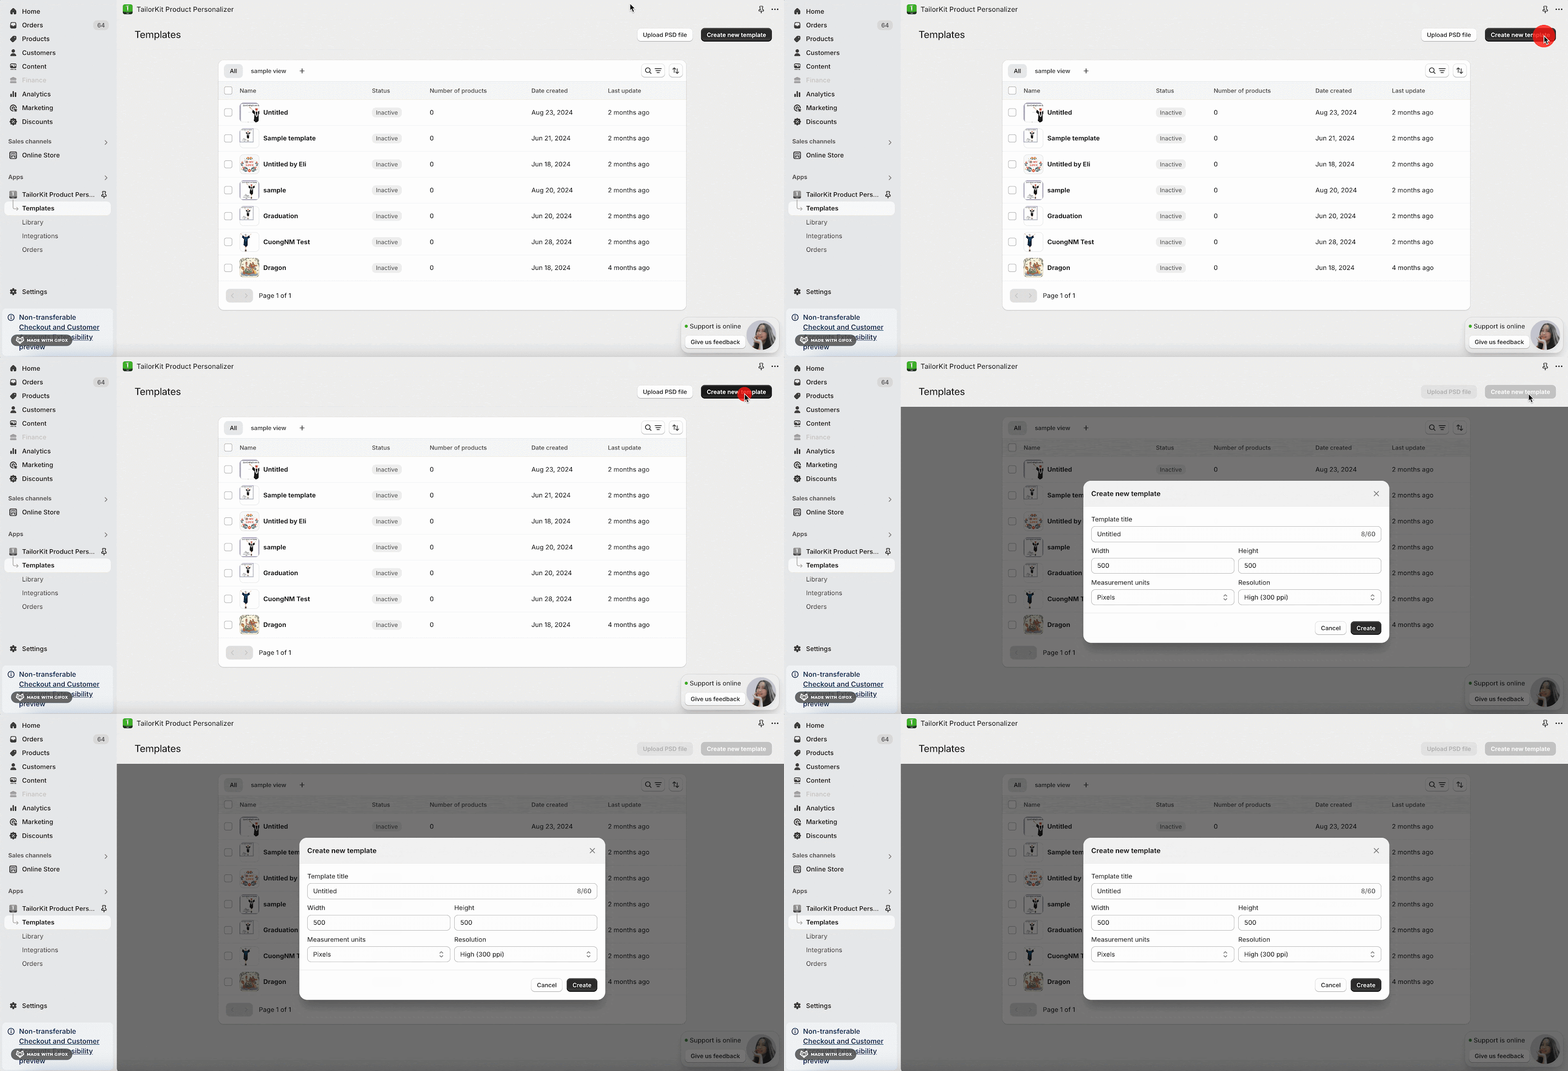
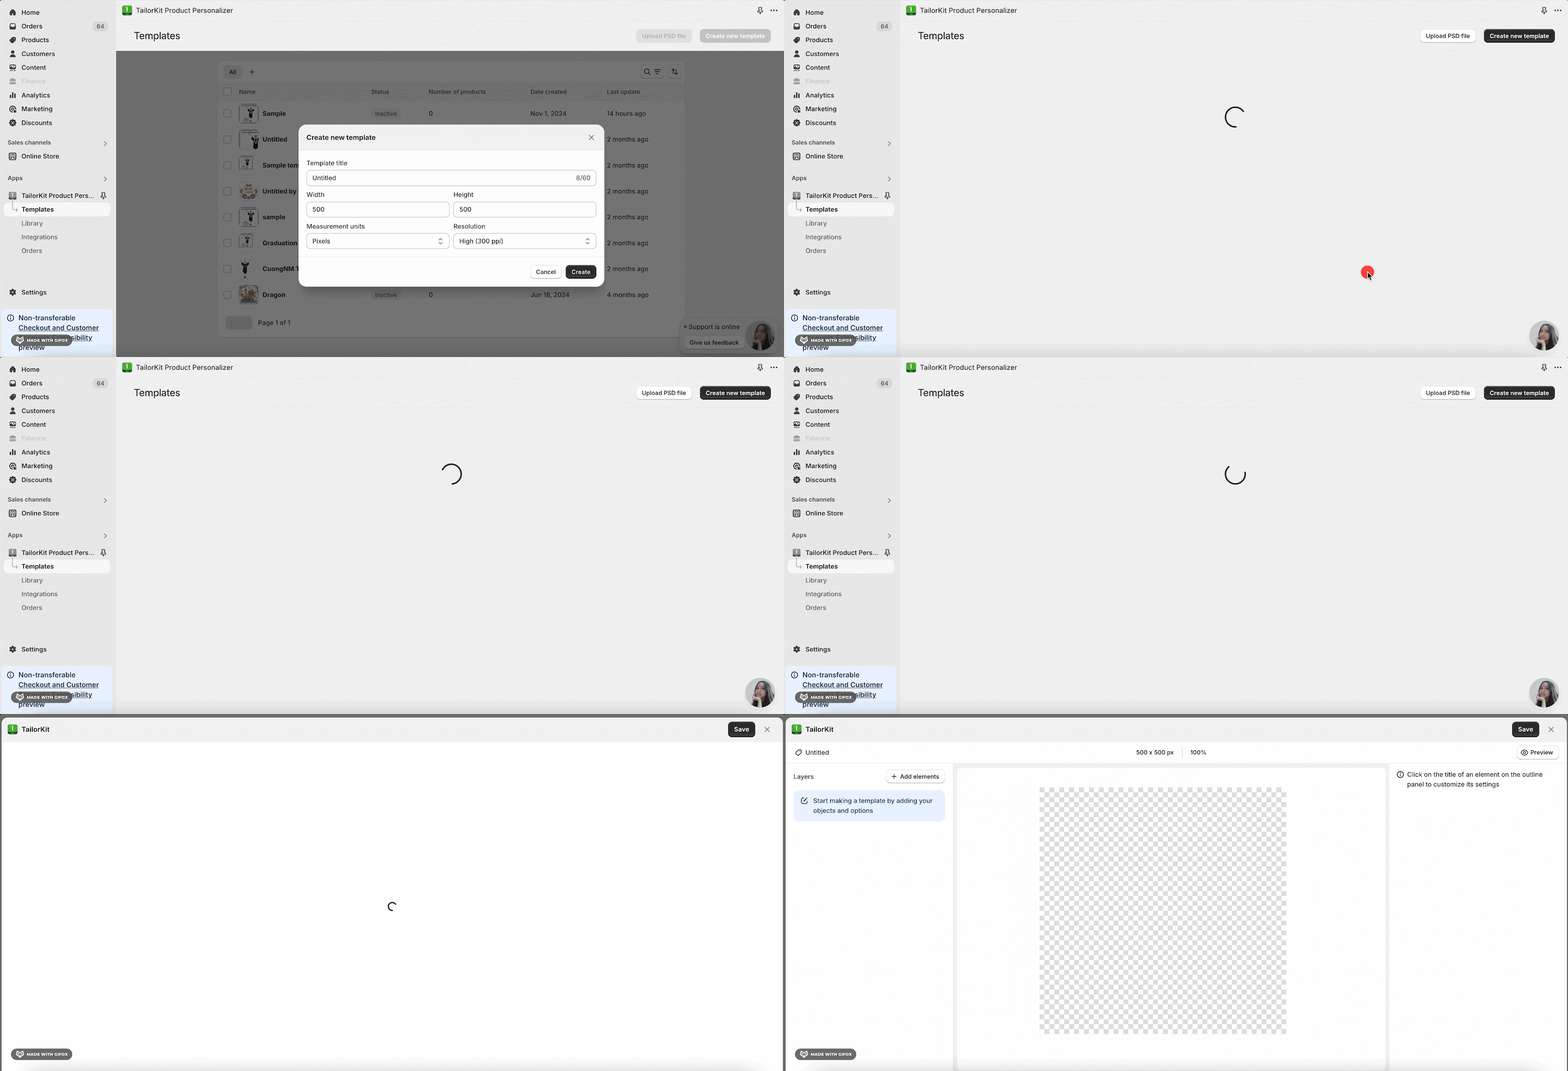
When clicking “Create a new template“, there is a popup for you to set the size of the template.
After choosing, click “Create” to create a template. You can learn more at How to create template.
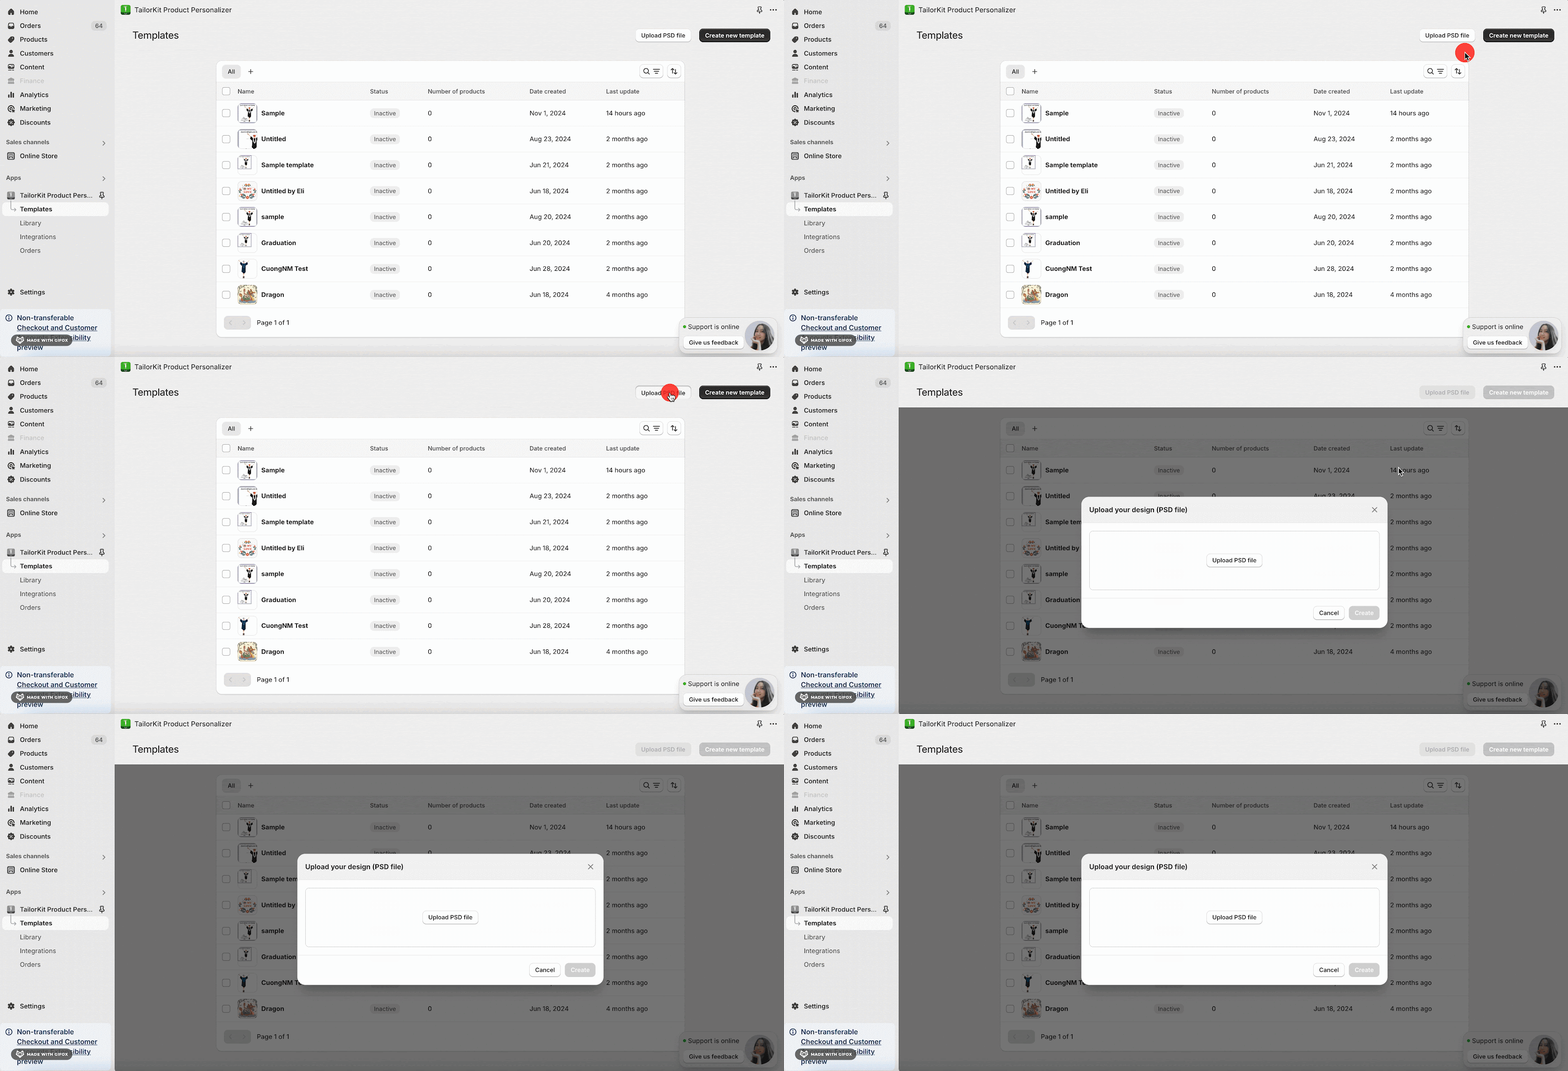
Step 2: Upload The Photoshop Document File
You need to upload this file to edit the layers. In case you choose to upload PSD files from the beginning, the step of setup the template’s size will be skipped. The size of the template will be set default to equal to the size of the file PSD.
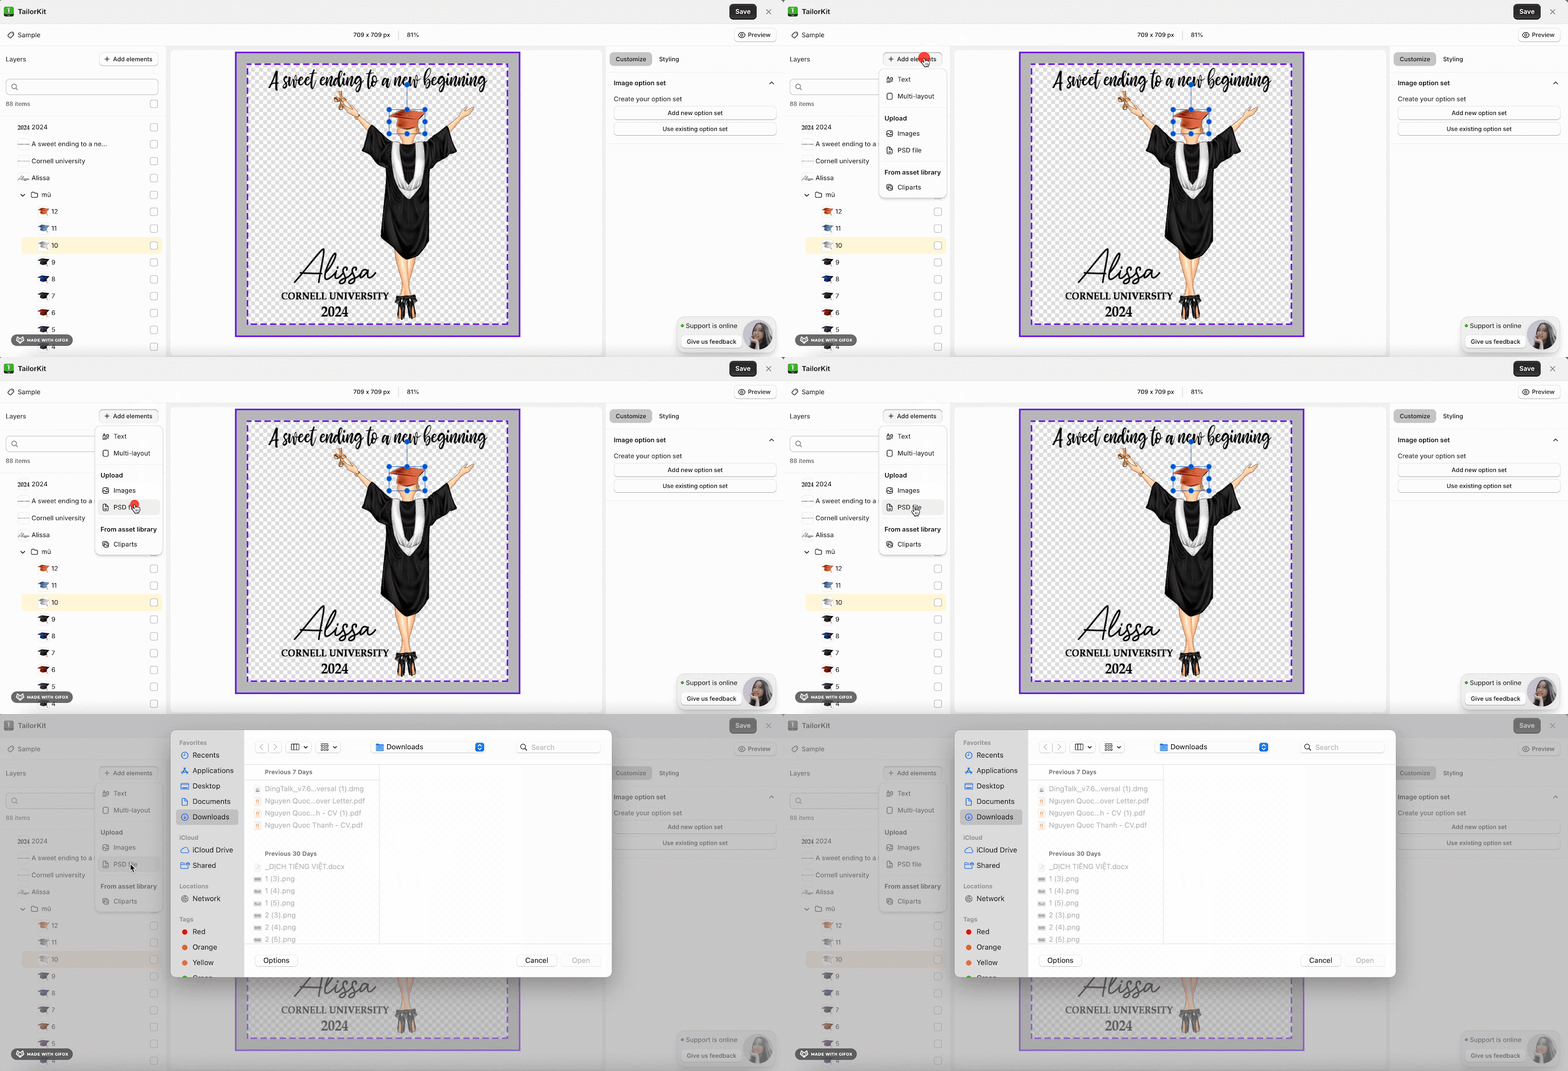
You can also upload the PSD File in the Templates by choosing the “Add elements” button.
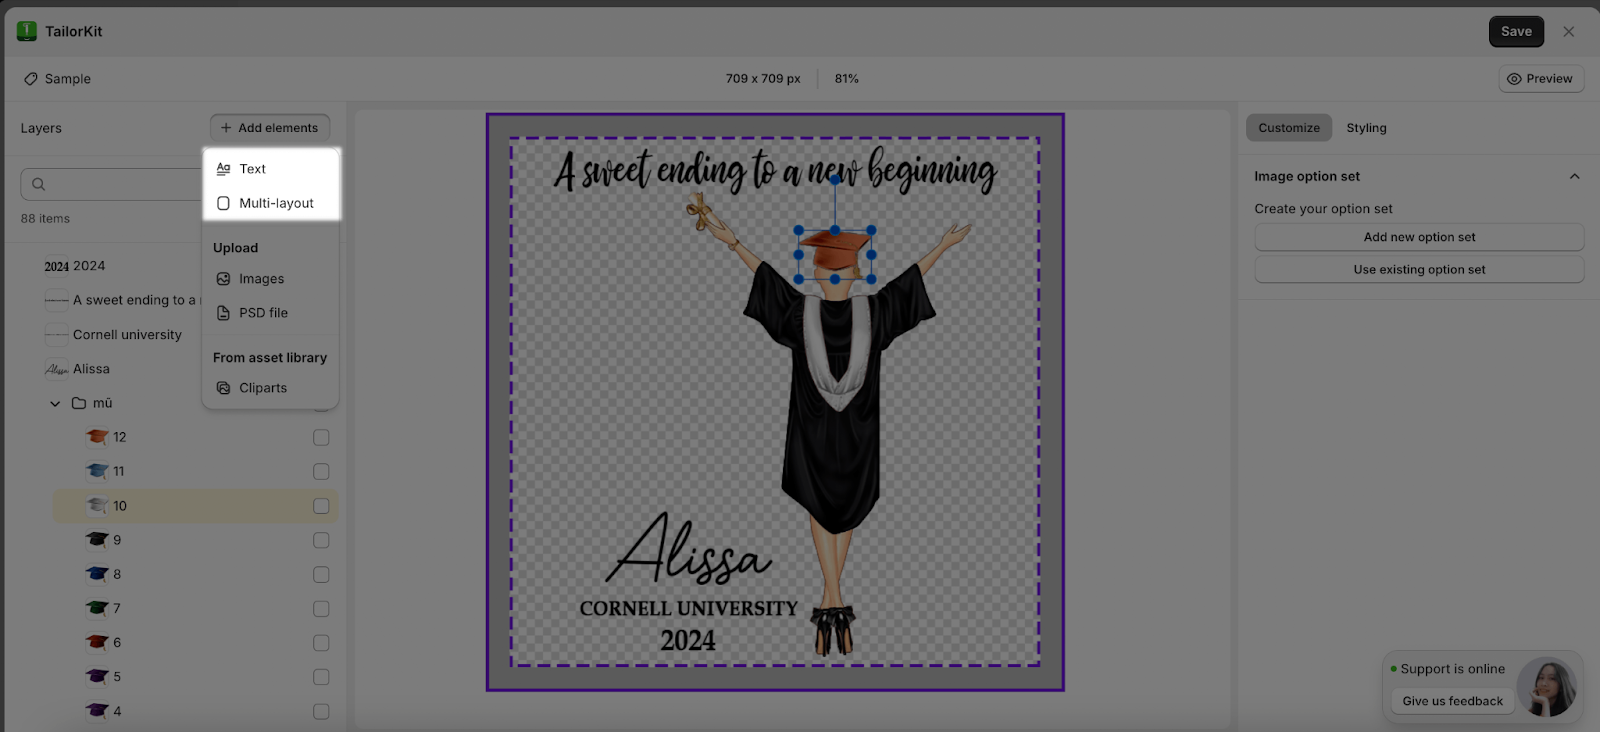
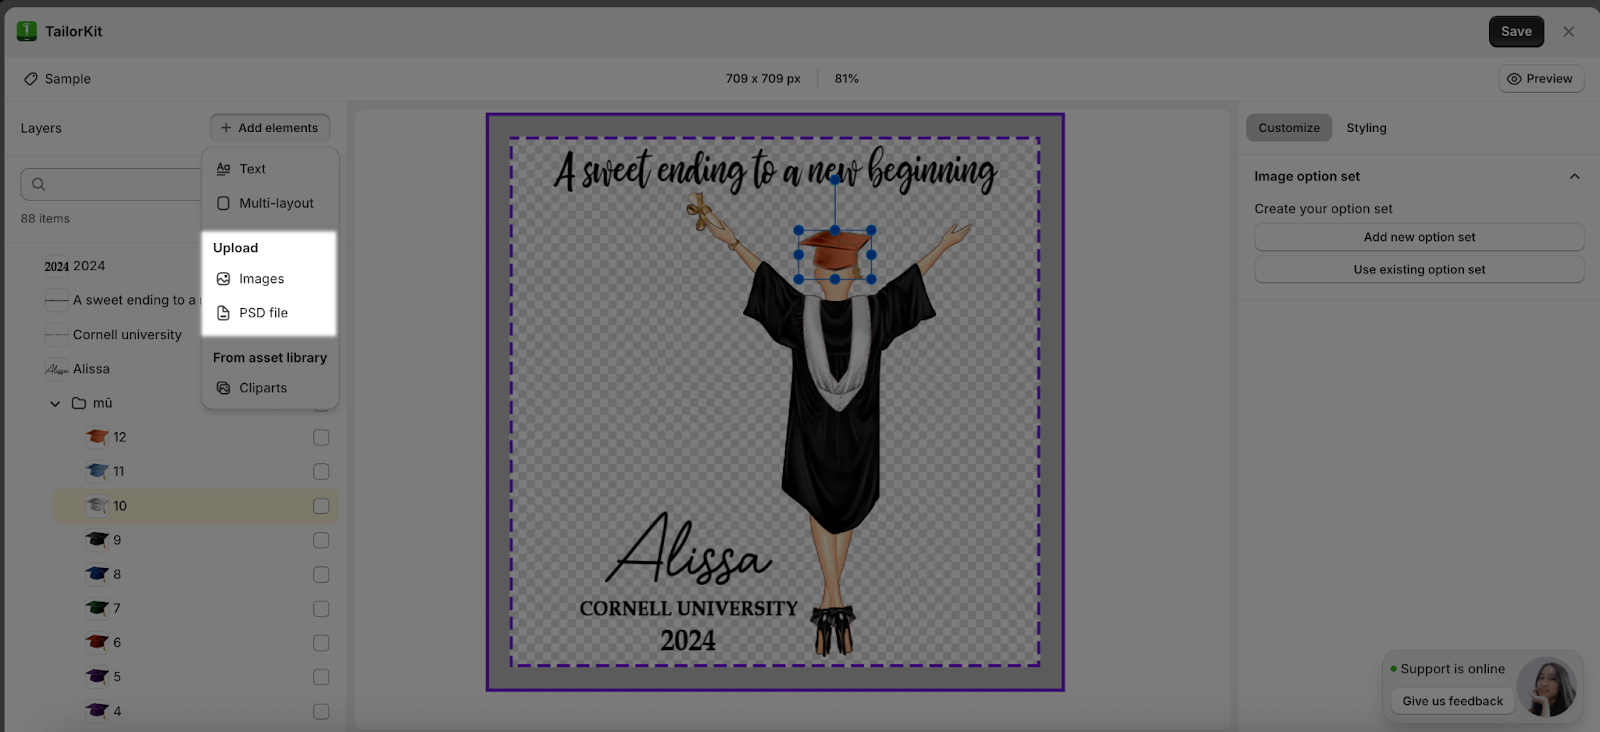
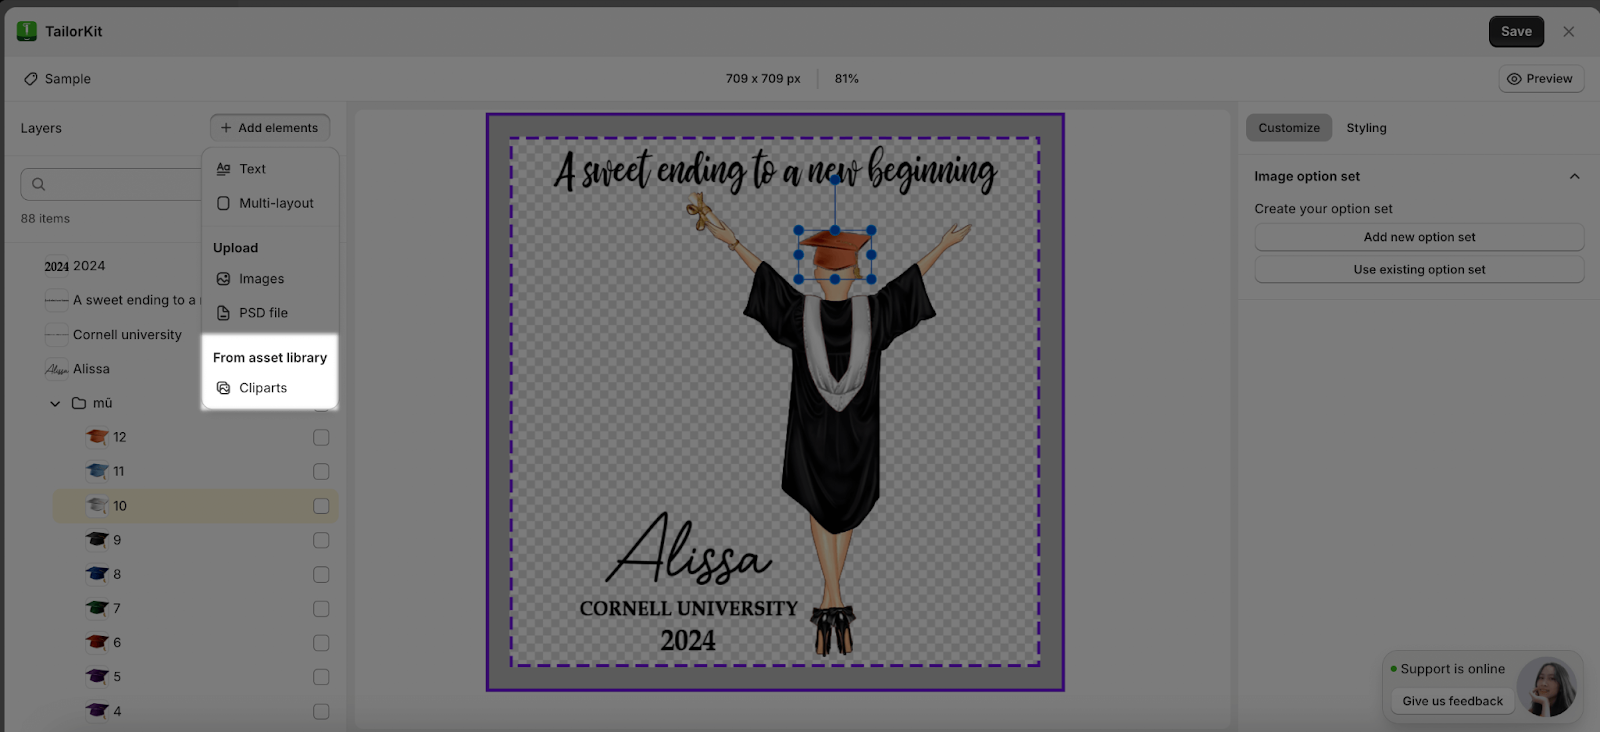
Step 3: Add Element
From the Add Element button, you can add:
- Text and multi-layout.
- Image and PSD File.
- Add Cliparts from asset library.
Step 4: Create Template
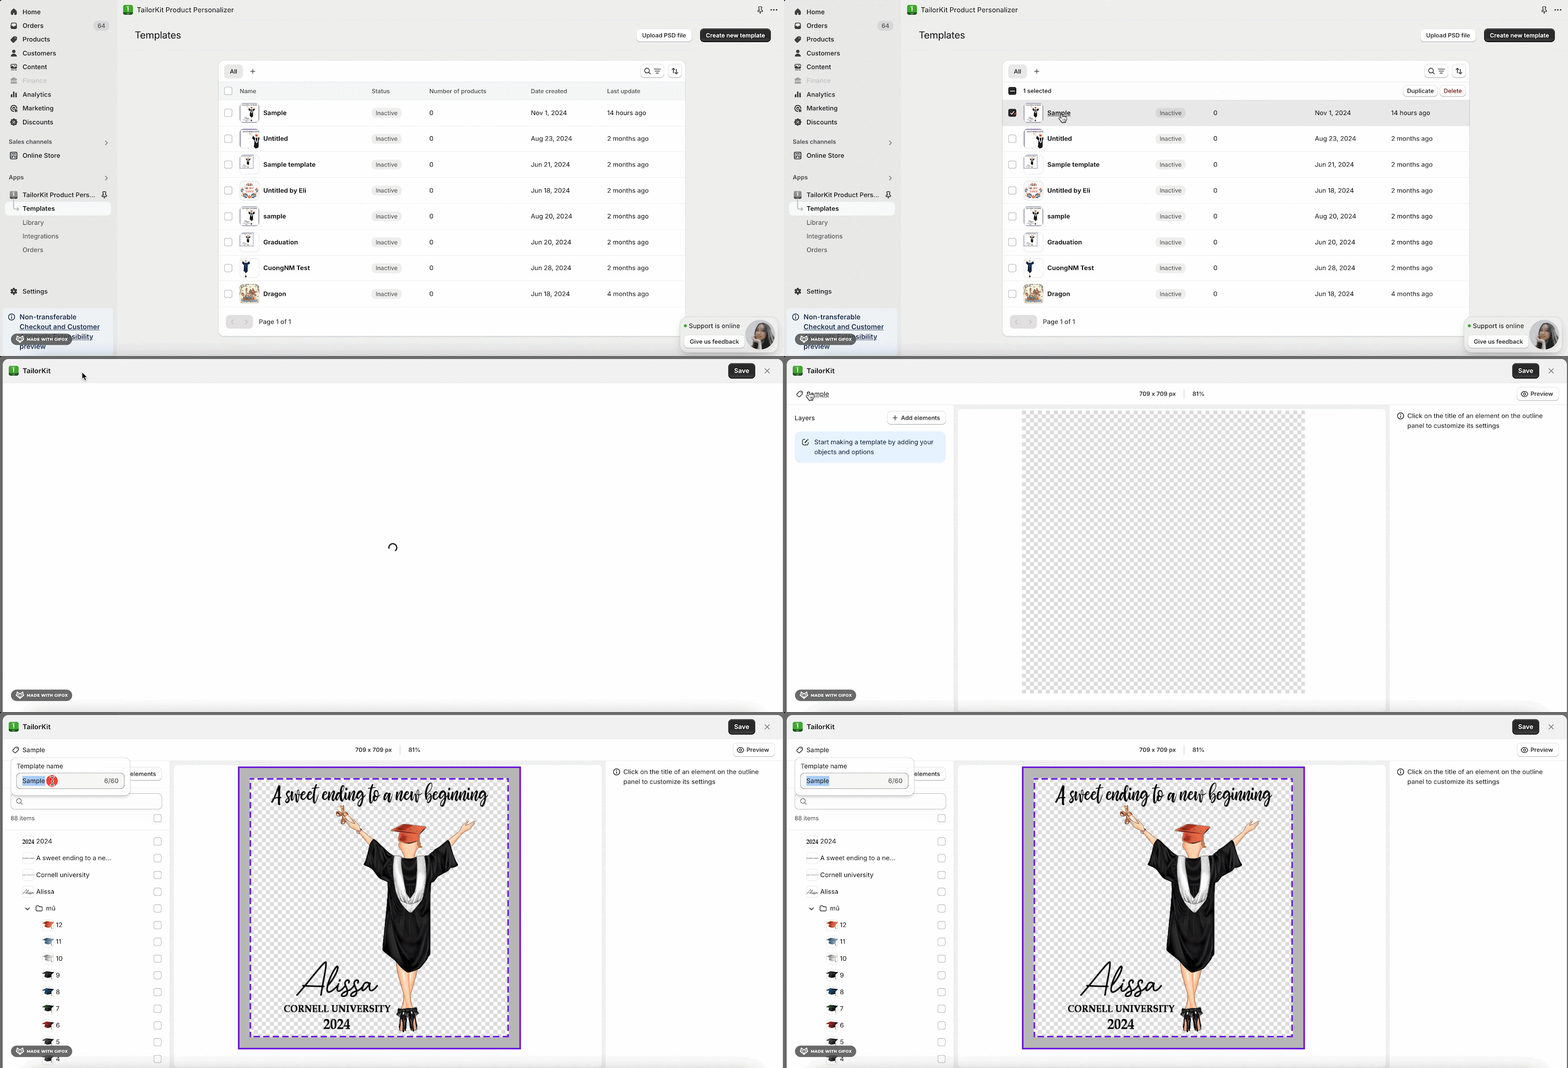
From the Templates Page, you can edit the template by clicking to the template which you want to make changes.
- Name: Once you click to the template and a pop-up, you can edit the template’s name by choosing the name and editing the template’s name.
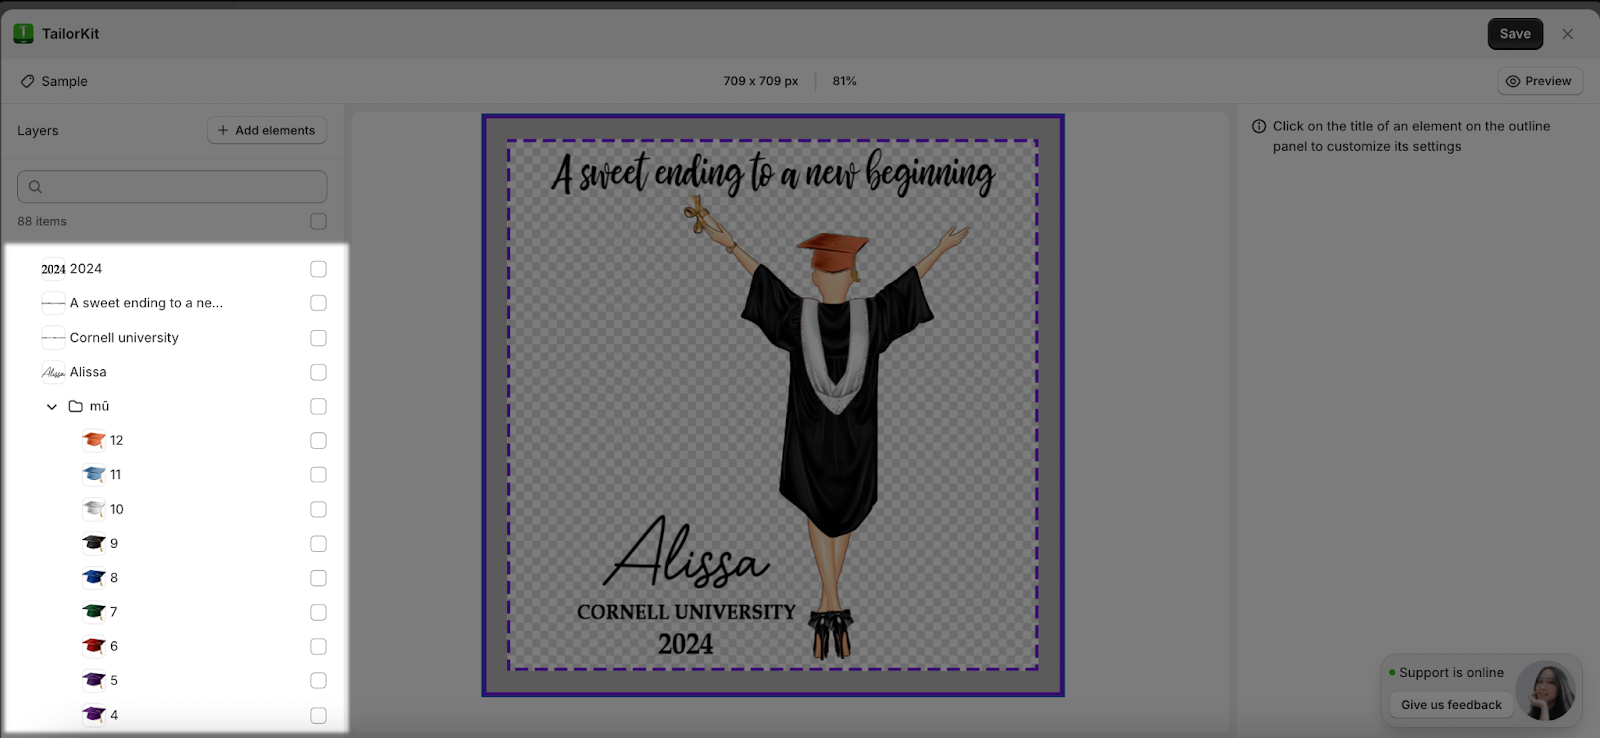
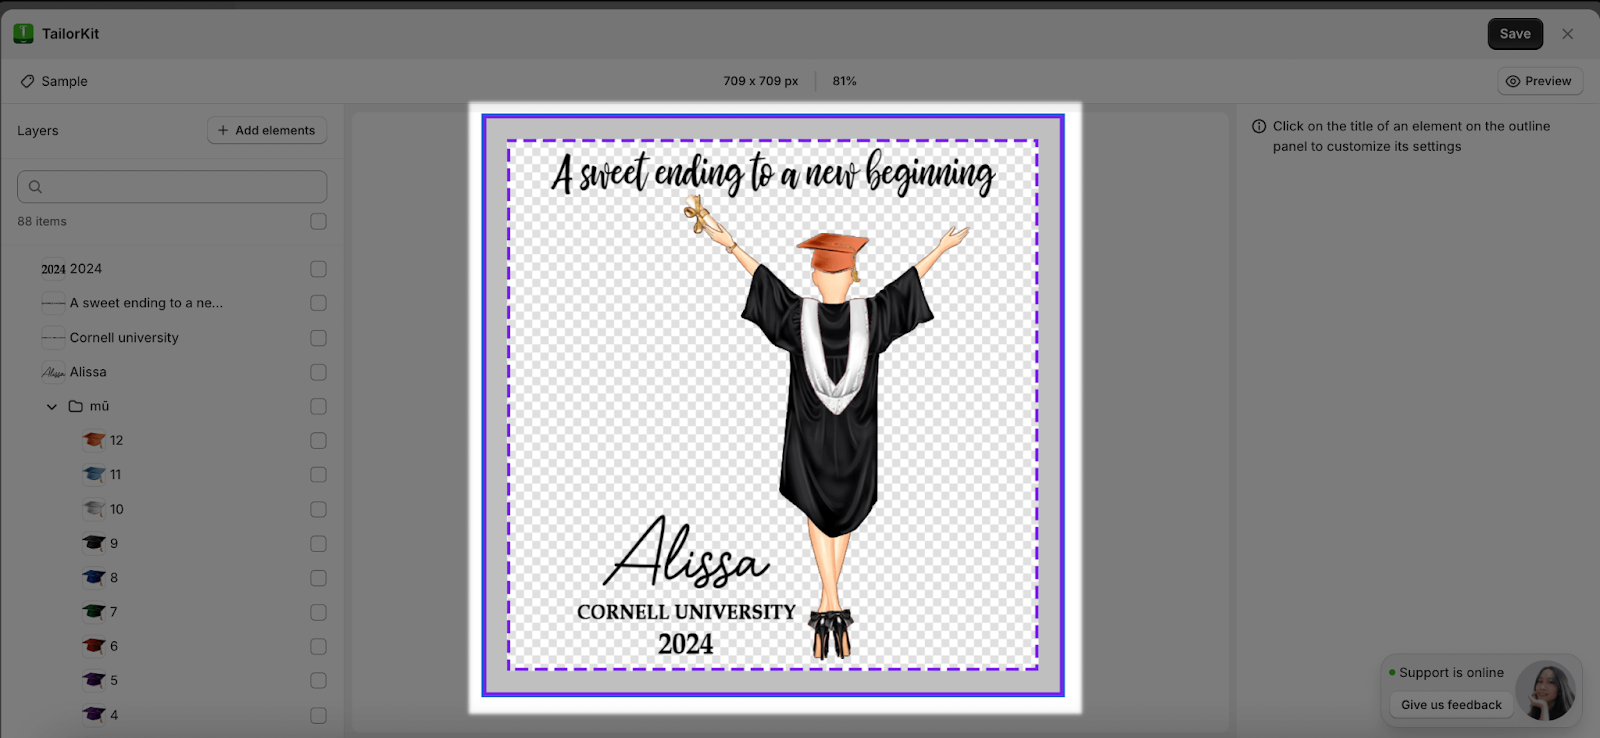
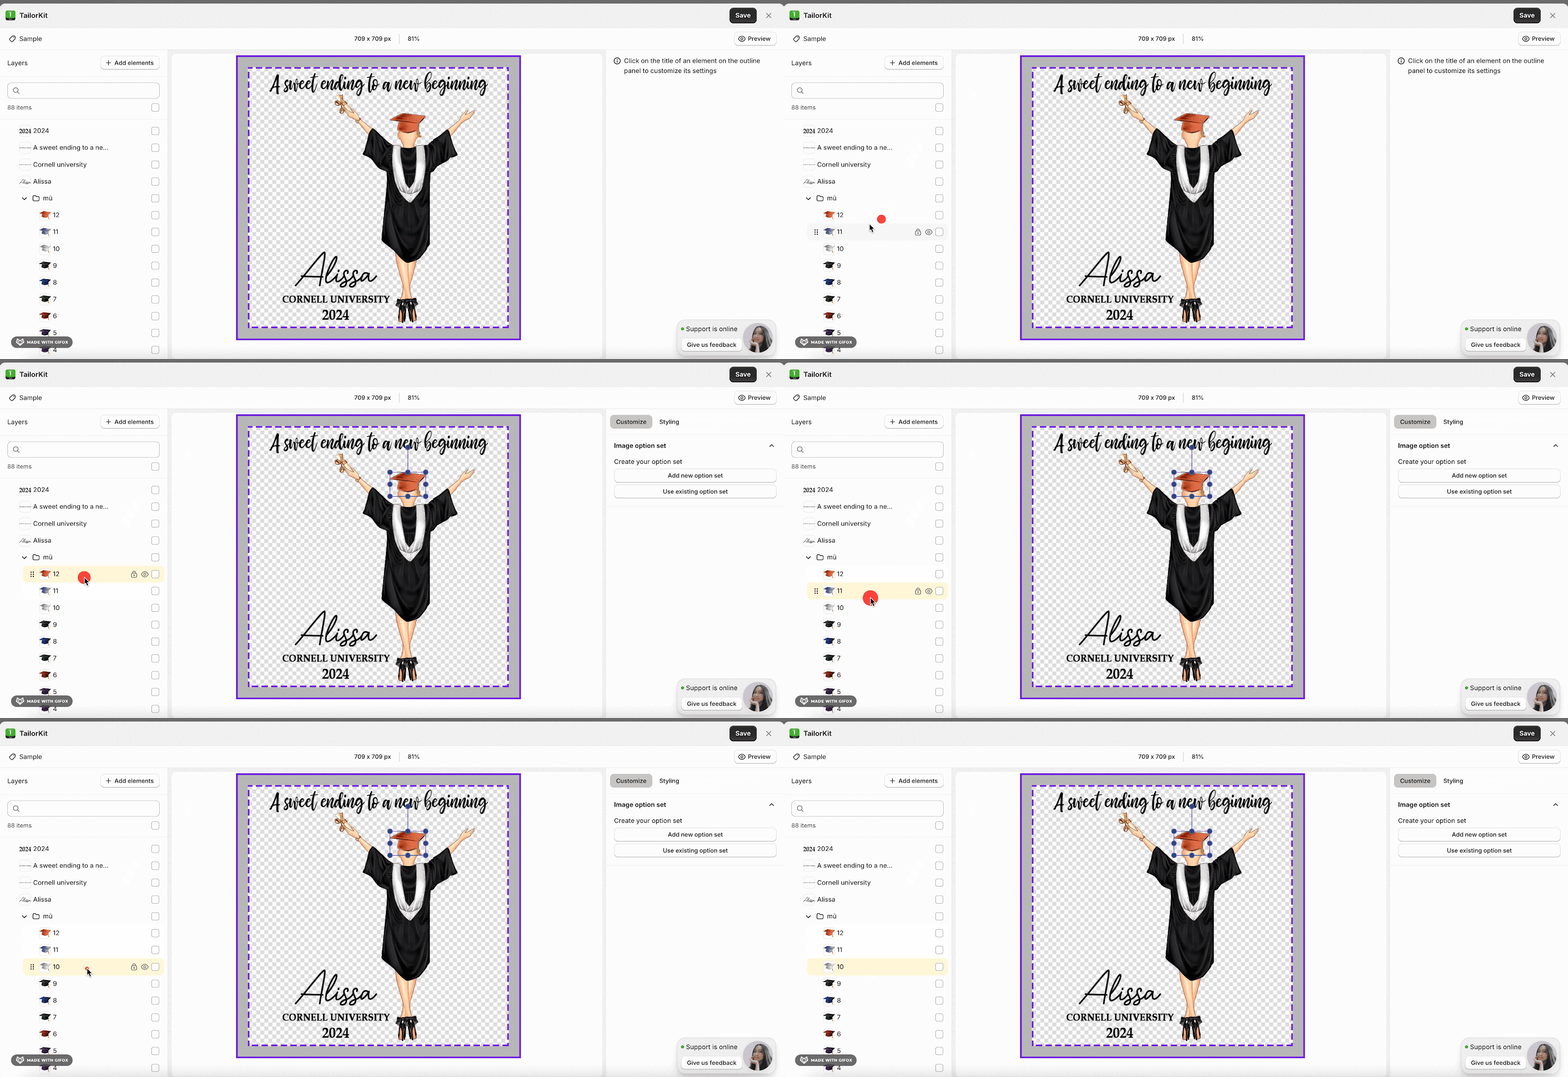
- Layer: After the PSD file is uploaded, it will separate each layer for you to edit and make changes.
- Canvas: You can see the template will be shown with all layers.
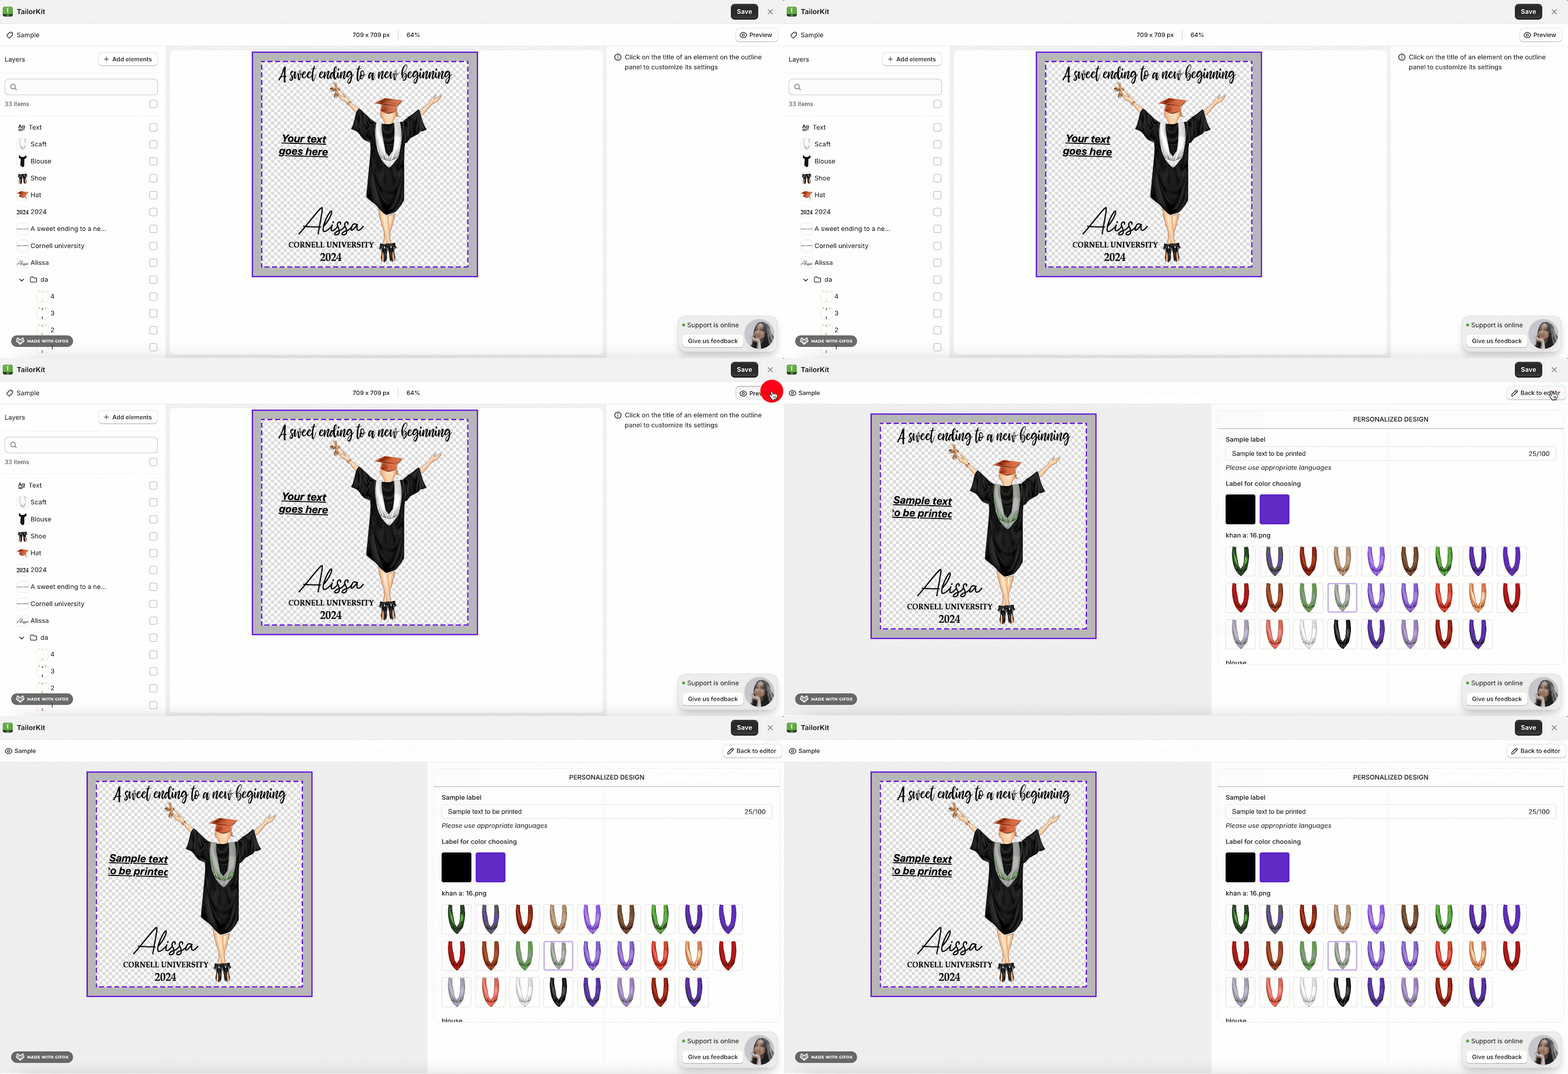
- You can also edit the option set for each layer. You can click on the title of an element on the outline panel to customize its option set. You can learn more at How to use TailorKit option set
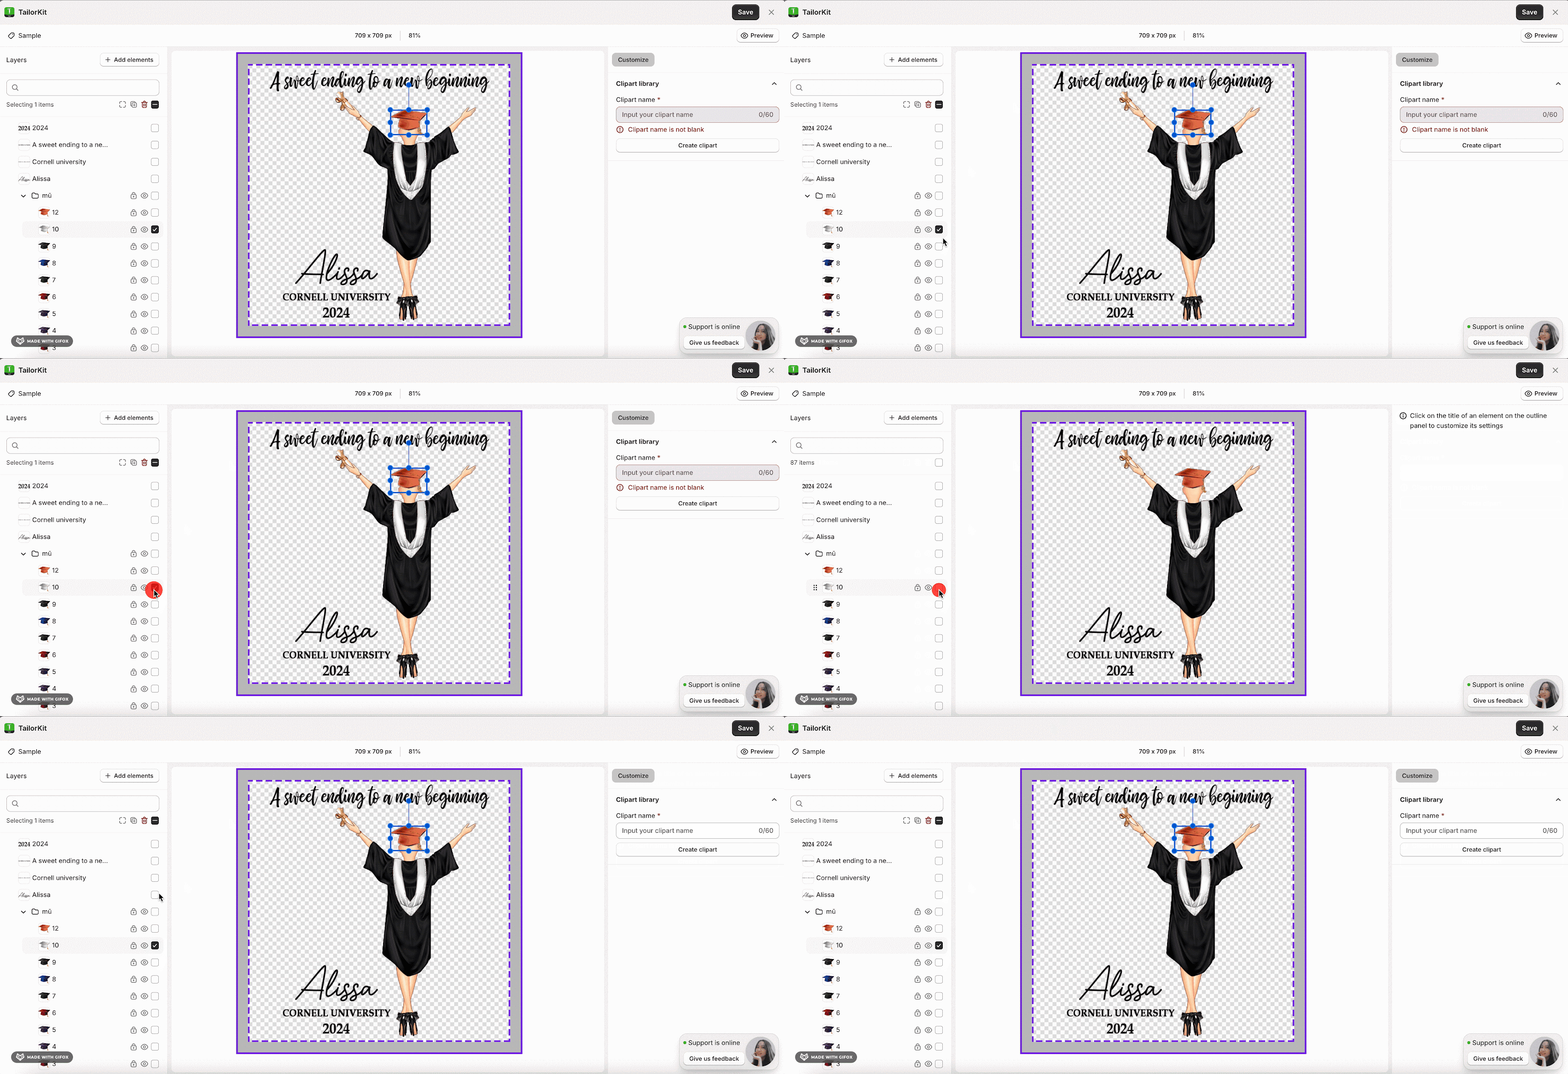
- In addition, when you tick to the layers, it will let you input the clipart in the Clipart Library.
Step 5: Save And Preview
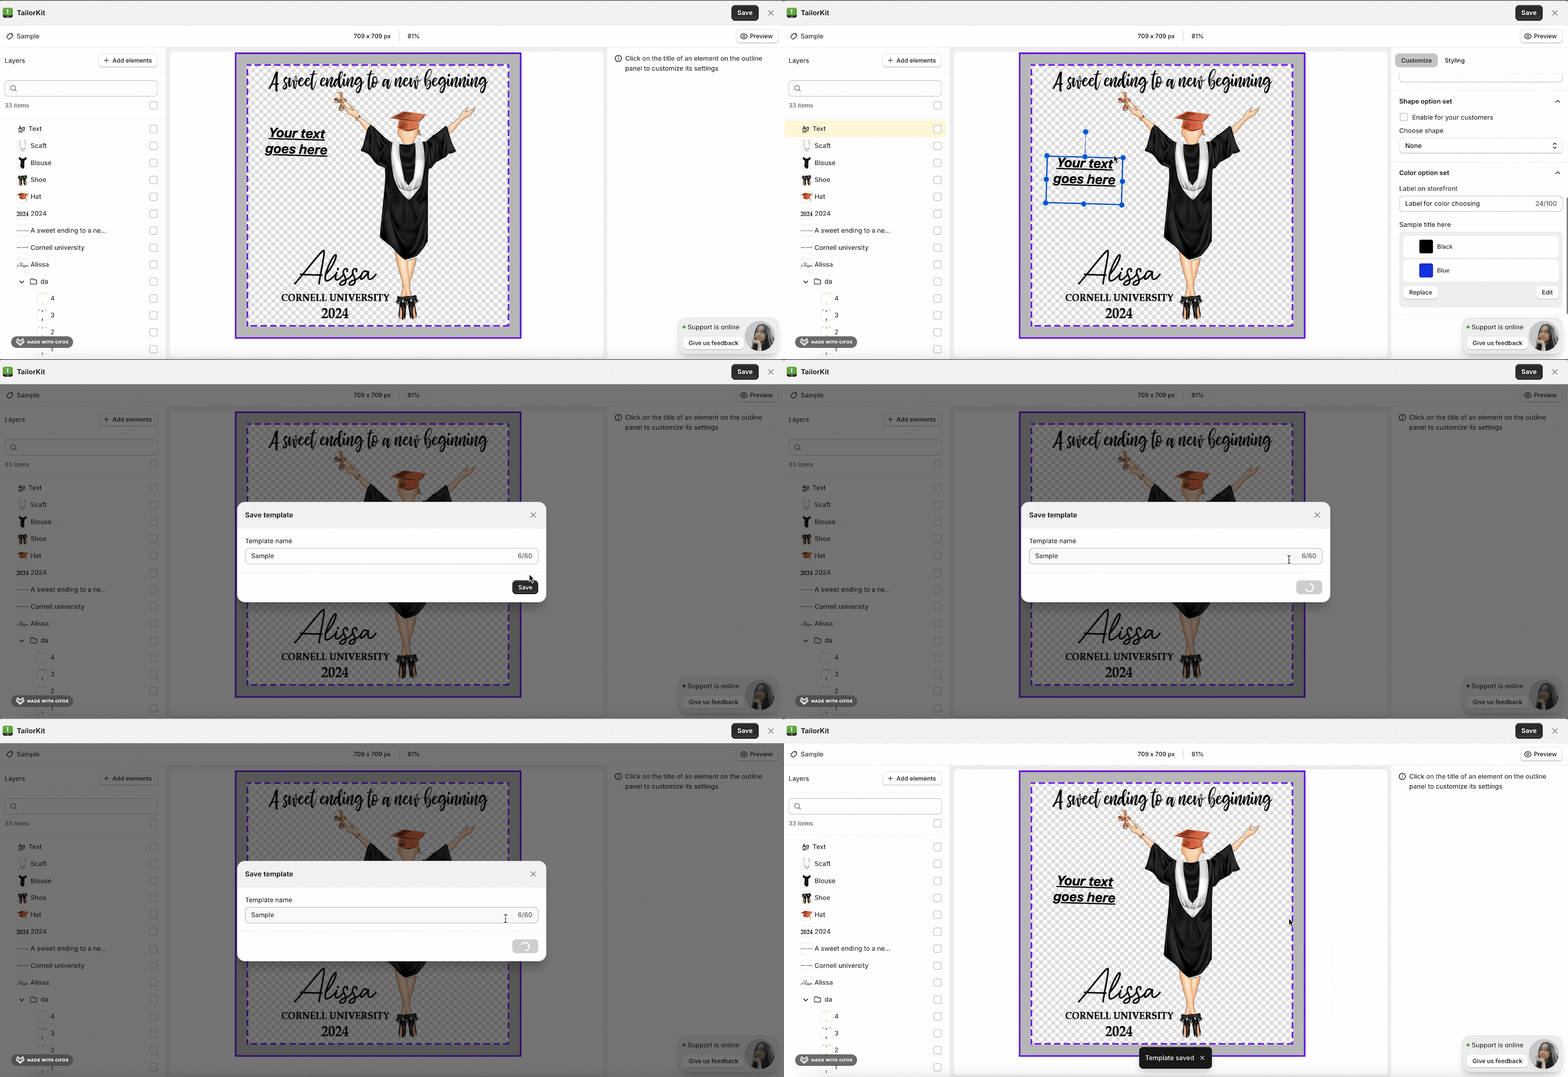
After the template has been created, you can click Save to save the template.
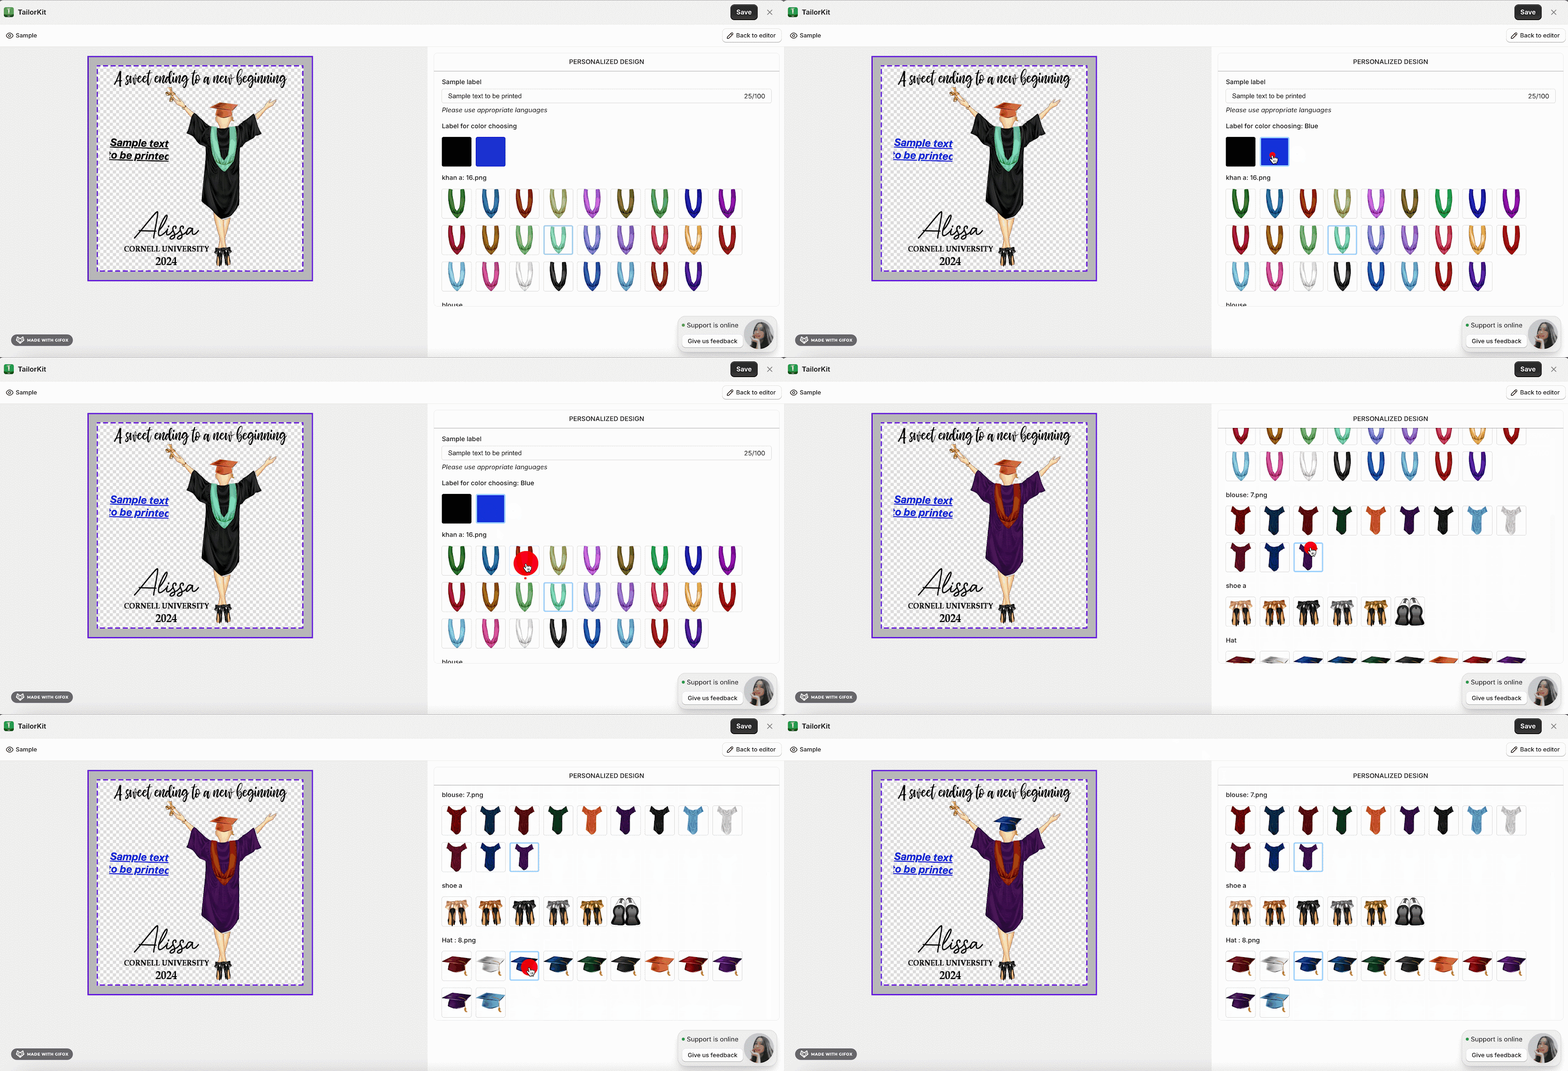
Besides, you can click Preview to select the option set for testing.
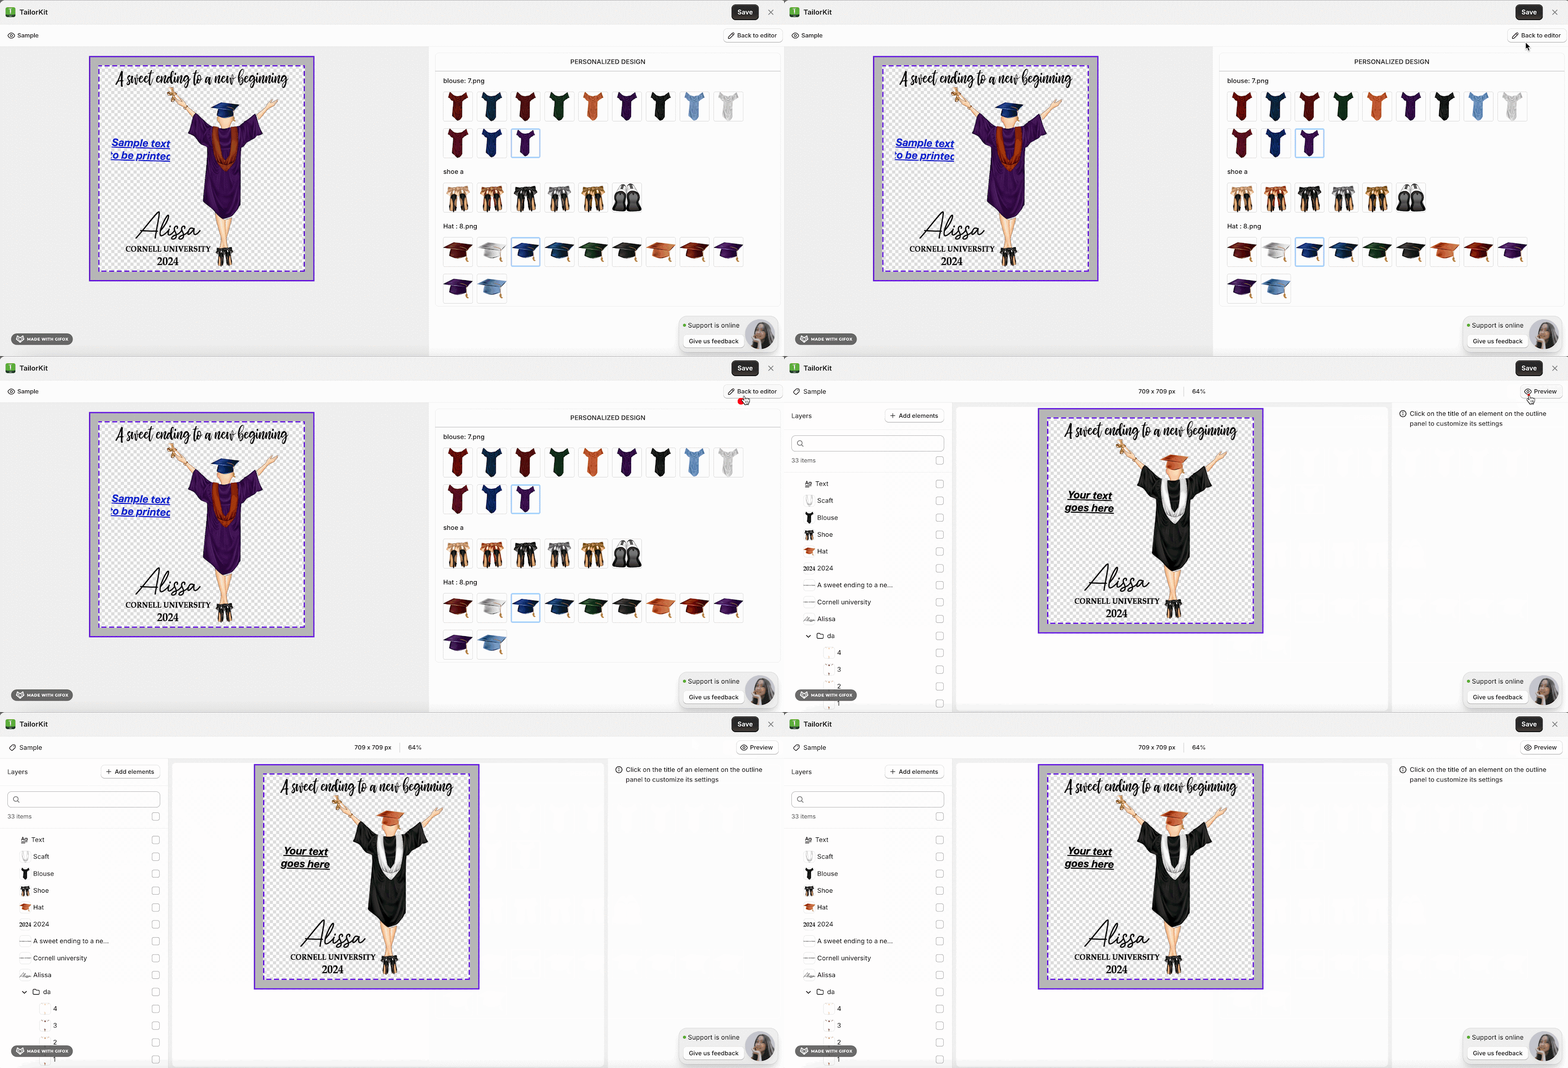
From the Personalized Design, you can see the Sample label, Label for Color choosing and All option set. You can choose color and apply the option sets for the Template and it will show the changes you choose.
If you want to edit anything in the Templates, select Back to editor to make changes.
Frequently Asked Questions
1. Can we delete the template created in order to create a new one?
Yes, you can. However, if the template was integrated with any products, you need to disintegrate the template first then you are able to remove the template by choosing the “Delete” option.
2. How many PSD files can we upload in creating templates?
You can upload multiple PSD files to a single template in TailorKit. There’s no strict limit on the number of files you can add. However, please note that the size of the template will change with the PSD files.
3. Can I change the PSD file of the existing template?
No, you cannot change the PSD file of the template created. You can only change the PSD file for the new template you are going to create.
4. What happens when I upload a PSD file?
When you upload a PSD file to TailorKit, the system automatically separates it into individual layers. The number of layers detected depends on the structure of your original PSD file. This automatic separation allows you to work with each component of your design independently within the TailorKit interface.
