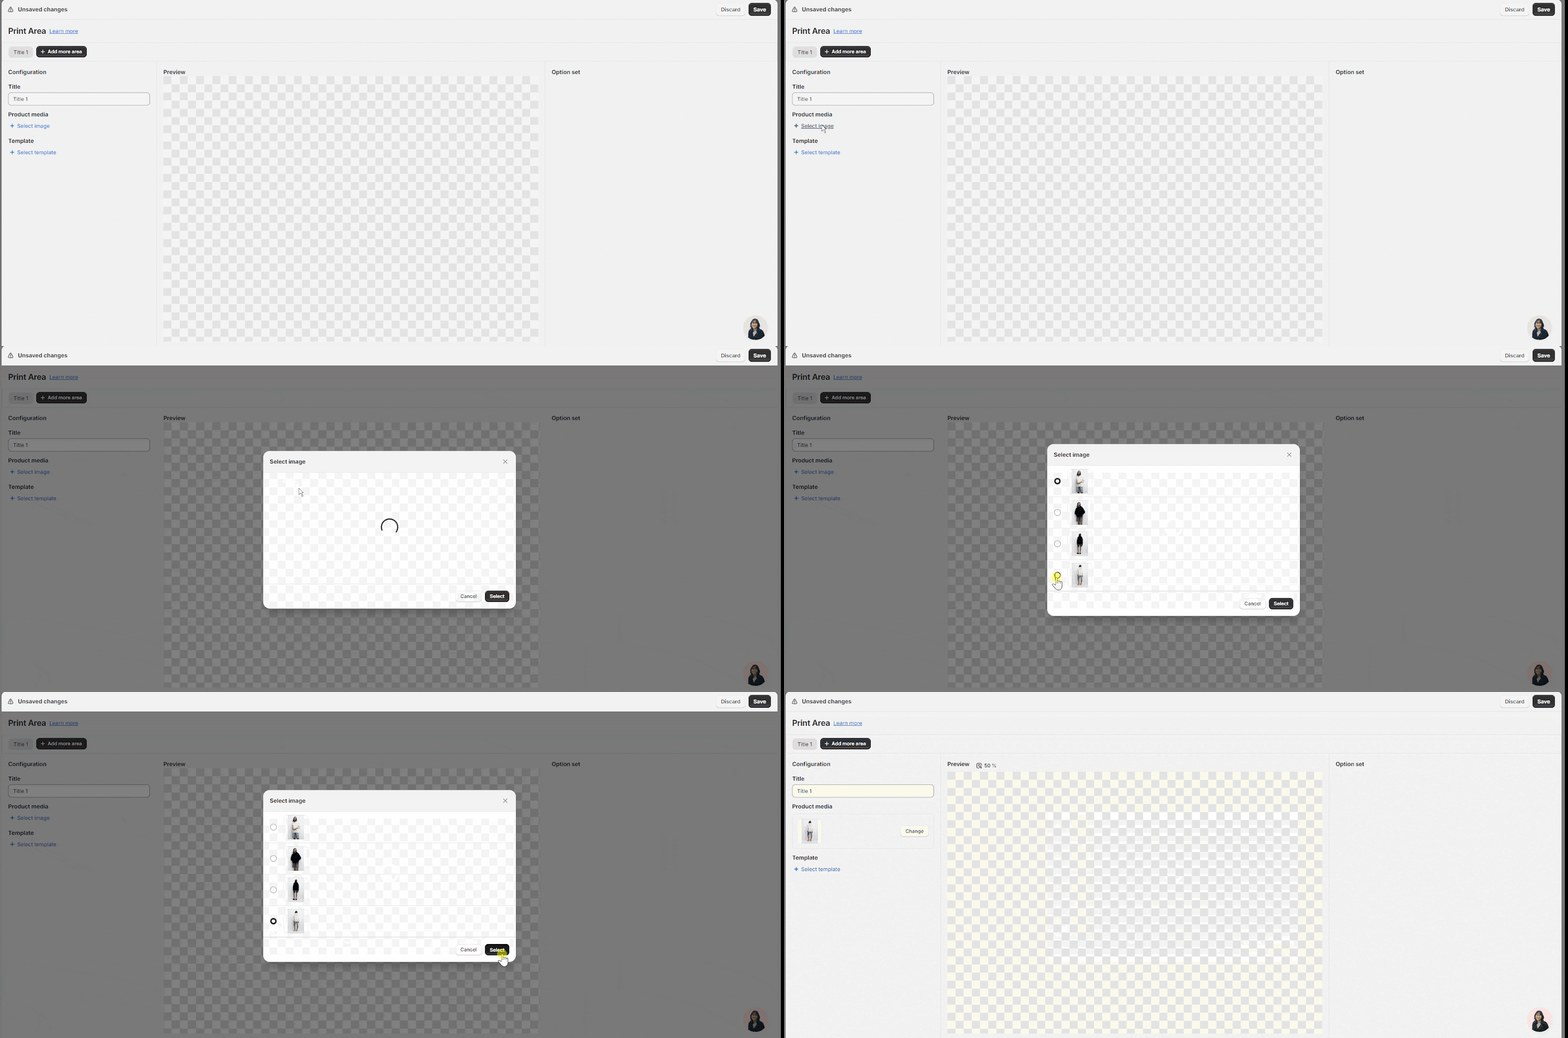
About Print Area?
A Print area on TailorKit is considered a specific area of your product where the designs or artworks will be printed on. To be specific, it allows you to customize the printed contents that you want to print on a specific area of your product.
In this article:
- Accessing Print Area
- What is on a Print Area
- How to use a Print Area
- Frequently Asked Questions
Accessing Print Area
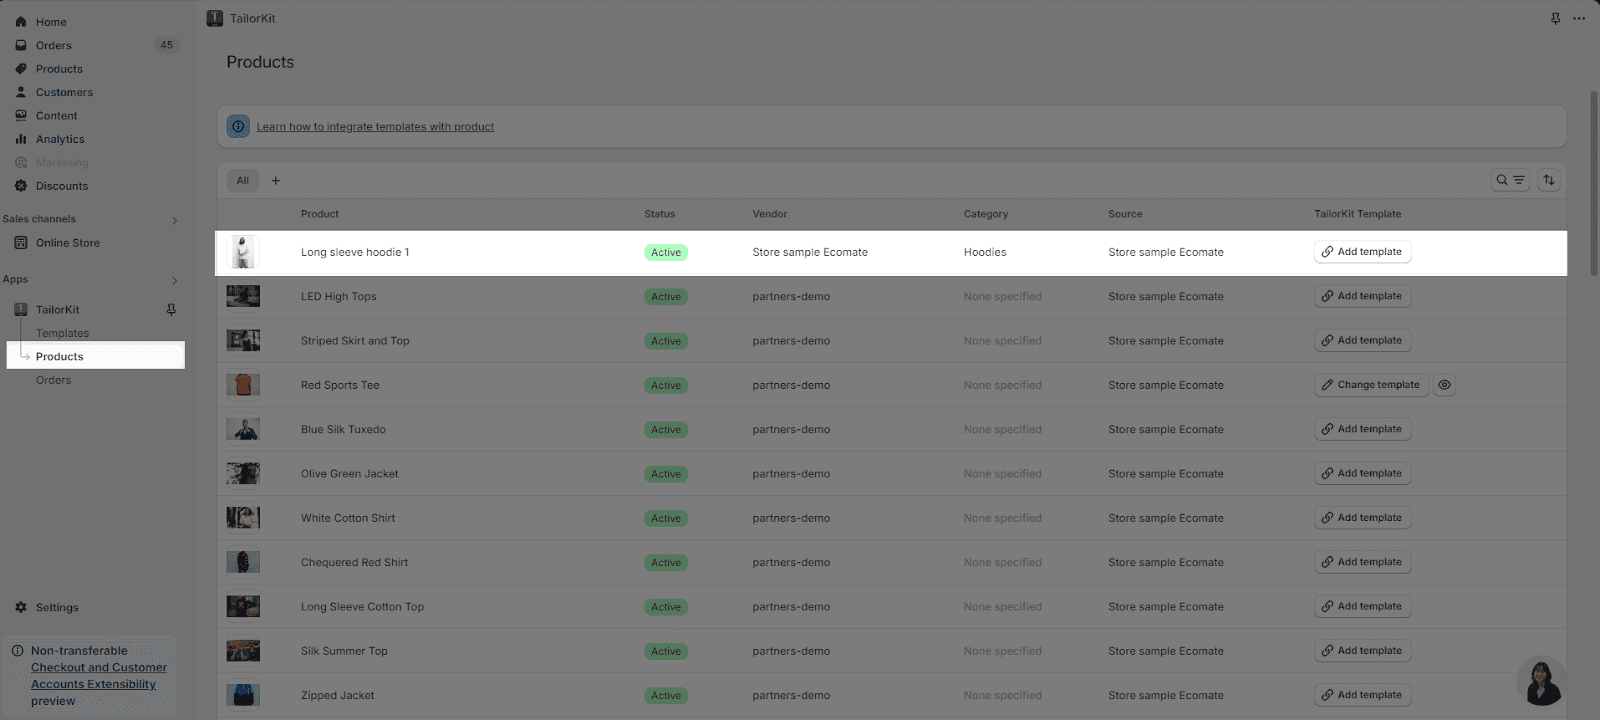
On the TailorKit Dashboard, go to Products and choose the product you want to integrate with your available Template.
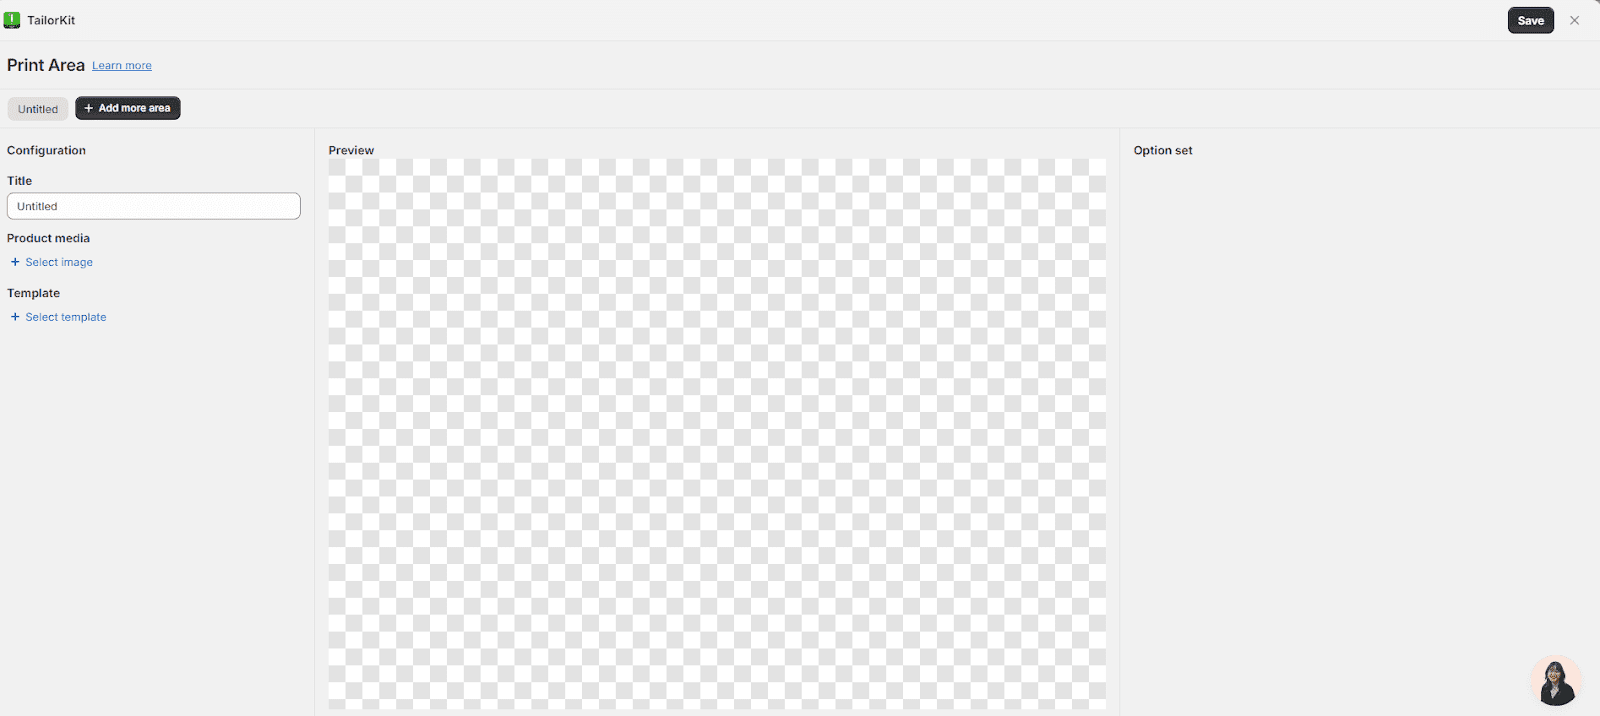
After choosing the product, you will have full access to the print area to customize:
What Is On A Print Area?
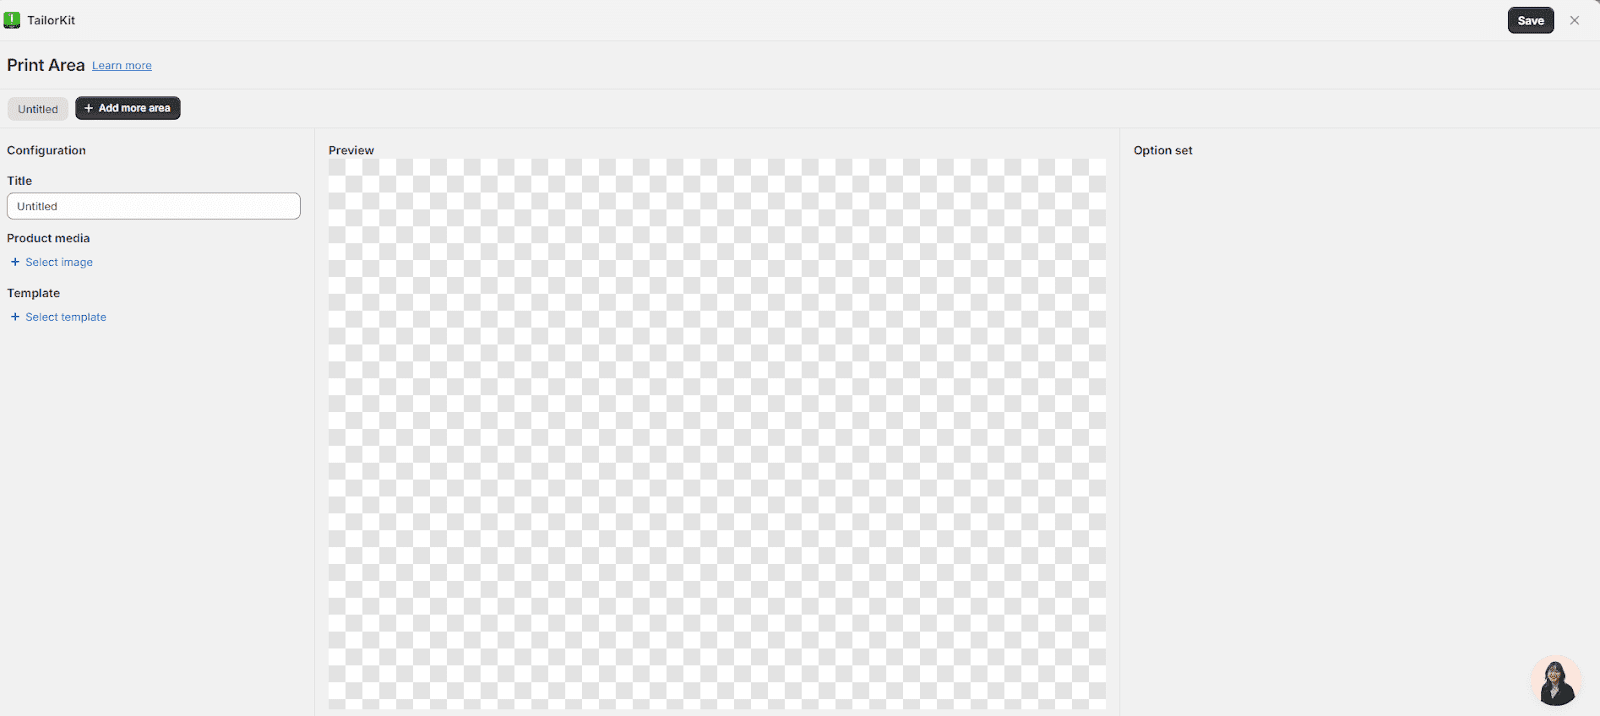
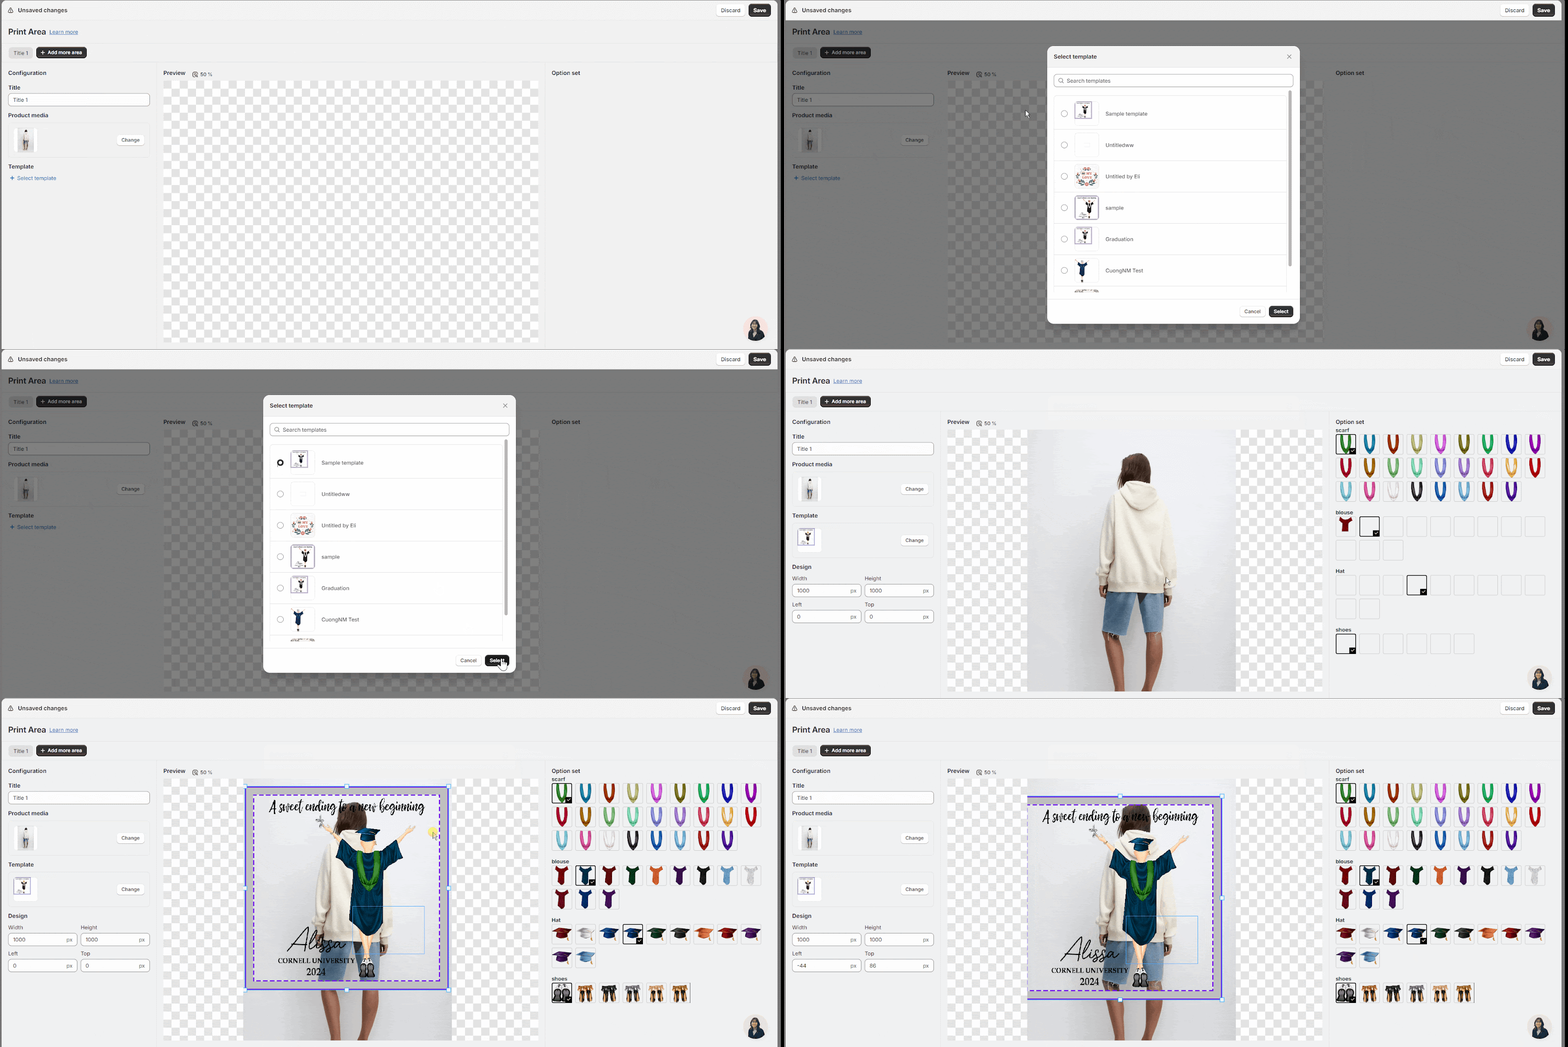
In a print area, you can seamlessly customize the Title, add Product Media and select Template for your final product.
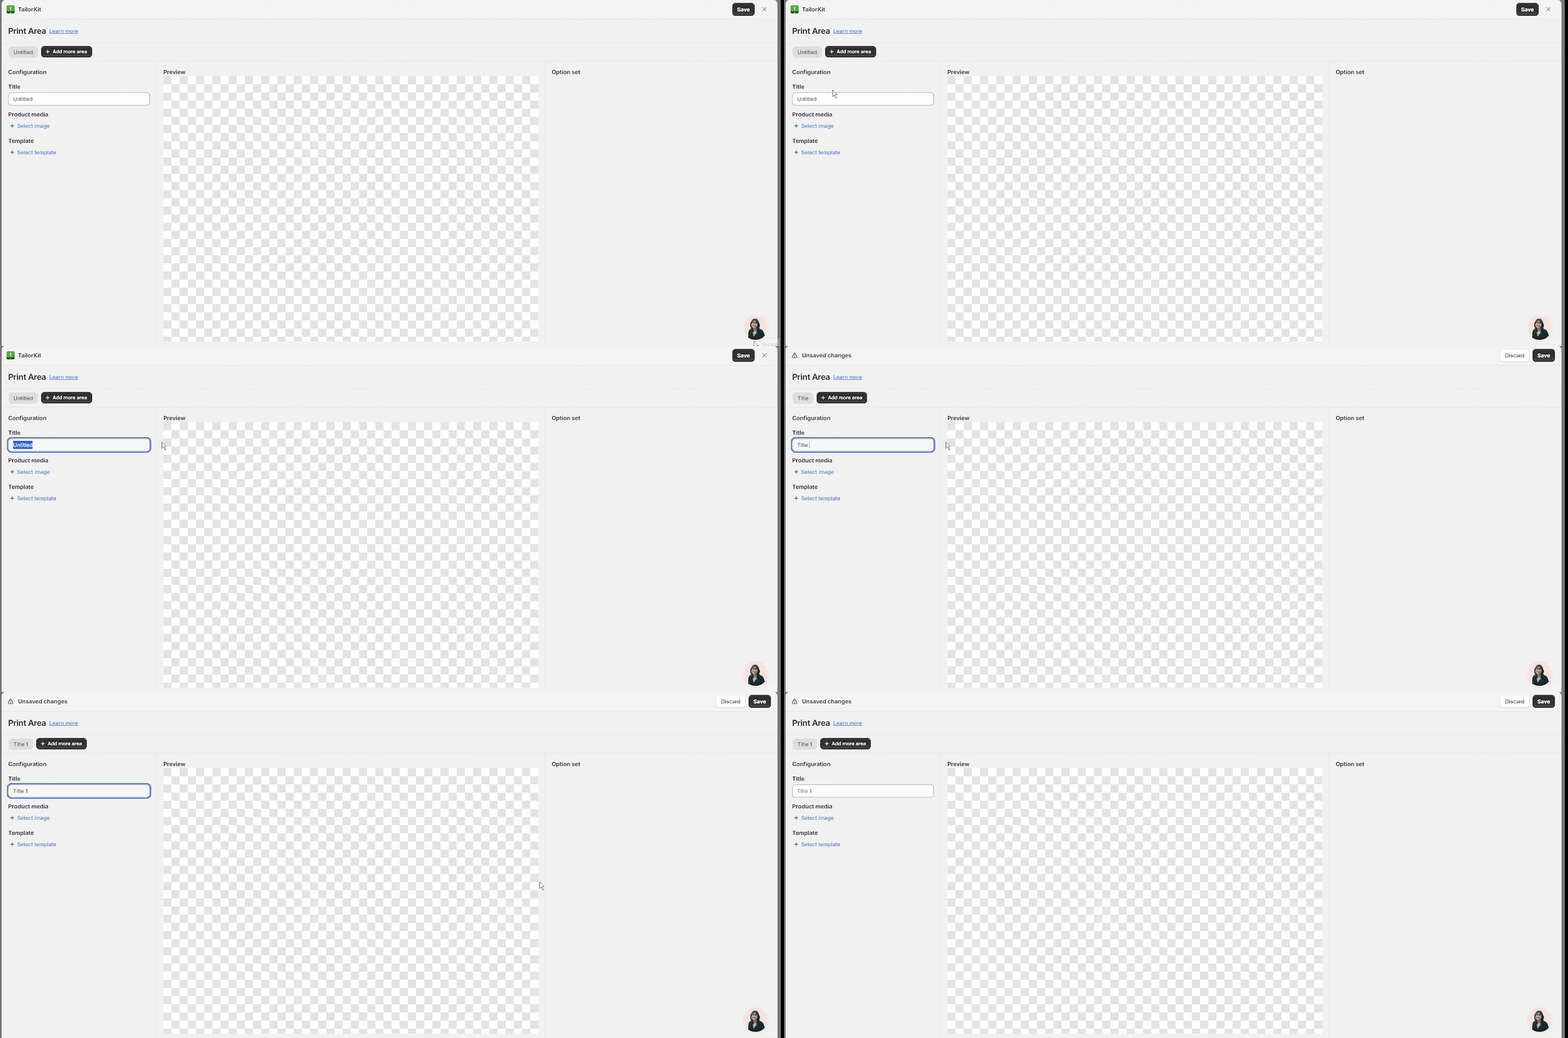
- Title: You can input the title you want to set for the Print area and it will reflect on the upper part of the page
- Product Media: This is the image of the area that you choose to print your designs/ artworks on. You can choose the appropriate image from your product for the print area
- Template: A template can be considered a pre-designed layout for your designs/ artworks to appear in consistency every time you customize your products. After selecting the right Product media, you need to choose a template to integrate with the Product media.
How To Use A Print Area
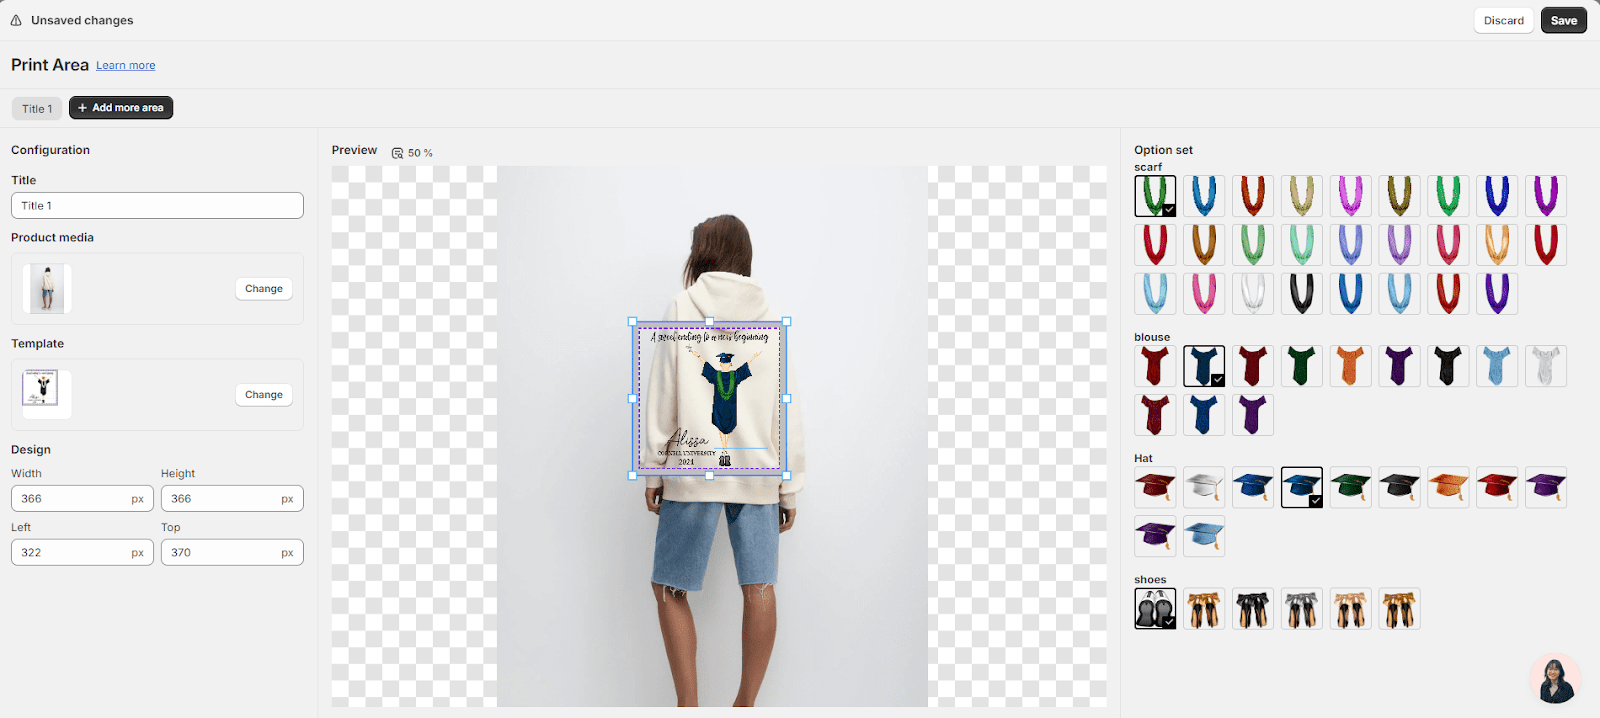
After choosing the Product Media and Template, the Preview screen will be displayed:
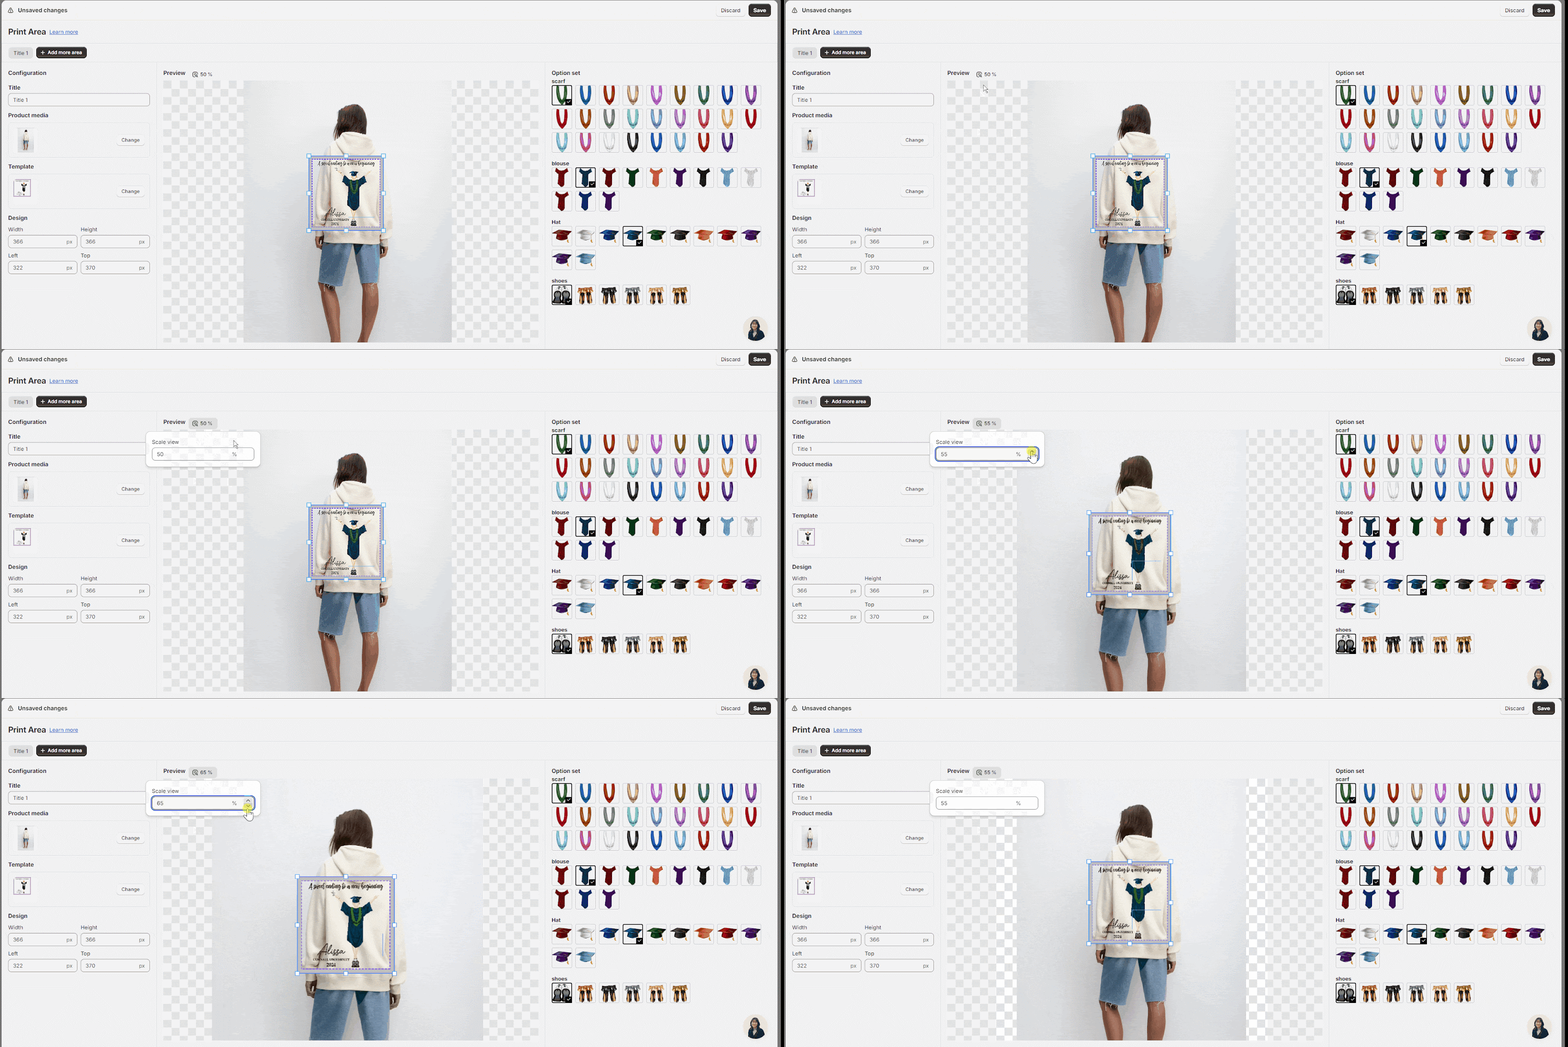
Customization options:
- Zoom in, and zoom out the image of both product and template by adjusting the scale:
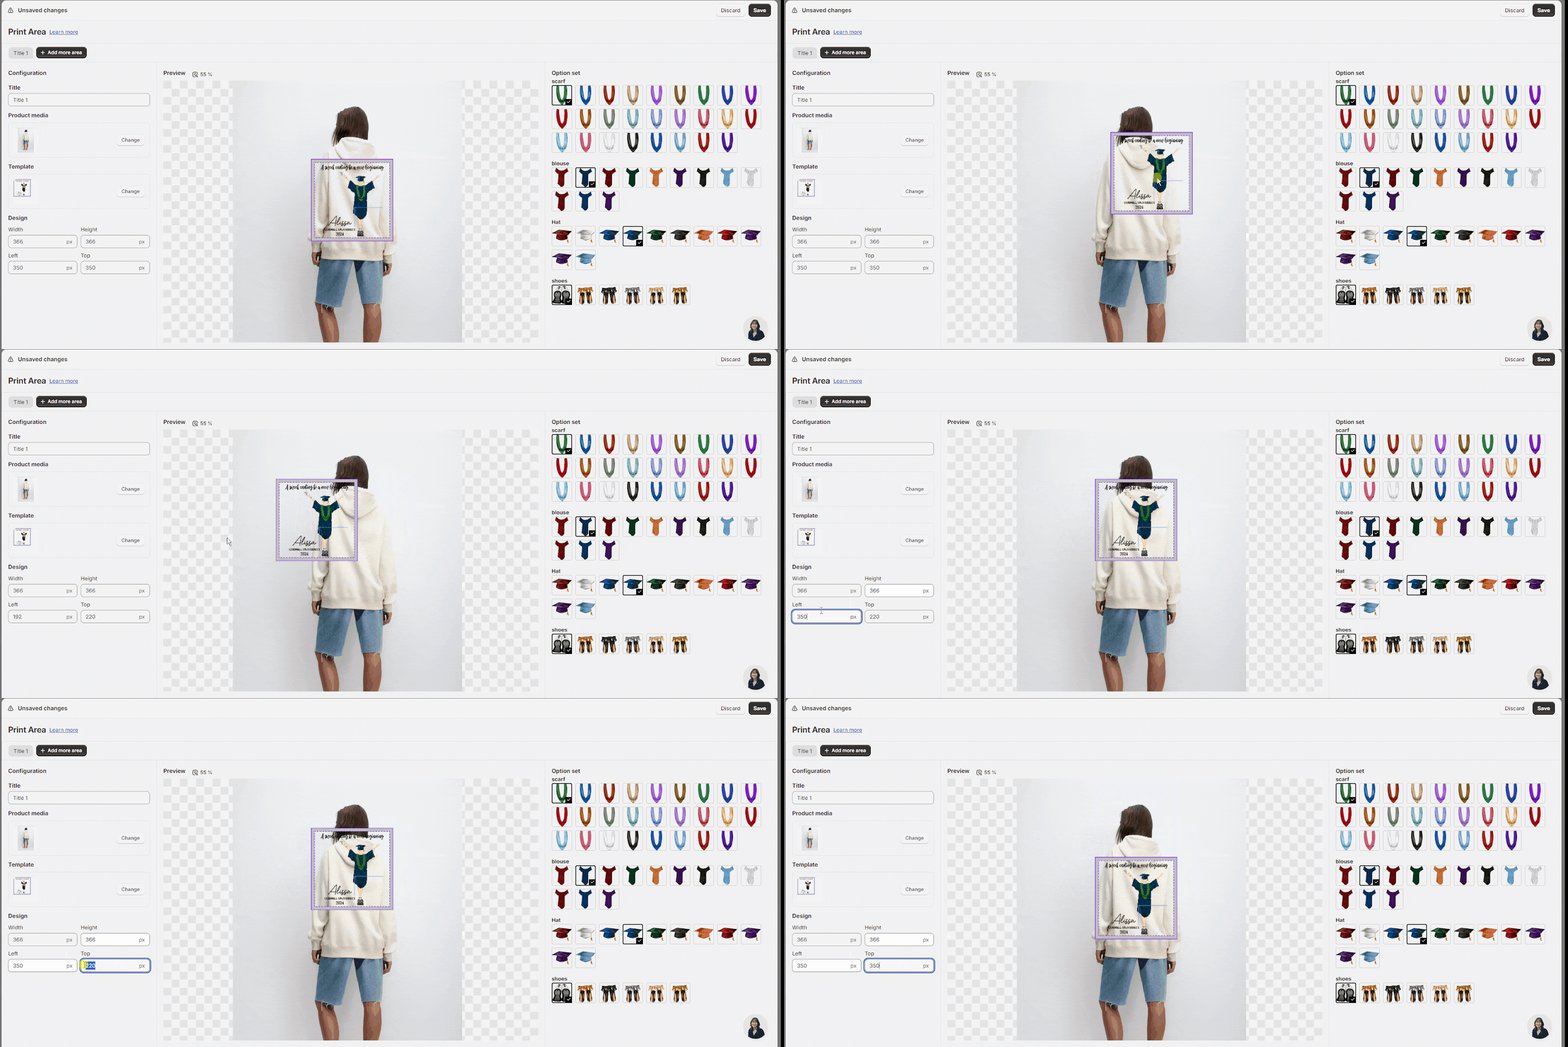
- Drag the position or change the position of the template by using the mouse or changing the coordinates Left, and Top (in the configuration column)
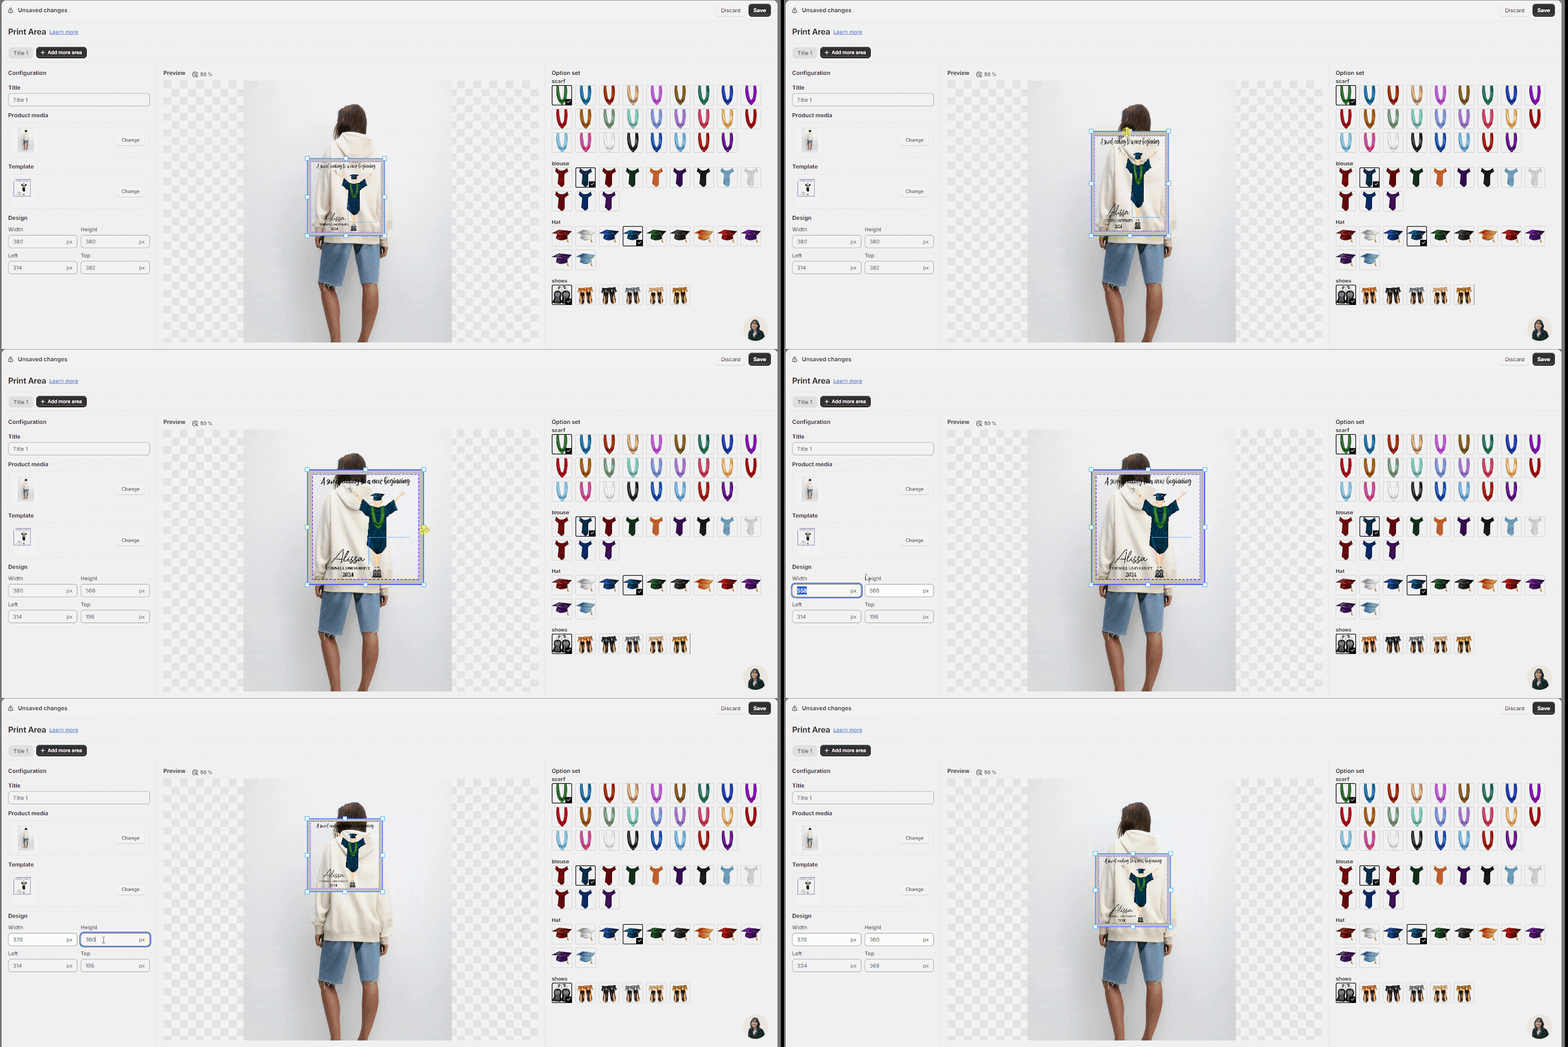
- Change the width and height of the template by using the mouse or changing the width and height in the configuration column.
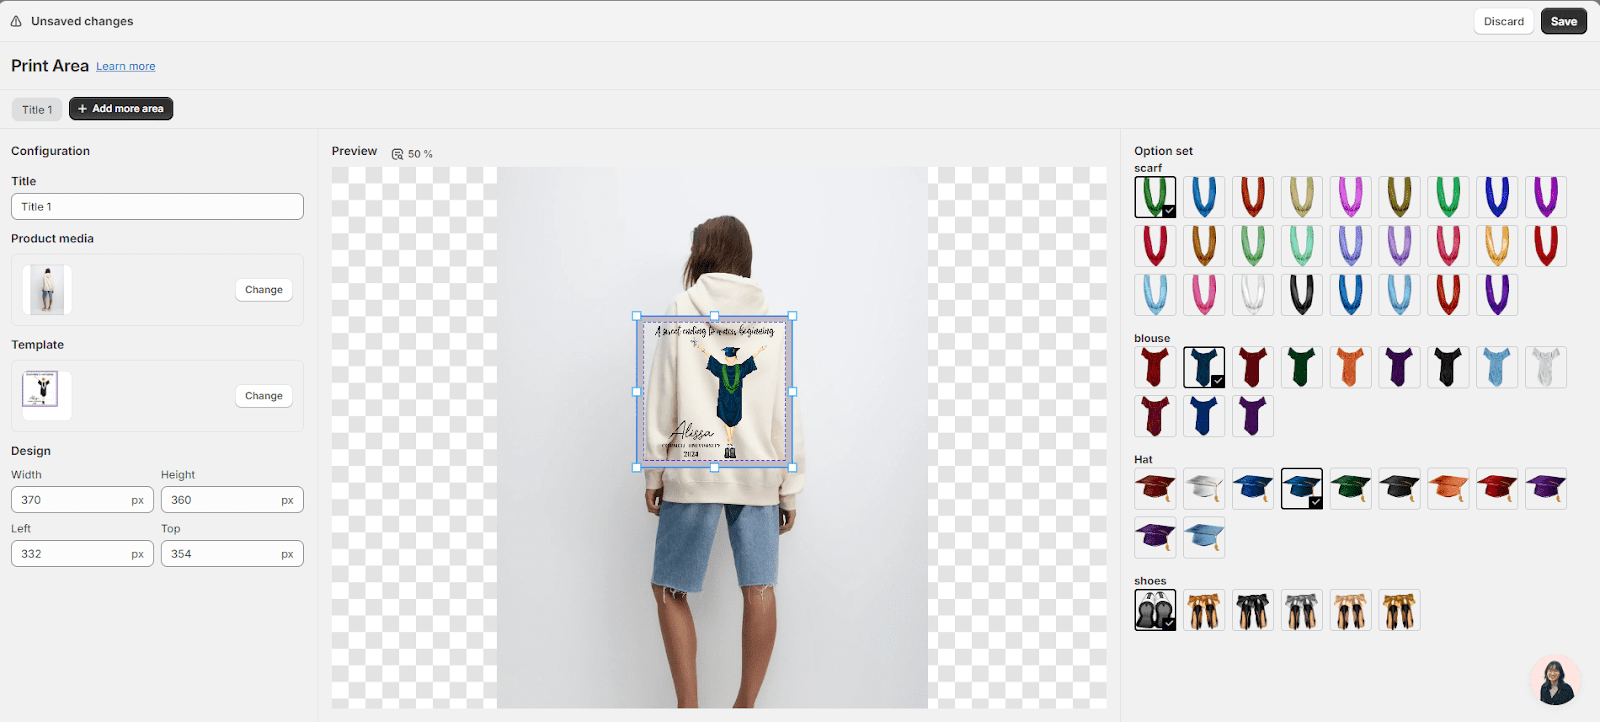
After customization, you can see the template in the position you want to put on the product:
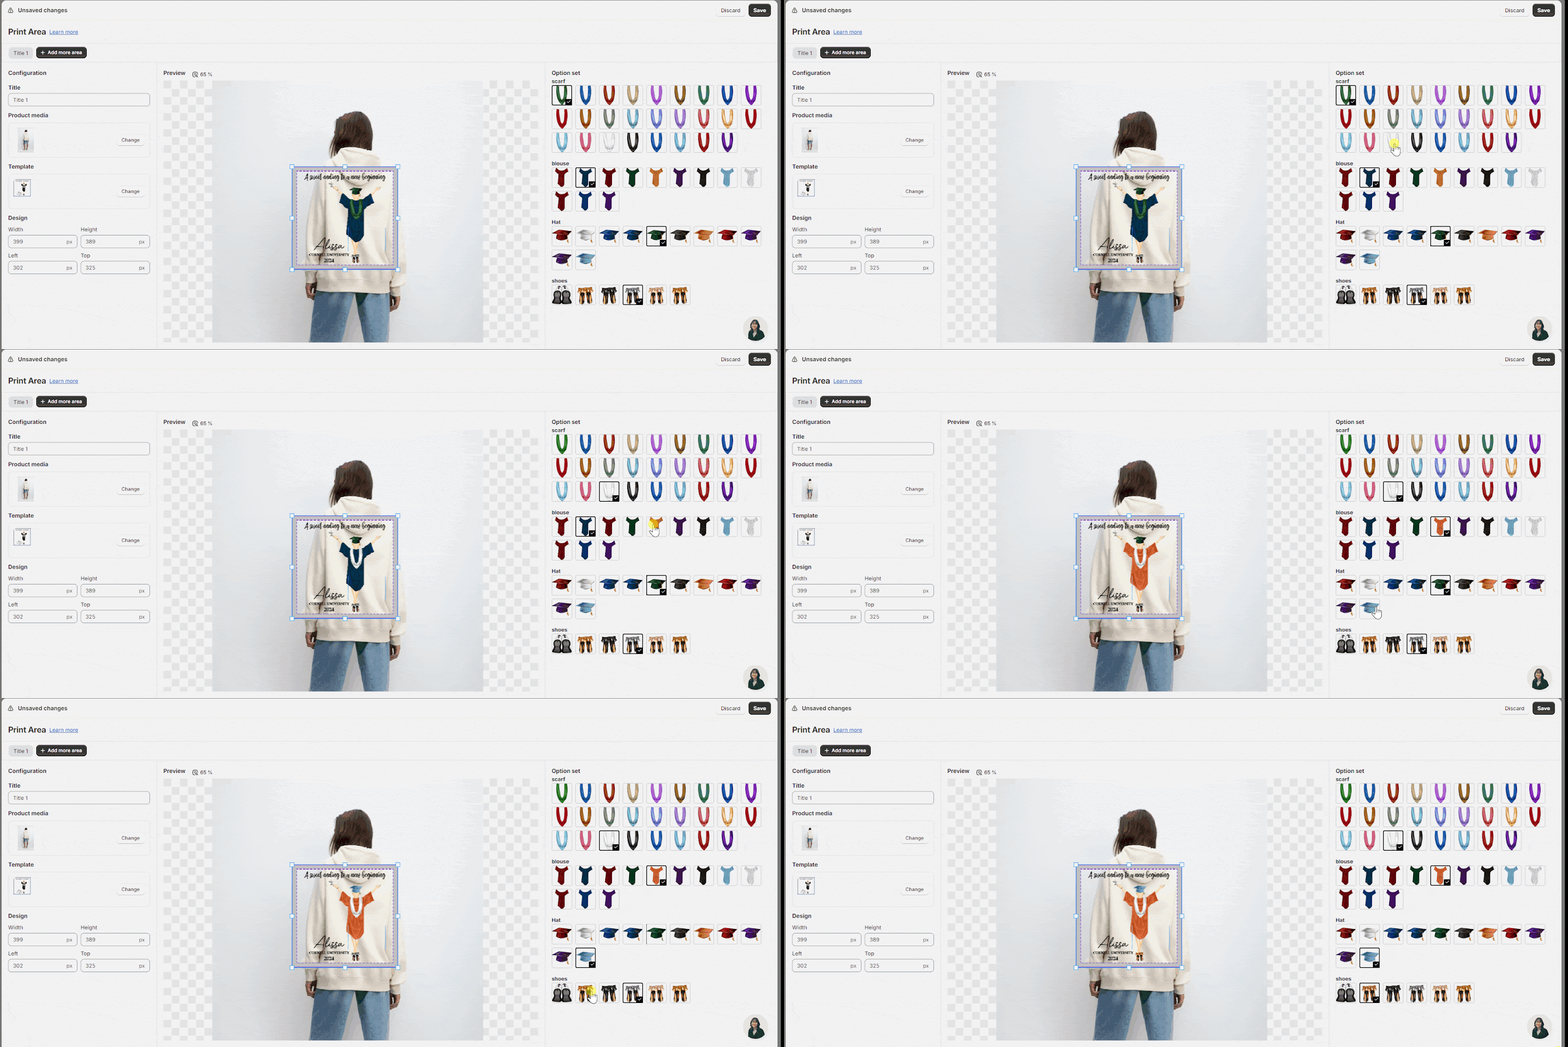
You can select the options in the option set, the result will be automatically reflected in the preview screen.
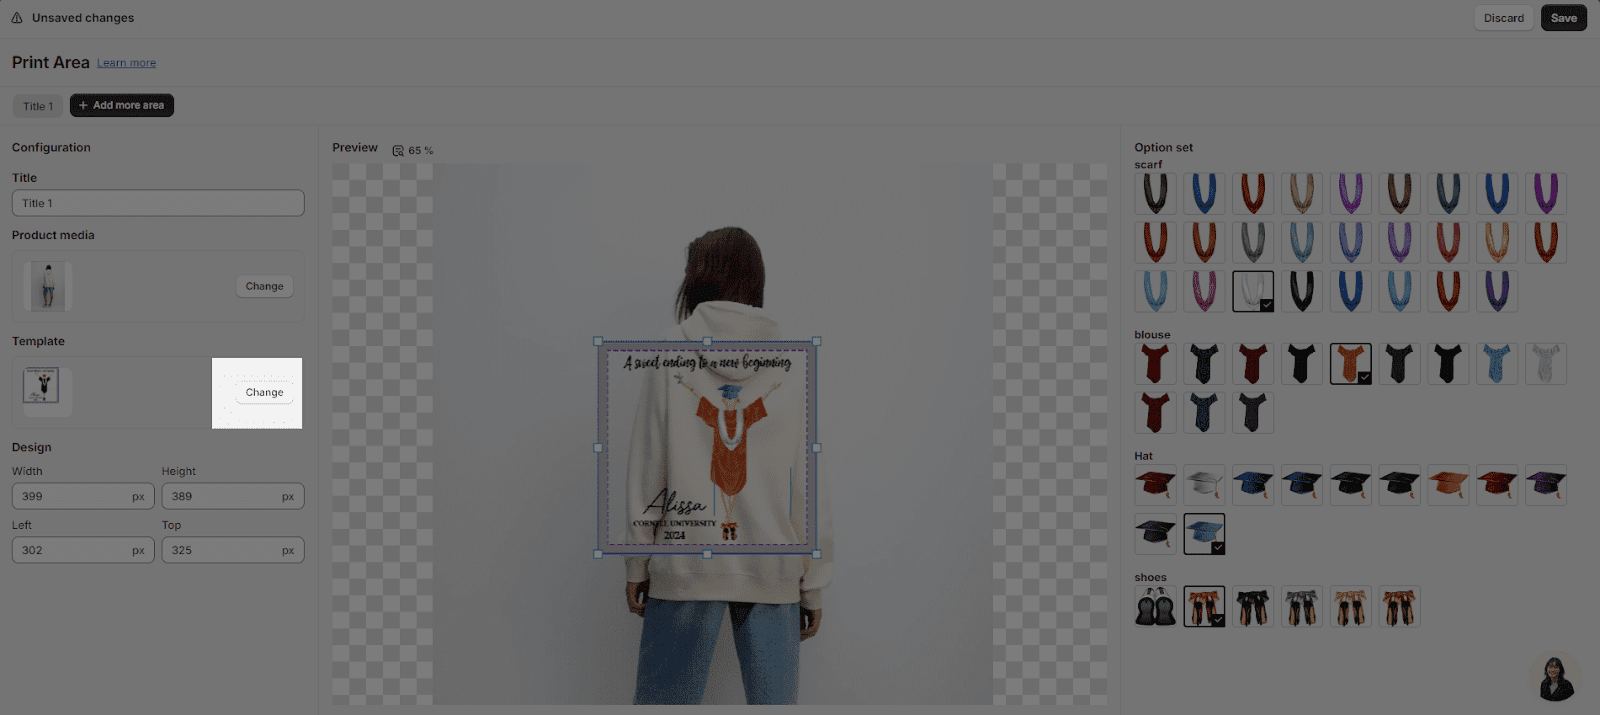
You can also change the template if they want by clicking on the “Change” button of the Template part in the configuration column.
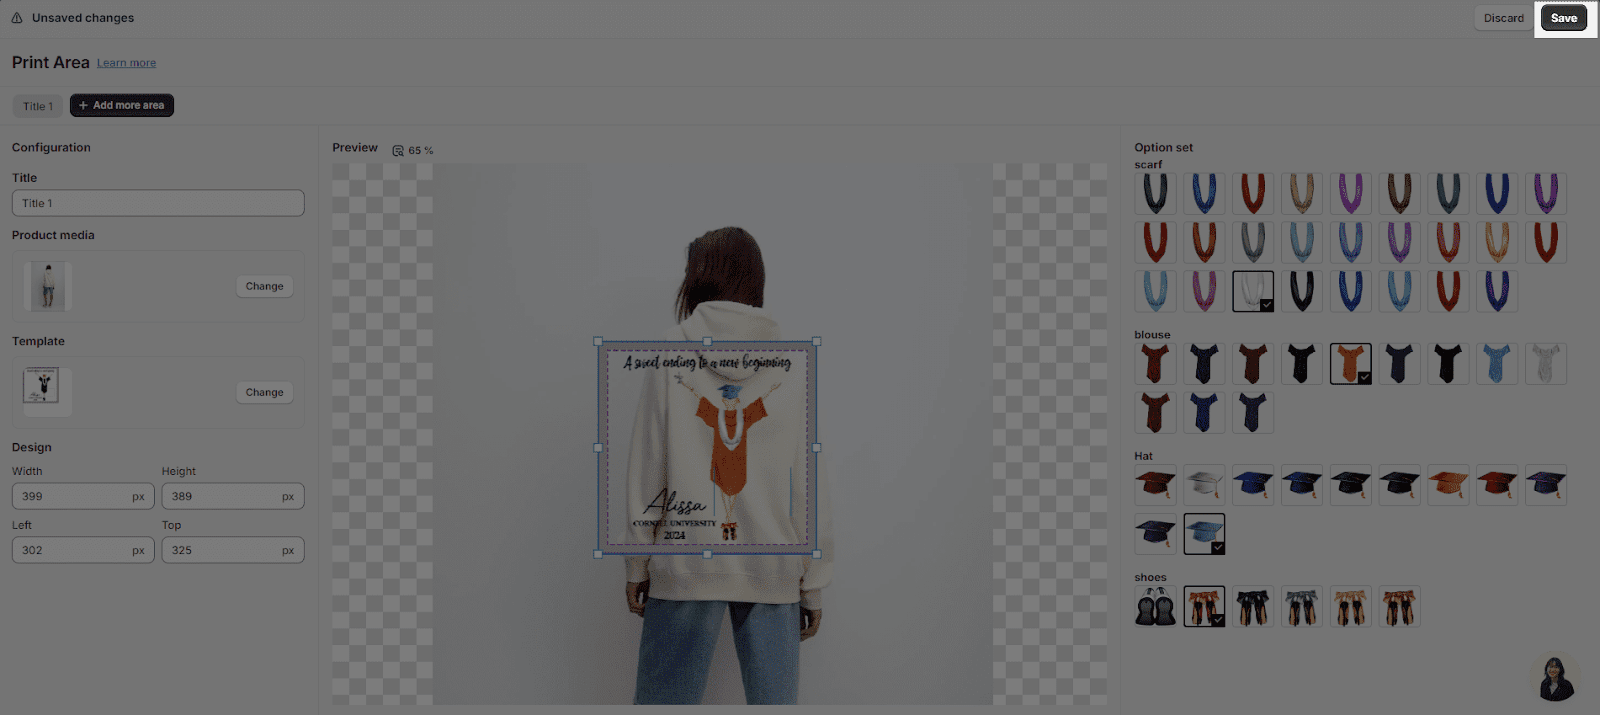
Finally, you can click the “Save” button to complete the template integration process with the specific product.
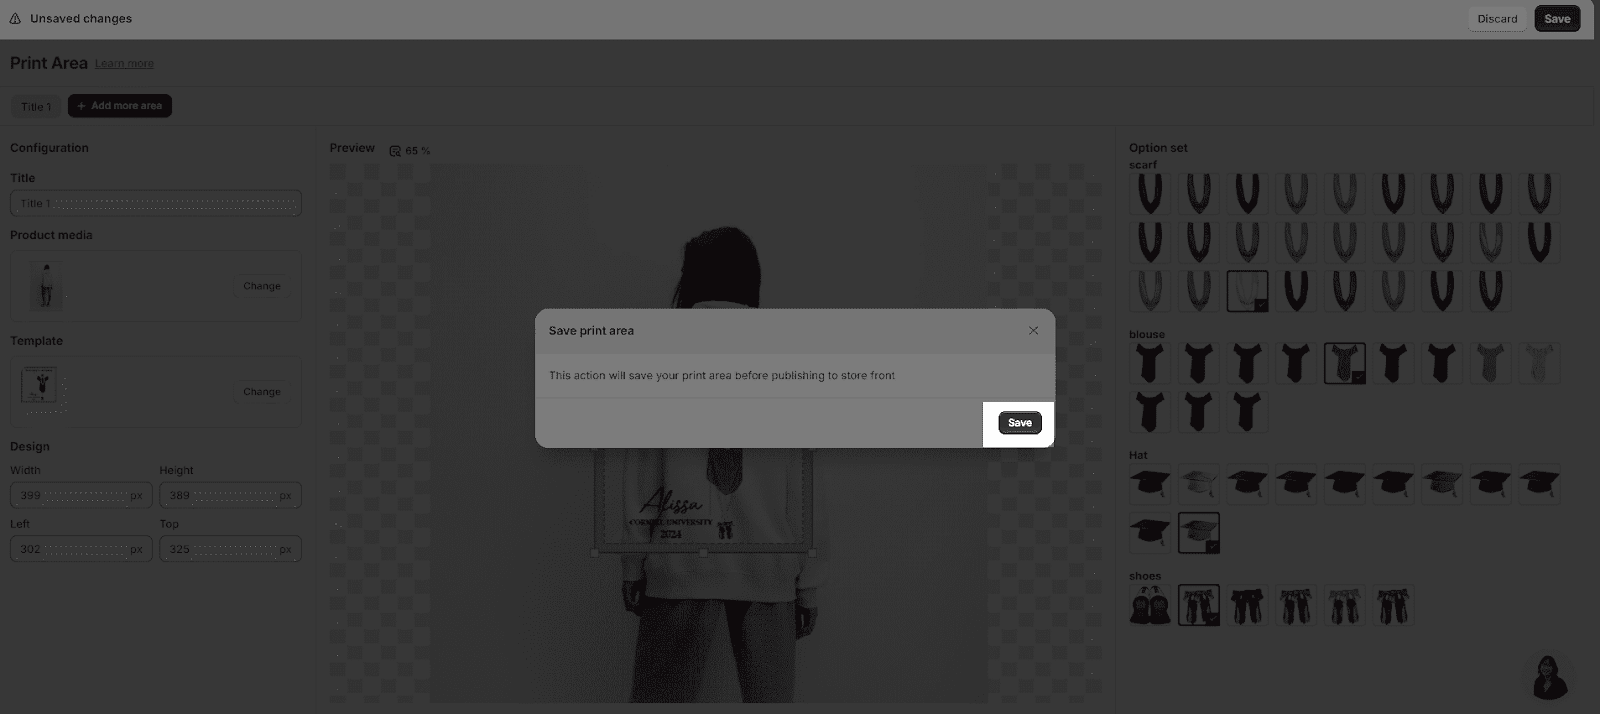
After clicking “Save button”, a pop-up board will appear, you can click “Save” to complete saving the Print area.
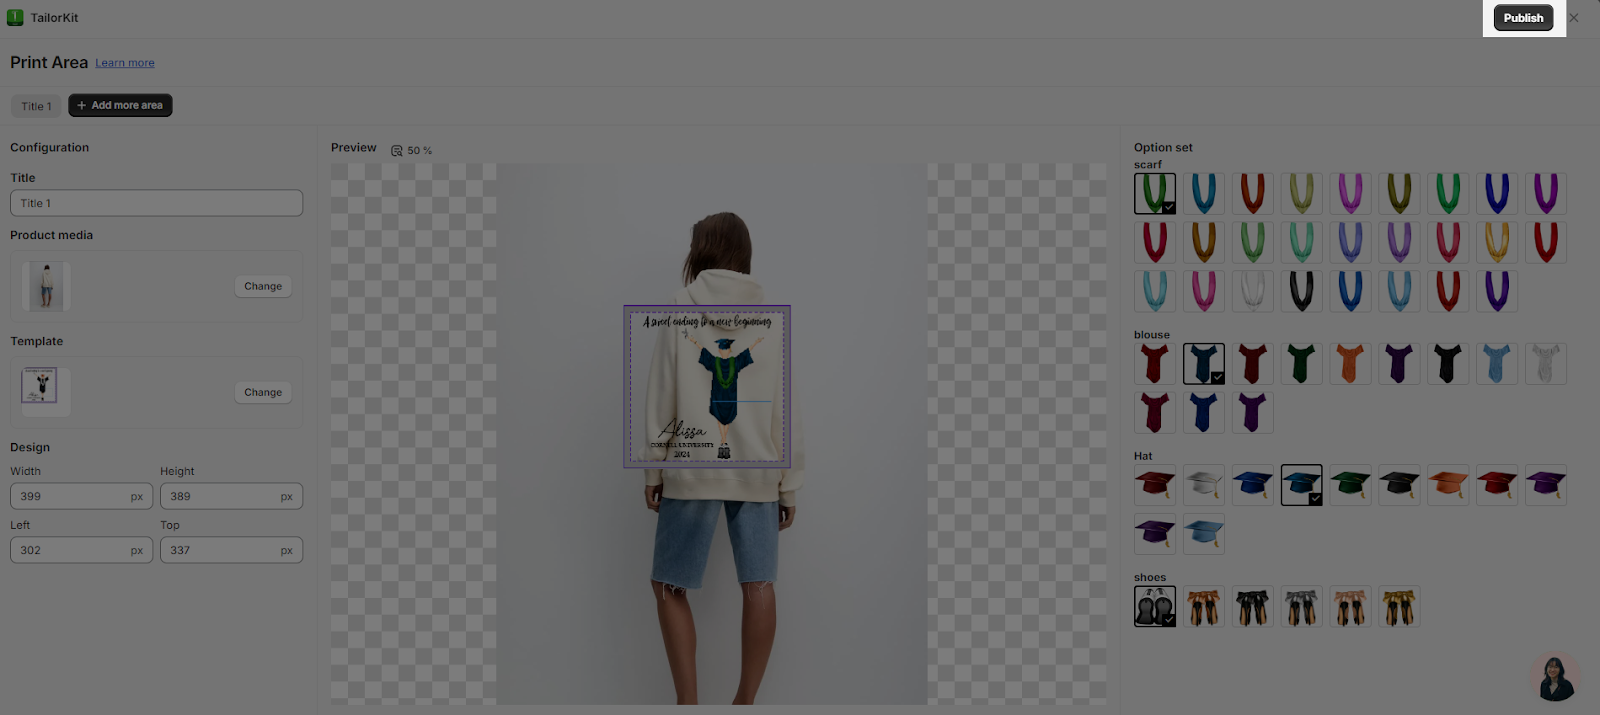
After saving, you will need to click on the publish button if you wish to publish the template along with your product.
Moreover, you can choose the options of:
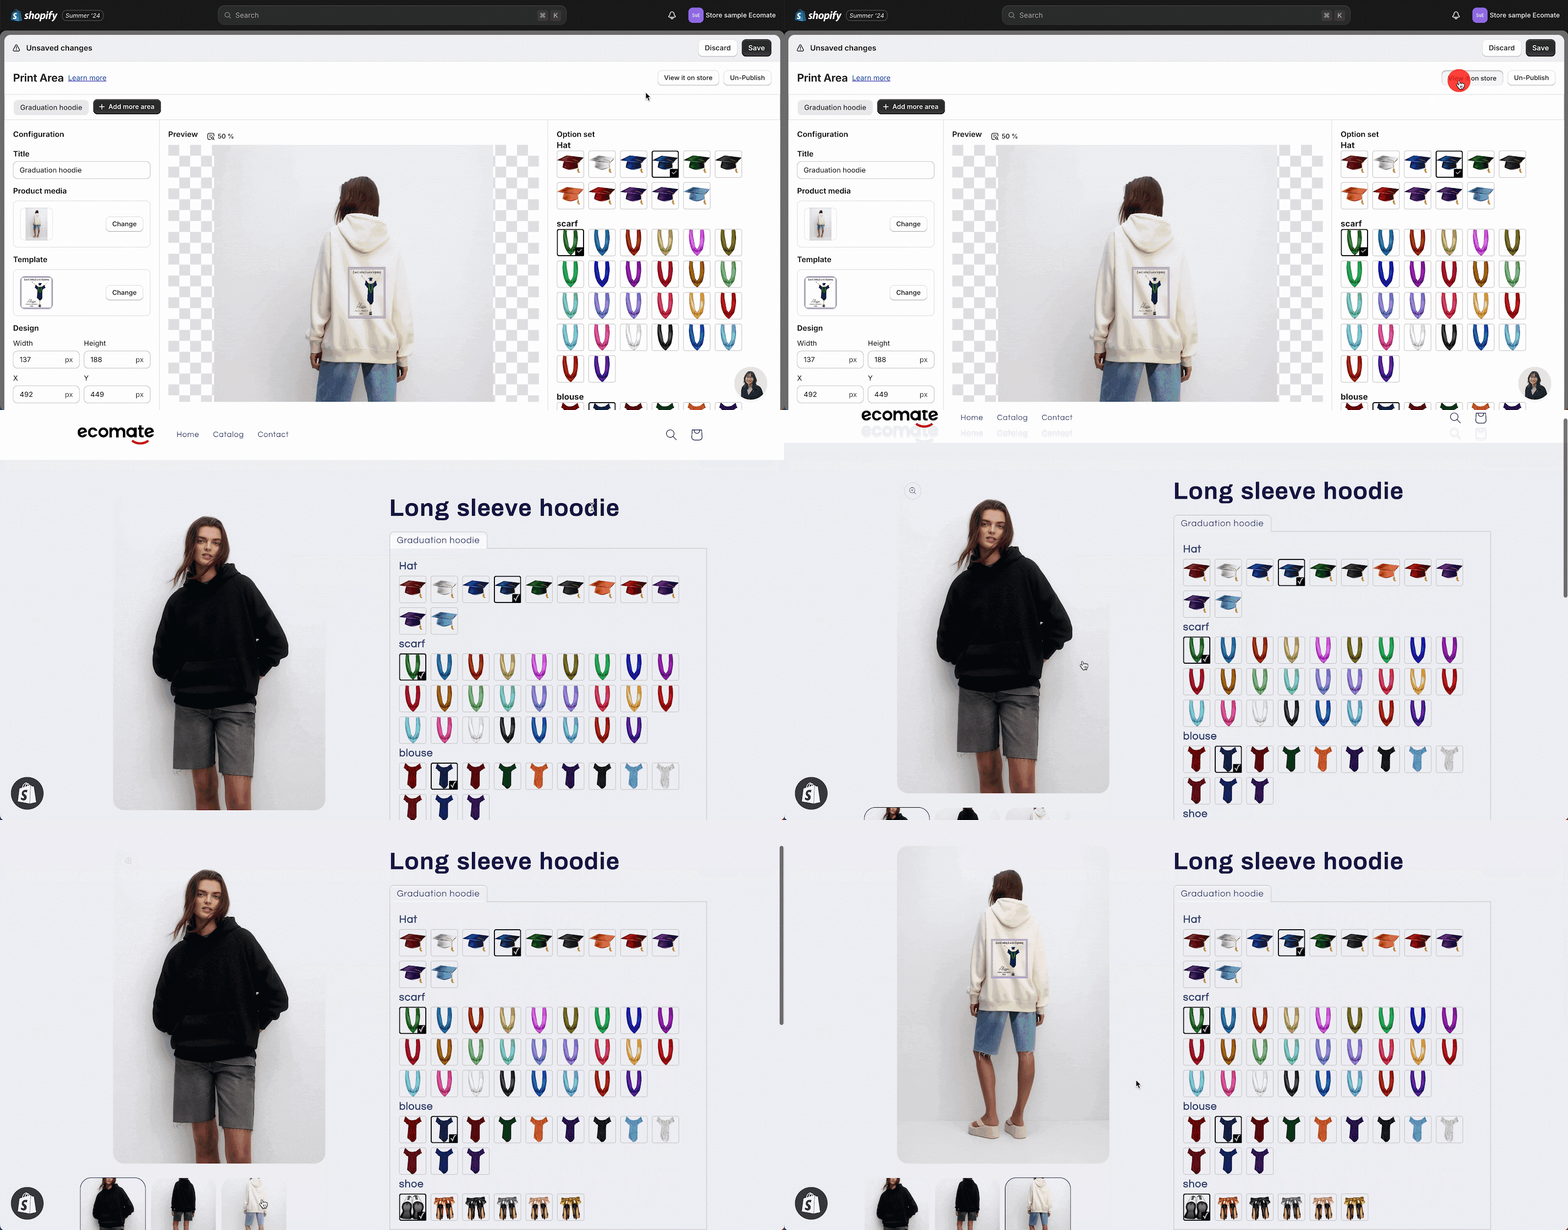
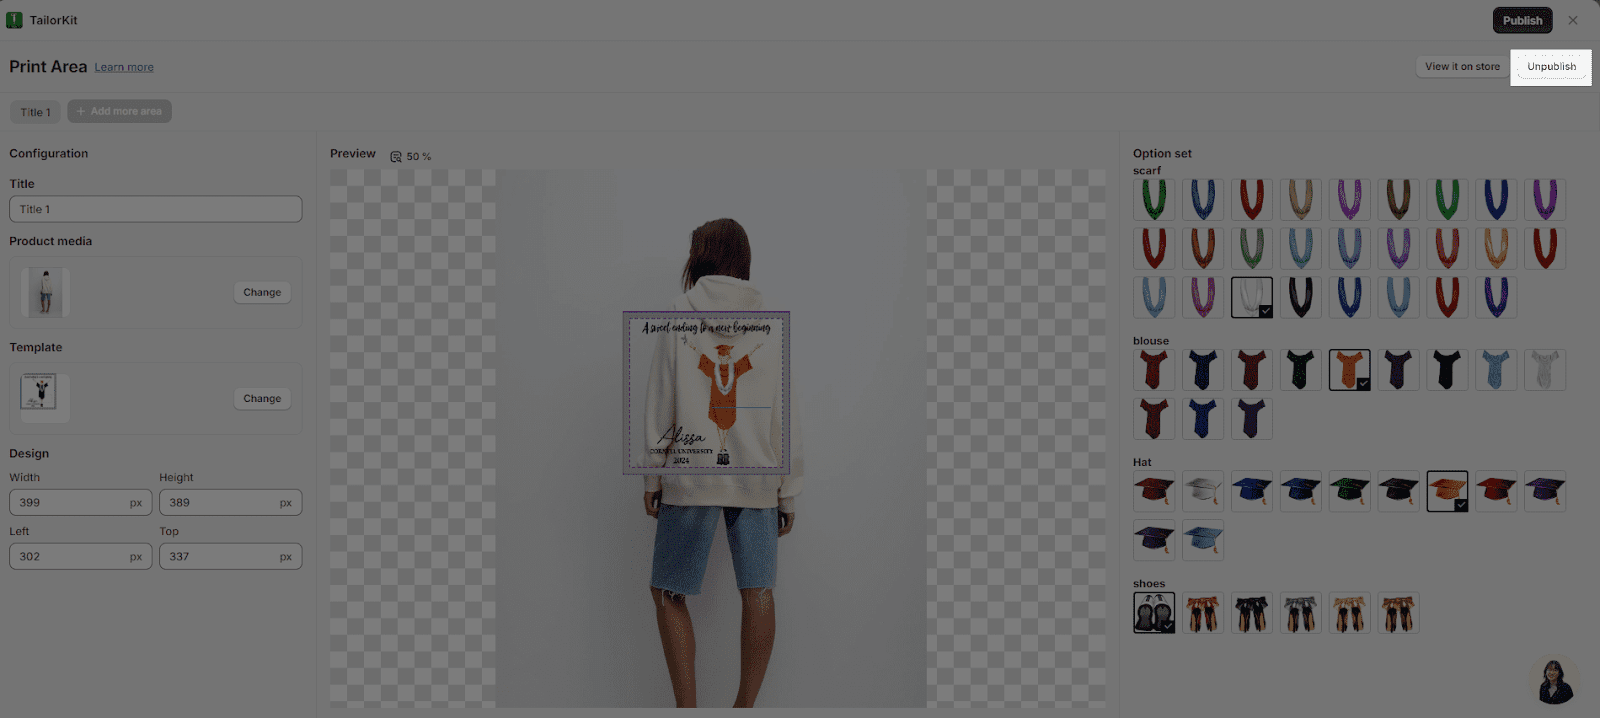
- View it on store: This option allows you to see the preview of the template on your live store. To access this option, simply click on the “View it on store” button.
- Un-publish: If you choose this option, Your product template will be removed on storefront. Please consider before un-publishing.
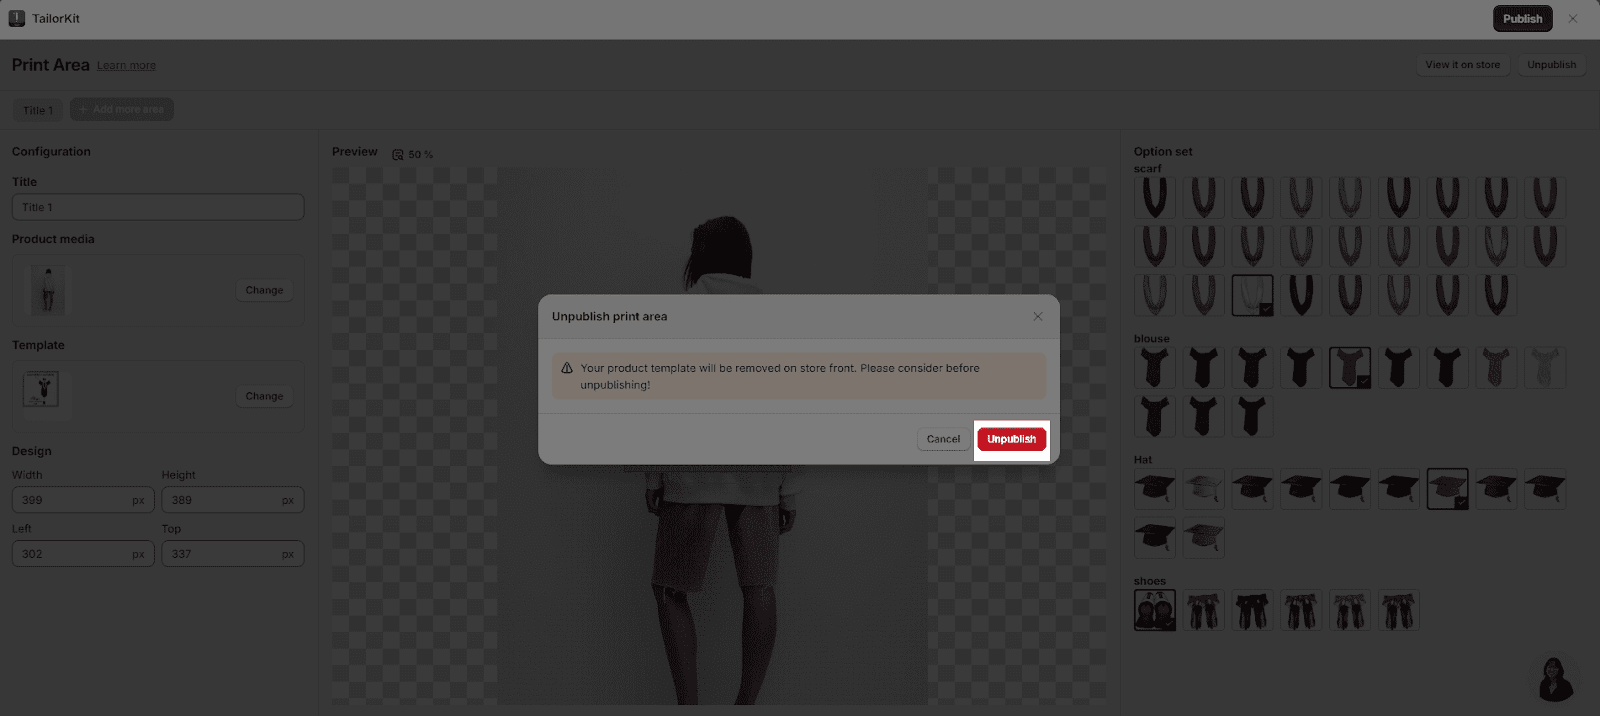
After clicking on the Un-Publish button, a pop-up board will be opened for you to confirm that you want to unpublish the template from your live store. If you want to proceed with the option, please click “UnPublish”
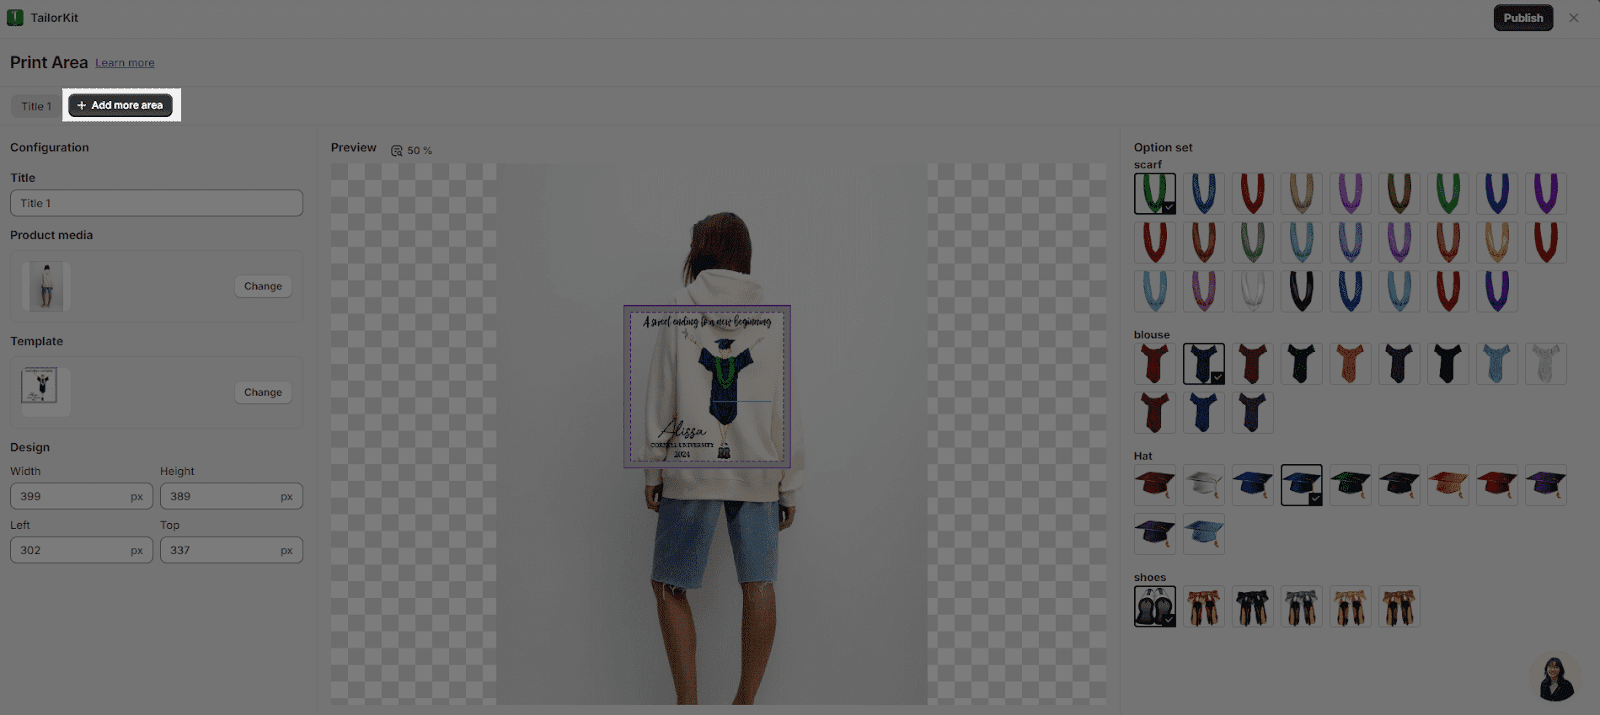
After finishing customizing the first Print area, you can move on to create next Print areas in accordance to your needs simply by clicking “Add more area”.
Frequently Asked Questions
1. How many templates can I add to a print area?
Basically, you can add 1 template per print area. This means that you are allowed to print 1 design/ artwork on each print area.
2. How many print areas can I have on my products?
The number of print areas that you can add really depends on how many areas on your product you want the designs/ art work to be printed on. After finishing customizing a print area, you can choose the option of “Add more area” to begin customizing another print area for your product.
